Topic
Learn how to create and manage agreements with NinjaOne's Billing tool.
Environment
NinjaOne Billing
Description
NinjaOne's Billing tool allows you to create and manage agreements. Agreements allow you to bill a specific product or group of products at a certain frequency and establish rules for mapping time entries. Agreement templates build the core data for invoice creation.
Before you proceed, you must enable NinjaOne's Billing tool. Refer to NinjaOne Billing: Getting Started with Professional Services Automation (PSA) to set up the application, if you have not already done so.
Want to learn more about NinjaOne Billing? Refer to our Video Library.
Index
Select a category to learn more:
- Create the Agreement Template
- Create and Manage Agreements
- Add the Service Agreement to an Organization
Create the Agreement Template
When configuring Billing agreements, you can choose to automatically approve generated invoices and decide whether to sync them with a third-party accounting tool or mark them as completed if no tool is connected.
You can also create agreement templates in the Billing administrator section and then copy them into each organization at Finance → Agreements.
To create a service agreement template:
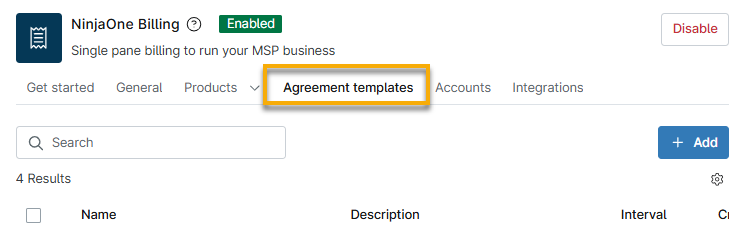
- In Administration → Apps → NinjaOne Billing, open the Agreement Templates tab and click Add.
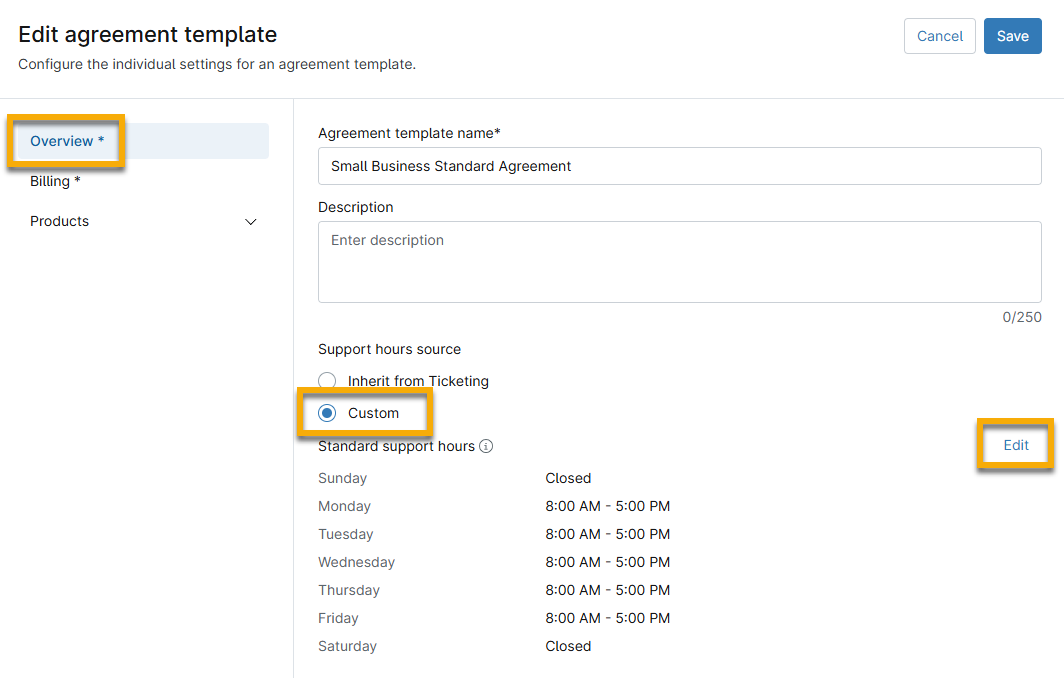
- Give the service agreement a name and set the support hours; you can inherit the settings from your NinjaOne Ticketing configurations or set them to custom. If you select Custom, you can further edit the Standard Support Hours by following the Support Hours Source field.
- From the Billing section, select the Invoice interval for invoice creation. After your selection, a new field will display to allow further configuration.
- Annually: the day of the year to automate the invoice
- Quarterly: the day on which the invoice will be created every three months
- The starting month will either be the current month if the selected day has not passed, or the next month if the selected day has already passed
- Monthly: the day on which the invoice will be created every month
- Weekly: the day of the week to automate the invoice, including weekends
- One Time: the specific day, month, and year to automate the invoice
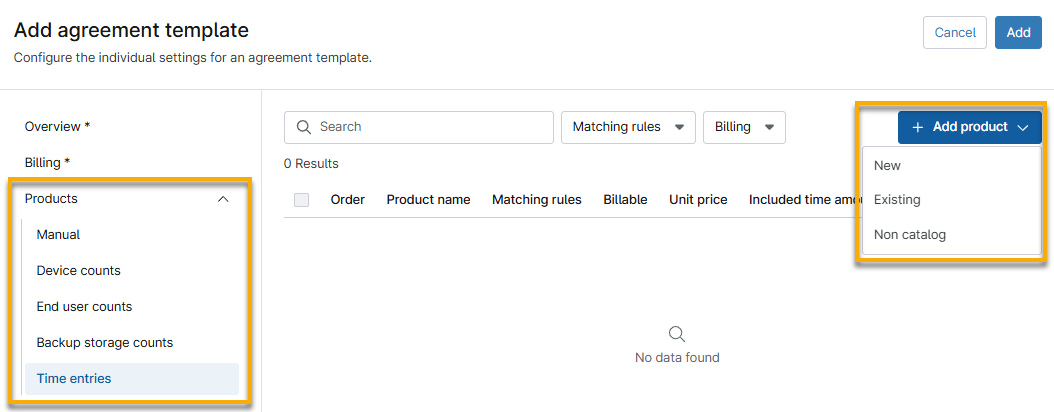
- From the Products menu, select either Time Entries, Devices, Device backups, End-Users, or Other. Then click Add product and select whether the product being added is New, Existing, or Non catalog. Refer to NinjaOne Billing: Products for information about the products that can be added here.
- New: Create a new product. After you create it, this product will appear in the Products section.
- Existing: Pull from products added in the Products section.
- Non Catalog: Create a new product. After you create it, this product will not appear as an existing product in the Products section.
- Click Apply.
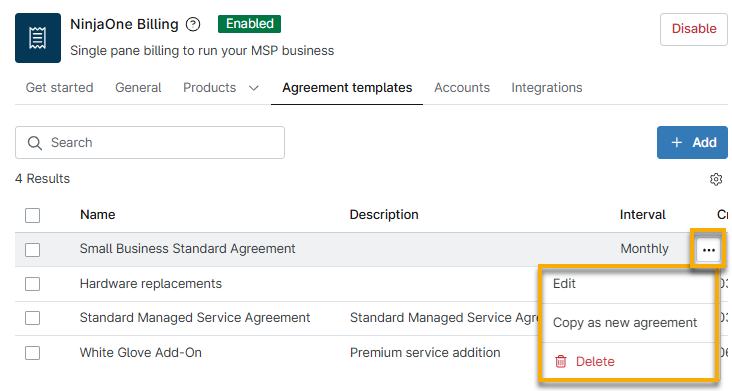
Once added, you can edit, delete, or copy as a new agreement for a specific organization with a new start date. Move your cursor over the row and click the actions menu to review these options.
Create and Manage Agreements
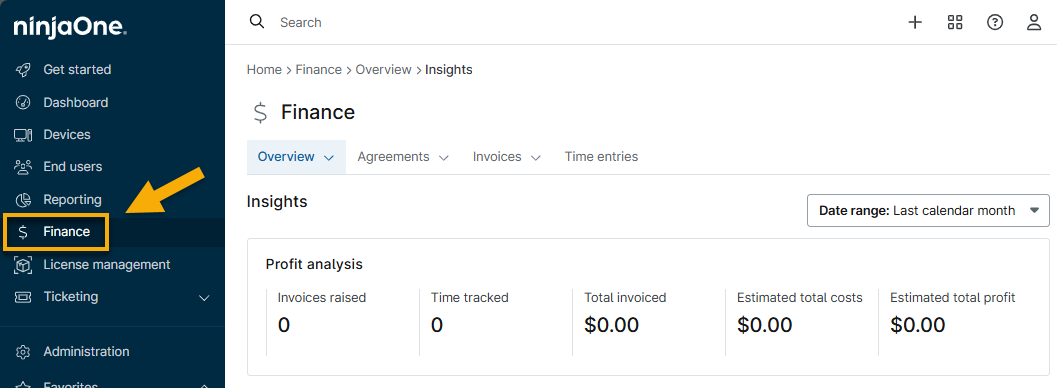
Once enabled, the NinjaOne Billing tool provides a Finance section in the sidebar menu, where you can create and manage agreements, view invoices, and recalculate prices on time entries. You can also perform these actions from the Finance section on the organization dashboard.
From here, you can create, view, or edit billing agreements to ensure your bills are accurate for services rendered. NinjaOne populates and updates the dates every time an invoice is generated, whether automatically or manually, and calculates the date based on the specified billing interval.
This section features three tabs for Active, Inactive, and Archived service agreements. The Archived tab contains service agreements for organizations that have been deleted. You can make individual agreements inactive.

Refer to the following table for an explanation of each data column. You can add or remove columns by using the table settings (gear) icon beneath the Add button.
| Column Name | Description |
|---|---|
| Name | This column provides title of the service agreement. |
| Description | This column shows the summary or purpose of the service agreement, if provided. |
| Invoice Generation Type | This column indicates whether the invoice was created manually or automatically. |
| Interval | This column shows the frequency of the billing period. |
| Organization | This column names the organization for which the invoice is created. |
| Last Bill Date | This column provides the most recent date an invoice was raised from this agreement. This column remains empty until an invoice has been billed. |
| Next Bill Date | This column shows the next date an invoice will be created for this agreement. This column will be empty if Invoice Generation Type is set to manual. |
| Last Period Start Date | This column provides the start date for the previous period that was invoiced for this agreement. This column remains empty until a new billing period is started. |
| Last Period End Date | This column provides the end date for the previous period that was invoiced for this agreement. Products for this agreement were billed up to this date. |
Add the Service Agreement to an Organization
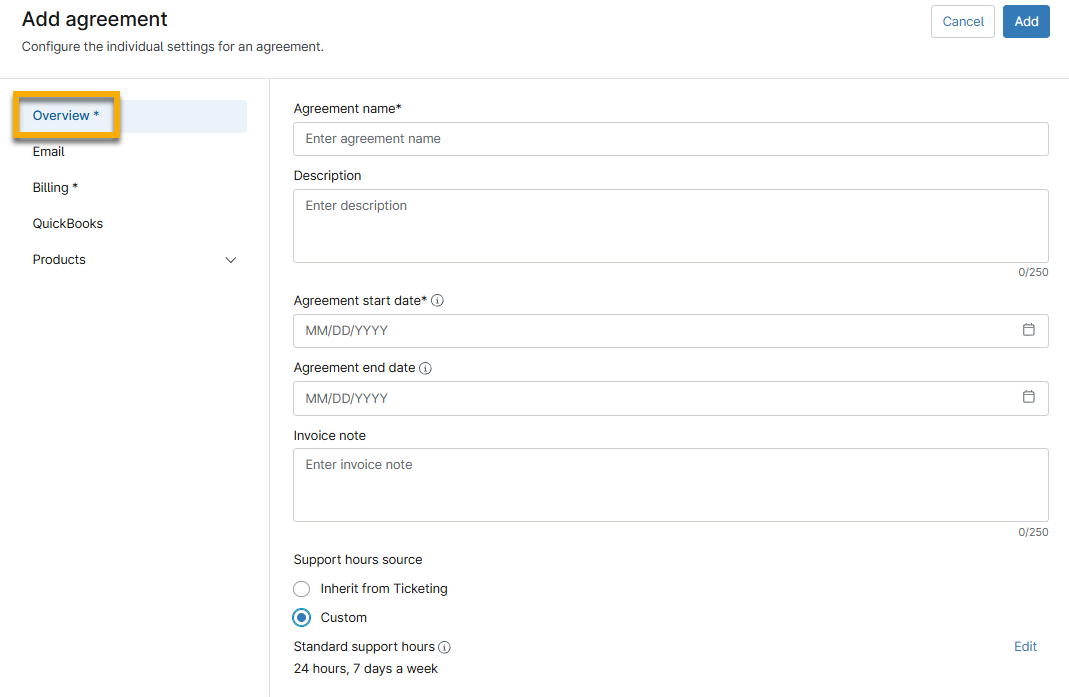
- Navigate to Finance → Agreements and click Add. The Add agreement dialog will display; select an organization to bill from the available drop-down menu.
The configuration page displays with the Overview section open by default.
- Give the service agreement a name and select a start date. The Agreement Start Date should be the date on which the services are scheduled to begin. Agreement End Date is optional and can be added or updated at any time.
- If you select Custom for Support Hours Source, you can edit the Standard Support Hours field to specify a custom schedule, including the day of the week and daily time period. If you select Inherit from Ticketing, then NinjaOne will use the data you configured for the NinjaOne Ticketing app.
- Open the Billing section. Use the field descriptions and the previous table to fill out the applicable fields.
- Selecting Manual for Generation Type will remove the requirement for selecting an option for Interval; the billing date will be updated when you manually create the invoice. If you select Automatic, then invoices will be generated based on the Interval selection and automatically adjusted each time an invoice is created.
- Select the Automatically approve invoices checkbox to mark all generated invoices as approved by default. When you select this checkbox, a new Automatically export invoices checkbox will display; use this option to sync the invoices to your third-party accounting tools. This option will mark invoices as complete if no tools are connected.
- NinjaOne calculates the Next Billing Period Start Date field based on your selection for Interval. The date will automatically adjust every time the invoice is created.
- If you do not select Custom for the Invoice Days Due Source, NinjaOne will pull data from the default number of days configured at Administration → Apps → Installed → NinjaOne Billing → General → Settings.

- Open the QuickBooks section to configure settings for the QuickBooks integration.
- Enable or deactivate QuickBooks Online card payments for invoices.
- Enable or deactivate QuickBooks ACH (automated clearing house) payments for invoices.
- Open the Products section. You can use the additional tabs in this section to add prices for Time Entries, Devices, Device backups, End-Users, and Other.
- When you click Add, choose from New, Existing, or Non Catalog.
- New: Create details for a new product.
- Existing: Select active products that you created when configuring the NinjaOne Billing application page.
- Non Catalog: Create details for an ad hoc product. These products will not be added to your existing list of products.
- When you click Add, choose from New, Existing, or Non Catalog.
Additional Resources
Refer to NinjaOne Billing: Resource Catalog to learn more about NinjaOne Billing.