Topic
This article discusses how to create, view, and download summary reports in NinjaOne.
Environment
NinjaOne Reporting
Description
Summary reports encapsulate key findings, highlights, and essential data, providing a high-level overview of your chosen subject.
Creating a Summary Report
Follow this procedure to make a new summary report:
Set Up the Report
- In NinjaOne, click Reporting, then click Create and choose Summary Report from the drop-down menu.
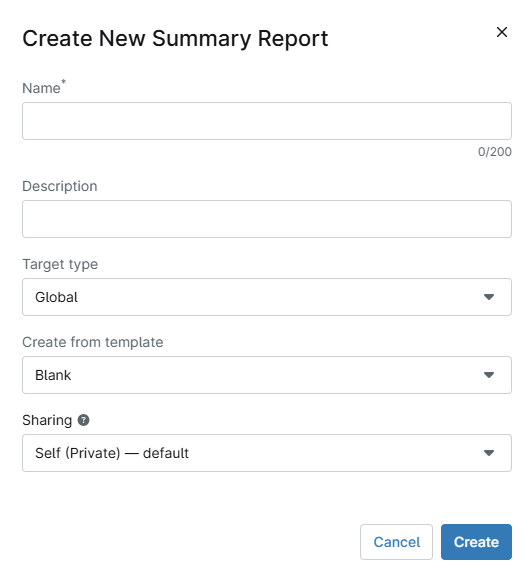
- In the Create New Summary Report window, configure the following options:
- Name: Give the report a descriptive name.
- Description: Describe the contents or purpose of the report.
- Target type: Choose whether the report should be global (all organizations) or specific to a single organization.
- Create from template: Select a template from which to build the report. Refer to NinjaOne Reporting: Types of Summary Reports to learn more.
- Sharing: You can choose to keep the report private or share it with others. Read NinjaOne Reporting: Report Sharing for more information.
Create the Report Template
After you complete the report setup, the Create report template window will open. Here you can customize the report's visual presentation and specify what data it will summarize.
Configure the following settings to customize the report's format:
- Title: Provide a descriptive title for the report.
- Description: Describe the report contents or purpose.
- Cover page: Select the option to show or hide the cover page.
Adding Preset Data Categories
This step allows you to add the data categories you want to show in the report.
- In the Create report template window, click Customize.
- In the Sections window, use the Add section to report drop-down menu to choose your data sections.
3. Added sections will appear as a stack in the Sections window. Click the = icon for any section and drag it higher or lower in the stack to change the order in which the sections appear in the final report.
Adding a Custom Data Table
In addition to the preset data types, you can create configurable tables populated with per-device data of your choosing. Refer to
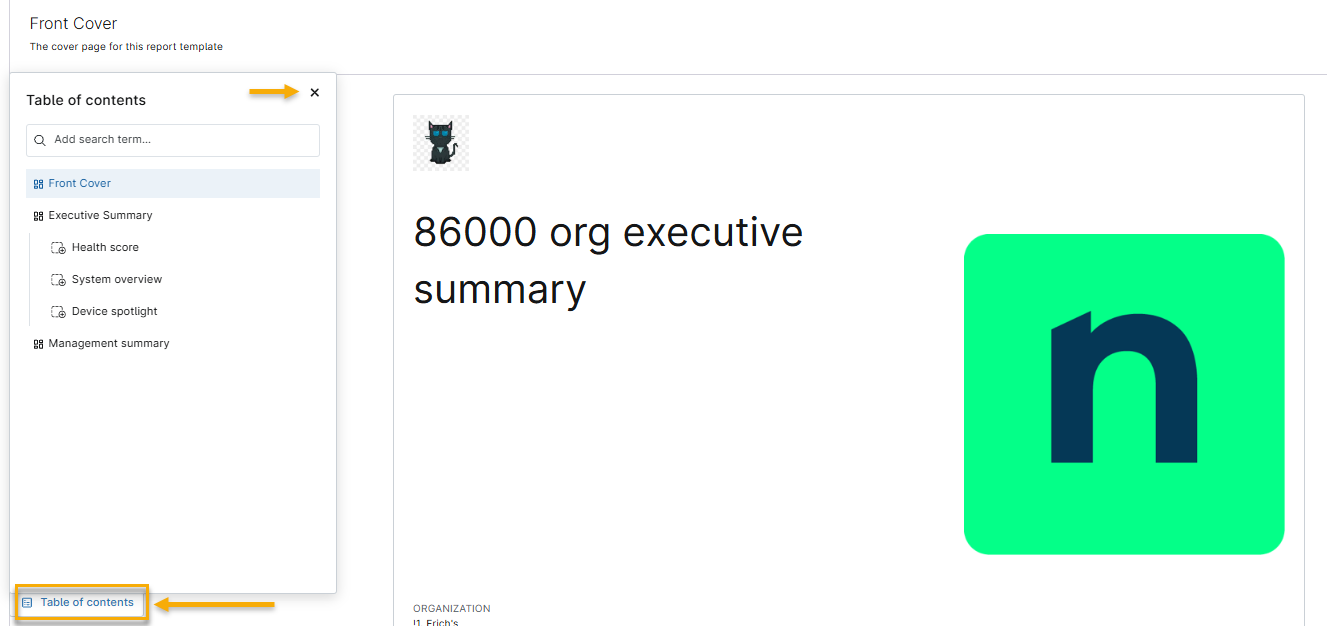
Using the Table of Contents
In the report, click Table of contents. The table of contents will open and float on the page. Click the X icon to close the contents.
Report Action Icons
Click the action icons to download, refresh, or view the report in a new tab.
Downloading the Report as a PDF
Click the View in New Tab action icon. NinjaOne will open a downloadable PDF version of the report in a new tab.