Topic
This article provides instructions for the second part of the ServiceNow setup in NinjaOne.
Before you begin this step, you must complete: NinjaOne Integrations: Add the NinjaOne Application Registry to ServiceNow.
For a comprehensive overview of the setup process, refer to NinjaOne Integrations: Getting Started With ServiceNow.
Environment
- NinjaOne Integrations
- ServiceNow
Description
You must create an application programming interface (API) user in ServiceNow to facilitate the connection between it and NinjaOne.
To create an API user in ServiceNow, perform the following steps.
- Log in to ServiceNow as an administrator.
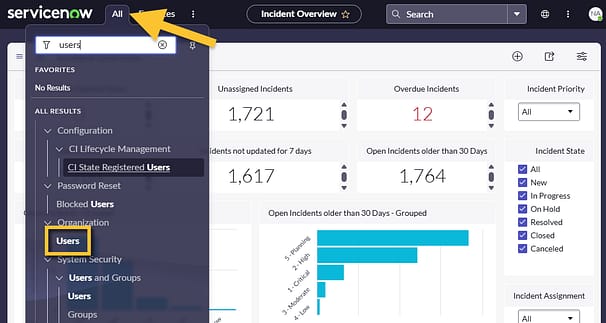
- Click the All drop-down menu in the top navigation menu and select Organization → Users.
- Click New in the top right corner of the Users page to create a new user.
- Use the table below to complete the applicable fields.
| Field | Data |
|---|---|
| User ID | You may use any name for your user, but we recommend something that easily identifies the purpose of the user profile. For example, you could use ninjaone.apiuser and NinjaOne API User. |
| First name/Last name | |
| Active | Select both checkboxes. |
| Web service access only |
- Right-click in the gray menu panel above the user record fields and select Save. Saving the record populates new tabs at the end of the page.
- Open the new Roles tab and click Edit.
- The Edit Members page will display. Use the Collection search field to find and add the following values individually to the Roles List by using the right arrow (→) button:
- itil
- import_admin
- x_nrmm_ninjaone_in.ninjaone.integration_admin
- x_nrmm_ninjaone_in.ninjaone.integration_user
- personalize_responses
- personalize_dictionary
- customer_admin (ServiceNow CSM dependent)
- Click Save.
You will navigate back to the user record. In the Roles tab, you should find several new entries, which is expected behavior.
- Click Set Password. The Set Password dialog will open.
- Click Generate to create the password.
- Click the paper icon to copy the data.
- Click Save Password and close the dialog.

- Click Update on the user record page. You will automatically navigate to the Organization Users dashboard.
- Continue to the Configure API Credentials in NinjaOne section, which is required to map the configuration in NinjaOne back to ServiceNow.
Next Step: Configure NinjaOne Table Access
Learn how: NinjaOne Integrations: Getting Started With ServiceNow to view the full integration scope and workflow.