Topic
This guide provides instructions for enabling and configuring the Autotask integration with NinjaOne.
Environment
- NinjaOne Integrations
- Autotask
Description
NinjaOne can automatically sync your devices and their roles with the Autotask Professional Services Agreement (PSA) tool, enabling you to share hardware details, device specifications, and more between the platforms. You can even allow a quick-access link to NinjaOne within Autotask.
Alerts from NinjaOne sync directly to Autotask tickets, and you can customize your helpdesk experience by choosing different service boards, priorities, and statuses. When you reset a NinjaOne alert, it will close the corresponding ticket in Autotask, and the same applies when closing tickets in Autotask.
Integrations: Enabling the Autotask Integration (NinjaOne Inc. 03;08)
Select a topic to continue.
Autotask User-Defined Field Requirement
Set Up the User Account
To integrate Autotask with NinjaOne, you must first create an API User account in Autotask with an API tracking identifier that corresponds with the correct vendor.
- On your Autotask instance's home page, navigate to Admin → Resources (Users).
- Place your mouse over the New button and select New API User.
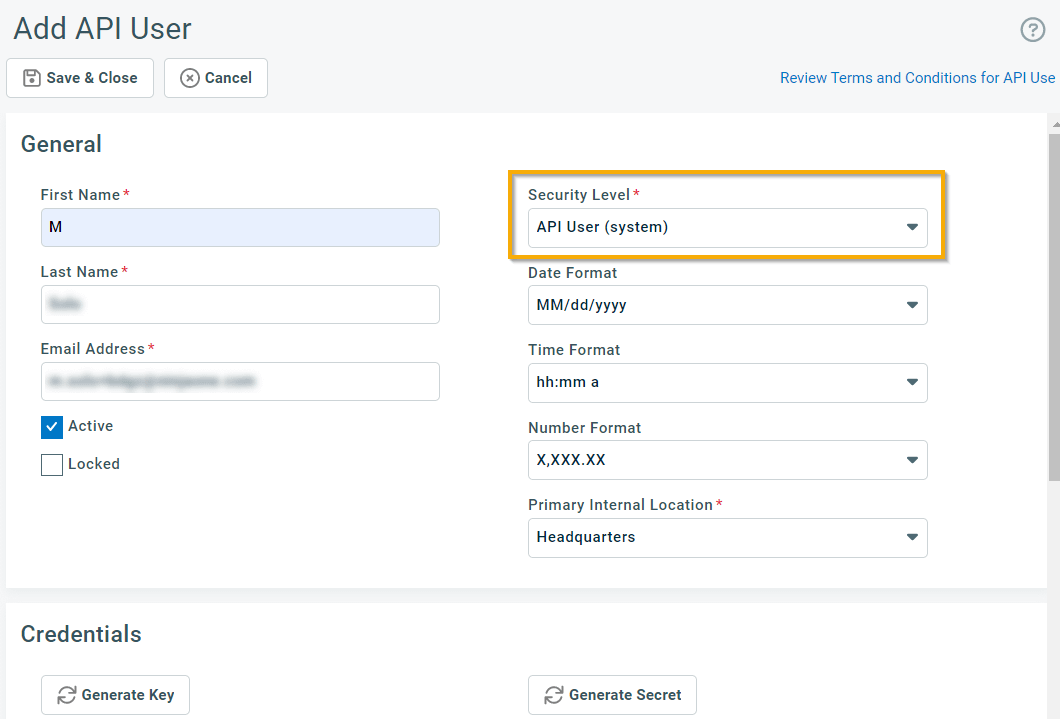
- The Add API User window will open. In the Security Level drop-down menu, select API User (system). Complete all fields in the General section of the page.
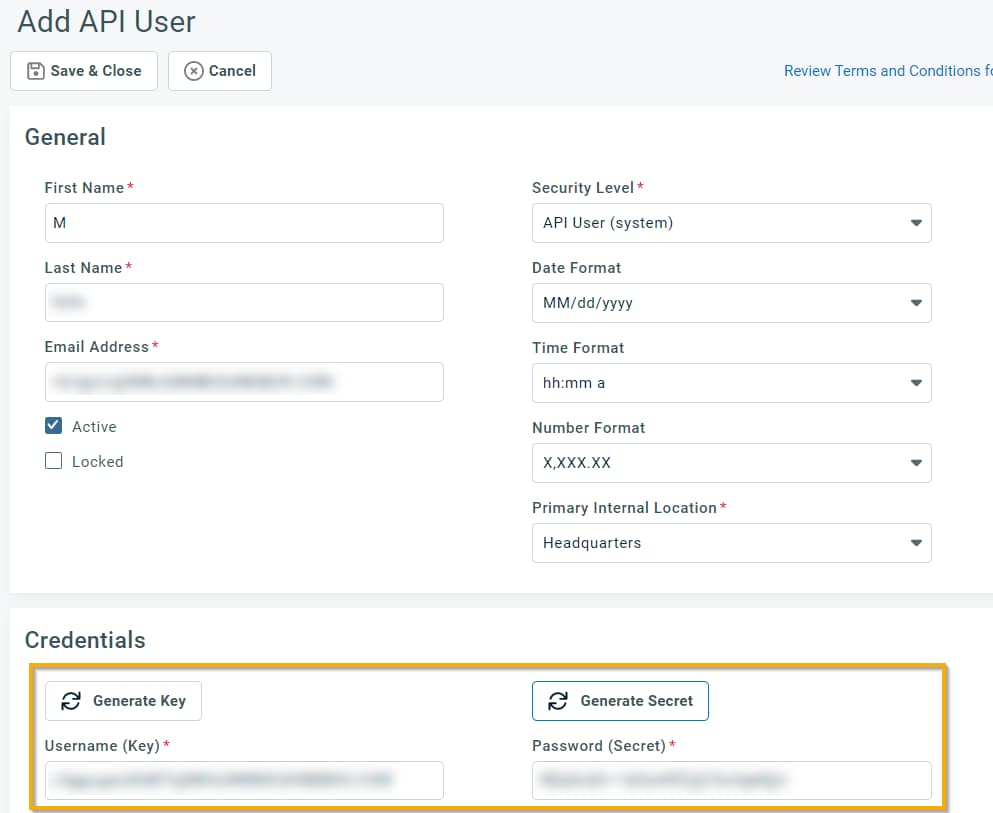
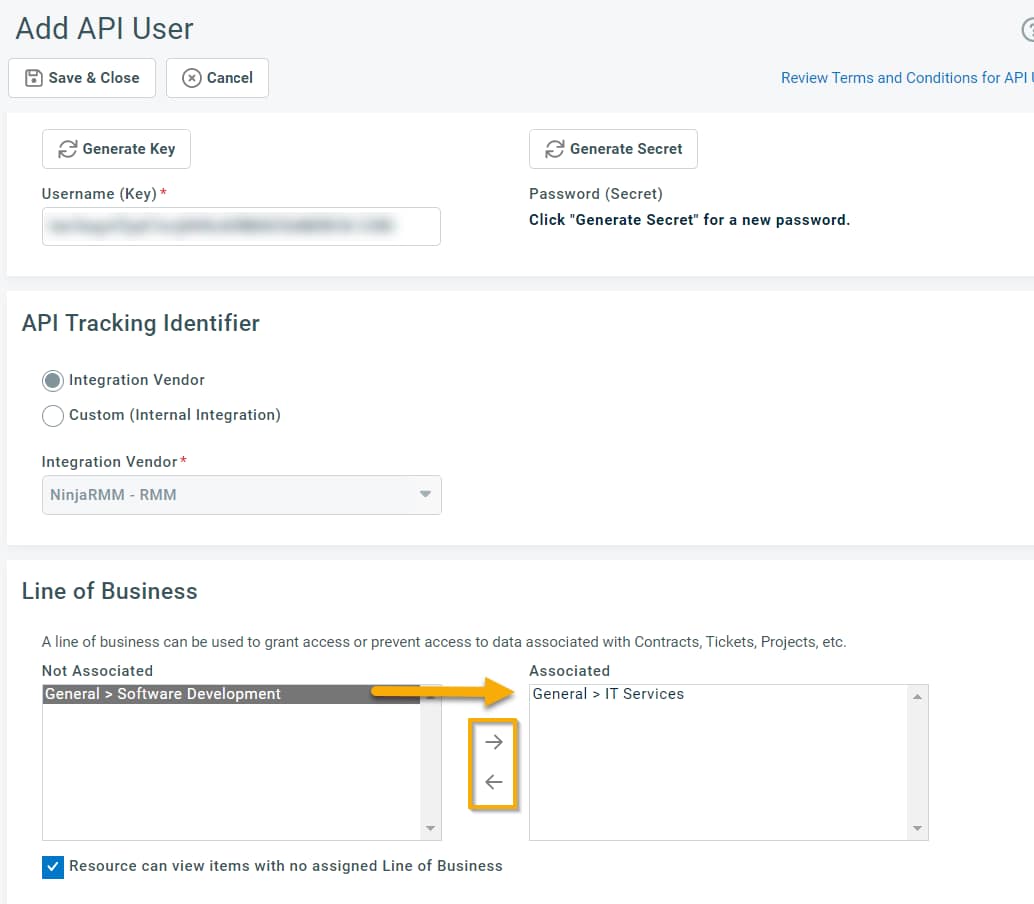
- In the Credentials section, click Generate Key, then click Generate Secret and save the resulting credentials. You will enter them into NinjaOne in the Enabling the Autotask Integration section of this article.
Set Up the API Tracking Identifier
To configure the API Tracking Identifier section, perform the following steps:
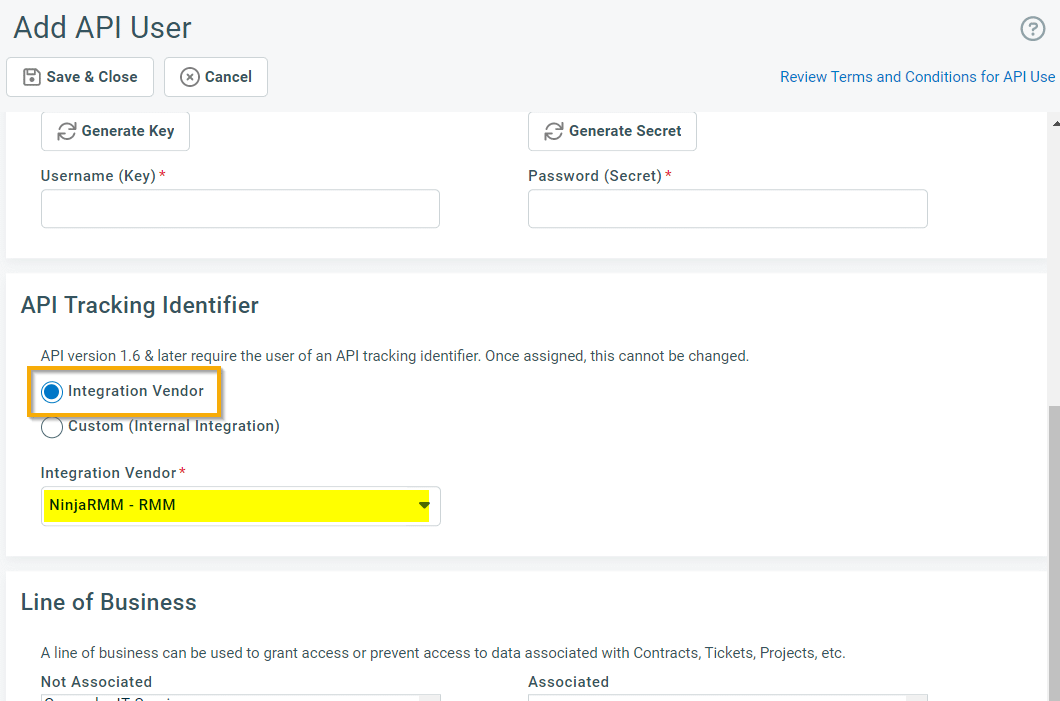
- Navigate to the API Tracking Identifier section of the page and ensure that the Integration Vendor radio button is selected. Then, select NinjaRMM - RMM from the Integration Vendor drop-down menu.
2. In the Line of Business section of the page, select the line of business in the Not Associated pane, then click the arrow to move it to the Associated pane. When finished, click Save & Close.
Grant Data Permission
To add permissions, perform the following steps:
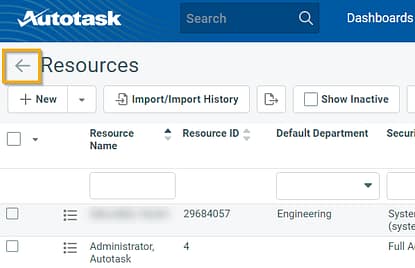
- Click the back button next to the Resources page title to return to the Admin page.
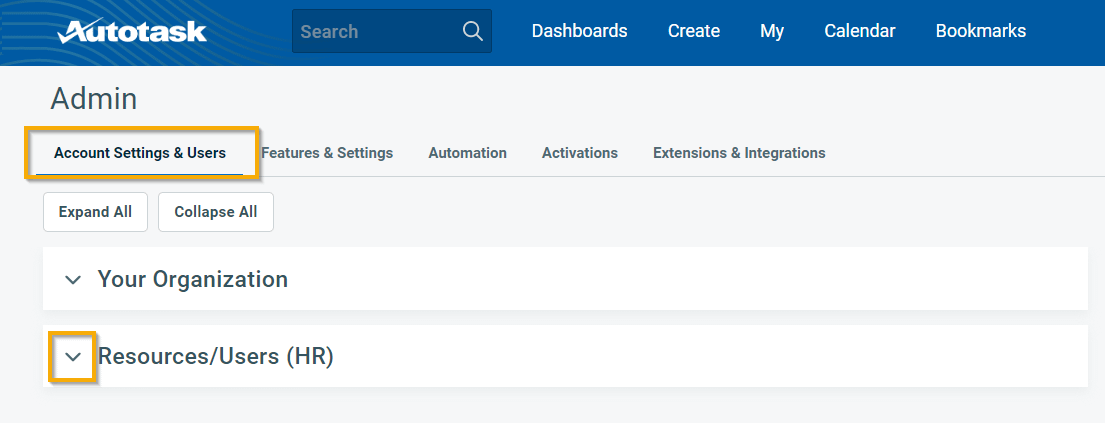
- Navigate to Account Settings & Users → Resources/Users (HR).
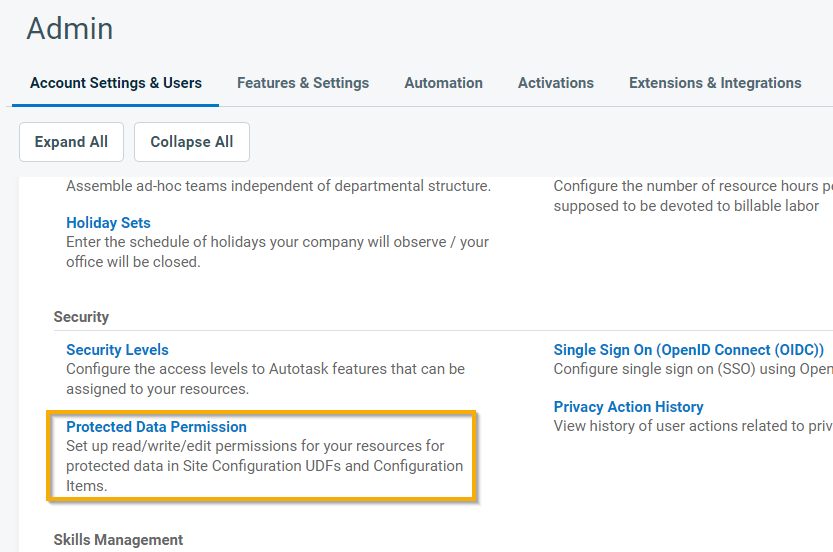
- In the Security section, click Protected Data Permission.
- Grant the user full permissions and then click Save.

Activating and Connecting the Autotask Integration
After setting up he user account, follow these steps to activate the Autotask integration in NinjaOne and connect it to Autotask.
Activating the Autotask Integration
- In NinjaOne, navigate to Administration→ Apps, then click Add app and select Autotask PSA from the list. NinjaOne will prompt you to confirm the addition.
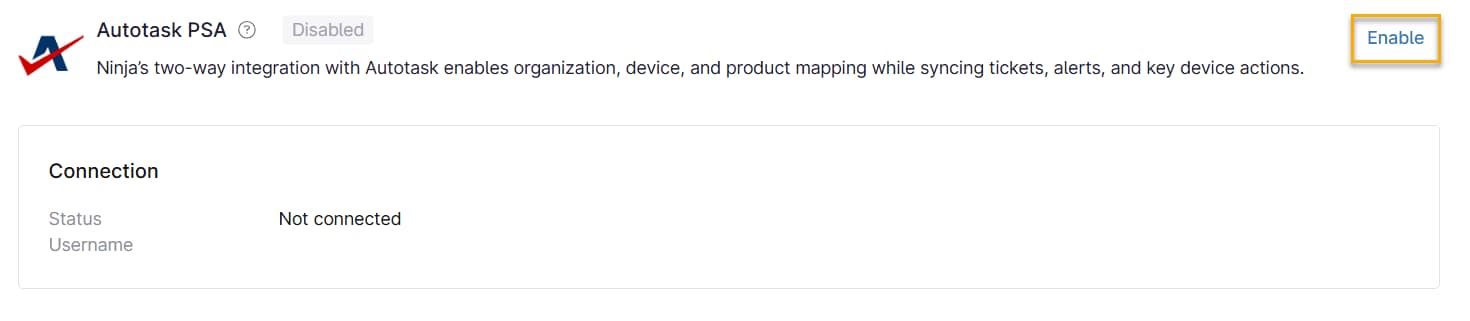
- The integration will appear on the dashboard, reporting a Not connected status. Click Enable.
- Input the Username (Key) and Password (Secret) values of the Autotask API User account you created.
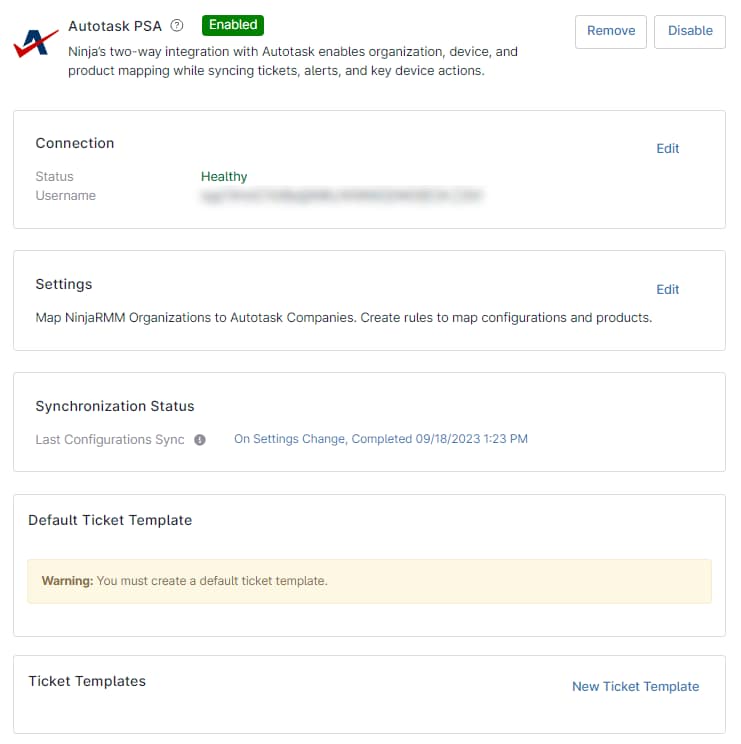
- Click Test to ensure that NinjaOne can communicate with your Autotask instance. If the configuration is successful, you'll receive a confirmation stating, "Status: Connection succeeded with provided credentials." On the integration's Connection page, the status will read 'Healthy'.
- Click Save to store the configuration.
Viewing Autotask Connection Status
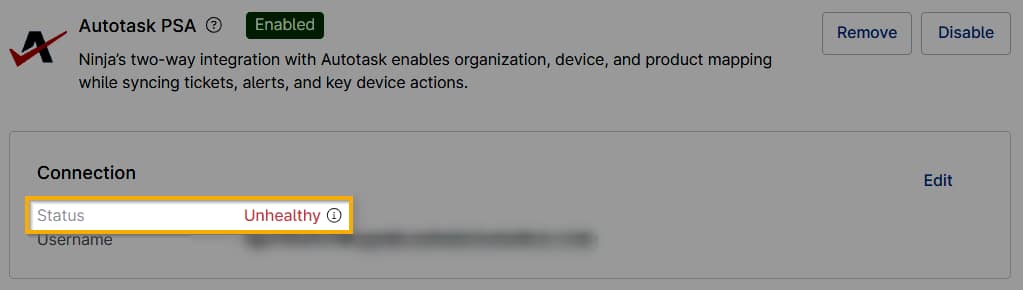
When the Autotask API user is able to connect, NinjaOne shows the status as "Healthy." If the API user is locked or was deactivated after connection, the Status displays as "Unhealthy." (Place your cursor over the (i) tooltip for more detailed information.) When your Autotask Status is "Unhealthy," the application will not perform calls to the API or will return an error.
Troubleshooting an Unhealthy Autotask Connection
If you are experiencing issues with the Autotask connection, perform the following steps for resolution.
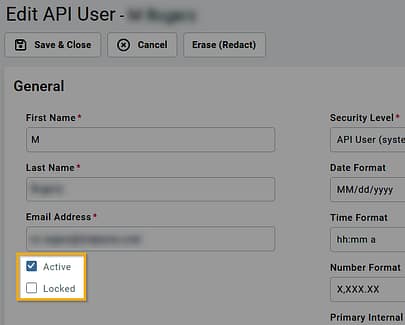
- Open the API user account in Autotask and verify that the Active checkbox is selected and the Locked checkbox is not selected.
- If you do not have the Password (Secret) saved, generate a new one and copy it.
- Click Save & Close.
- In NinjaOne, click Edit and reenter the username (email address) and password (Secret) for your Autotask API user account, then click Test to ensure that the credentials are properly resolved.
- If the connection succeeds, click Save. The Status should now display "Healthy."
Additional Resources
Refer to Autotask – NinjaOne Dojo to learn more about using Autotask with NinjaOne.