Topic
This article discusses legacy backup plans for NinjaOne Backup.
Environment
NinjaOne Device Backup
Description
To run image backups, NinjaOne Image Backup must be enabled per the steps in NinjaOne Backup: Setup Guide.
Index
- Image Backups Explained
- Configure Image Backup Plans
- Revisions Explained
- Run Image Backups on Demand
- Related Documentation
Image Backups Explained
The image backup process uses Volume Shadow Copy Service (VSS) by creating snapshots of the disk when the image backup begins. From there, the NinjaOne Backup agent can sequentially read the backup as a single file, which is then stored in a single Virtual Hard Disk Drive (VHDX) file.
This VHDX file is treated the same as other backup files in that it is broken up into numerous segments, which are then encrypted and compressed. These segments allow the agent to determine what parts of the disk might have changed and only store those changes (deltas/incremental) in subsequent backups.
The files excluded from image backups depend on the VSS providers on the machine. By default, when creating a snapshot, the default Windows system provider excludes Windows temporary folders and other cached data that isn't required for a restore.
If the system contains other providers, such as those installed by Exchange or MSSQL after the image backup is performed, they are notified that a backup has been completed and they will clean their own temporary files. It is important to note that they are also notified when a backup begins, which forces them to flush important files to disk fully so that a restore will contain all data needed for the application to continue to run.
Any application that has heavy disk access likely provides its own VSS providers. By default, the NinjaOne Backup agent is aware of the providers and includes them as part of the backup process to ensure that they are appropriately notified. This allows them to exclude certain temp files and flush files to disk as needed.
Configure Image Backup Plans
Any image plan created will always back up all hidden boot/recovery style partitions when the SYSTEM volume is detected in the plan's volumes to back up. Volumes backed up include the C: volume specified and any recovery/boot partitions on the same disk.
You can configure backup plans in two different ways: at the policy level or at the device level (as a policy override).
Policy Level Backup Plans
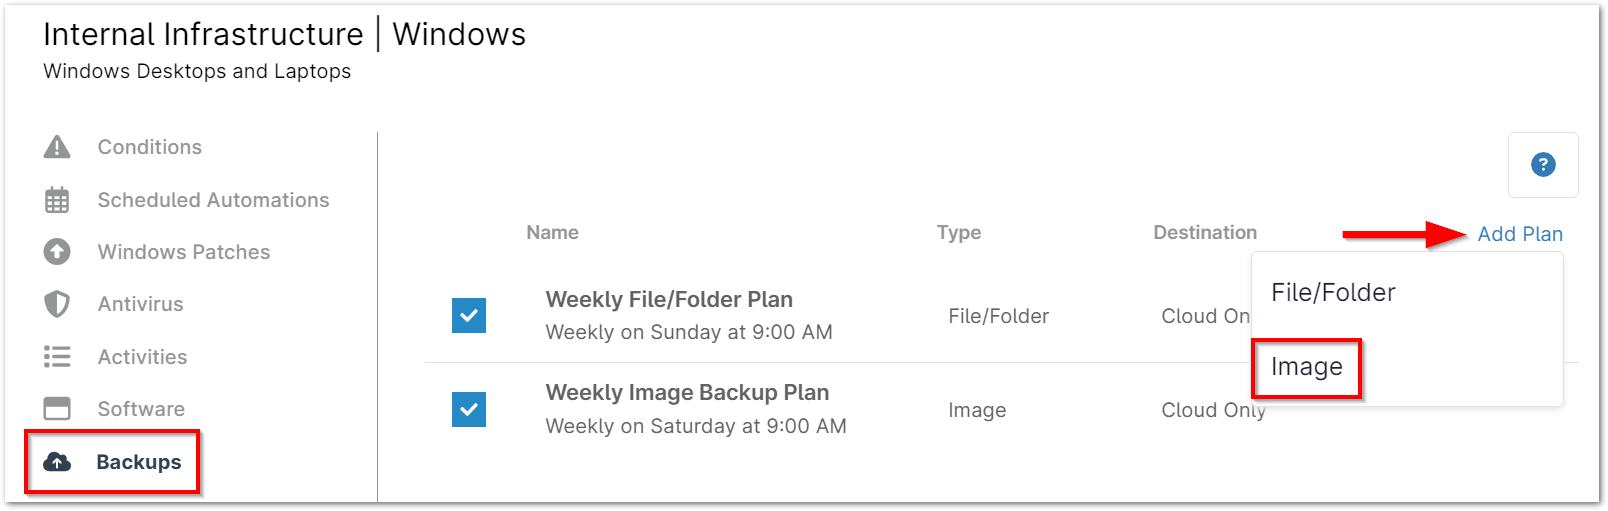
- Navigate to the editor for a policy (Administration > Policies) that you'd like to configure an image backup plan under and select the Backups tab on the left side.
- Click Add Plan in the top right corner and choose Image.
Give your new backup plan a name, schedule, and time. Refer to the table below for an explanation of the time options.
From here, select the applicable option for your device's power settings.
Power Options Notes Prevent device from sleeping This option does not apply to devices running on battery power.
Cannot be used with laptops currently. These features can only be used with Desktops and Servers.Attempt to wake device if sleeping Applies to devices sleeping during a scheduled backup.
Cannot be used with laptops currently. These features can only be used with Desktops and Servers.Run plan immediately if missed Applies to devices that are offline at the regularly scheduled time.
If this option is selected for multiple backup plans on a device, and the device misses multiple plans, all missed plans will run when the machine comes back online.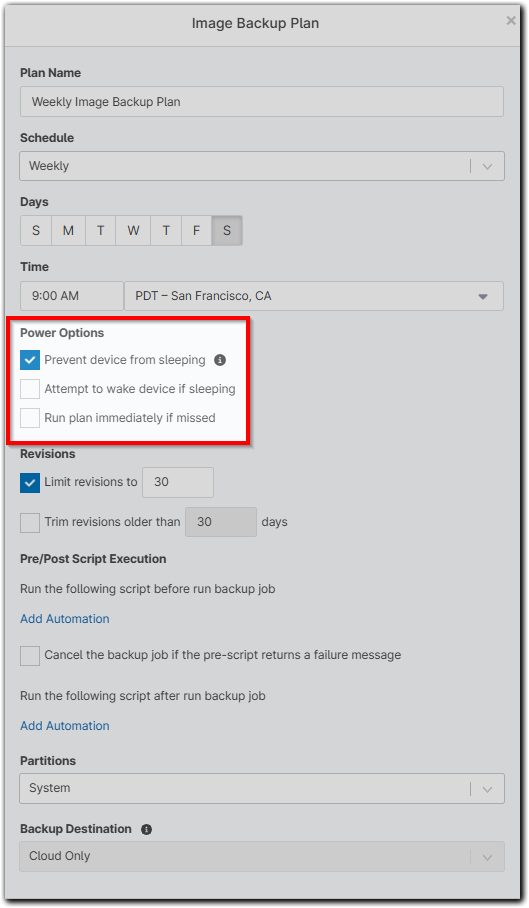
Next, select your revision options. You can limit the number of revisions NinjaOne stores and/or opt to trim revisions that are older than a designated number of days.
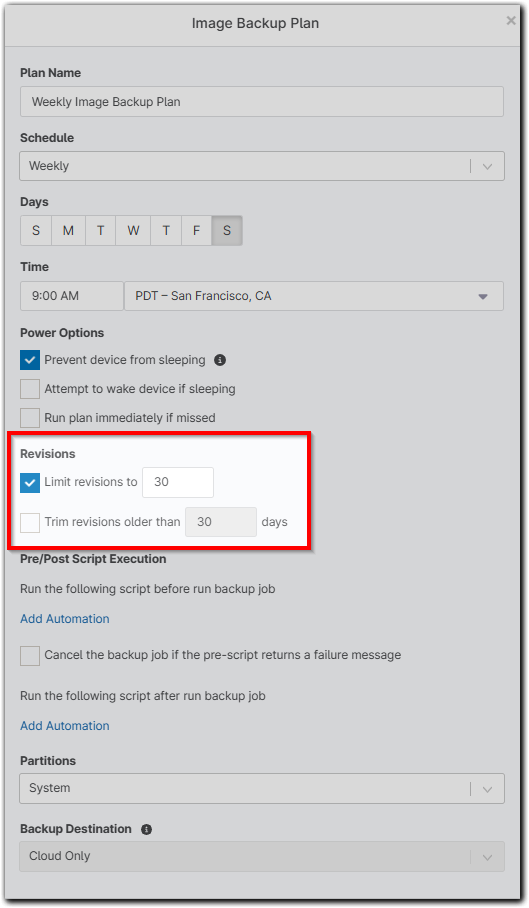
Important Notes:
- For more information on how revisions work with image backups, please see below.
- By "trimming" revisions, NinjaOne deletes all revisions up to the most recent that meet the criteria for being removed.
- If the options to limit/trim revisions are both disabled, backup data is never trimmed or deleted.
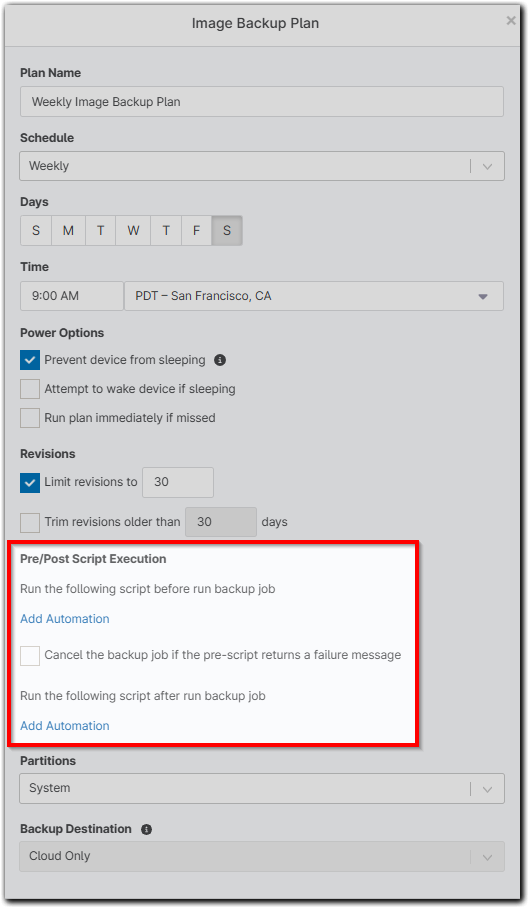
- If you would like to schedule a script to run before or after the backup job (for example, you could stop specific applications from running during backup or install all available patches after the backup is finished), use the Add Automation hyperlink under Pre/Post Script Execution to select an option from the
-
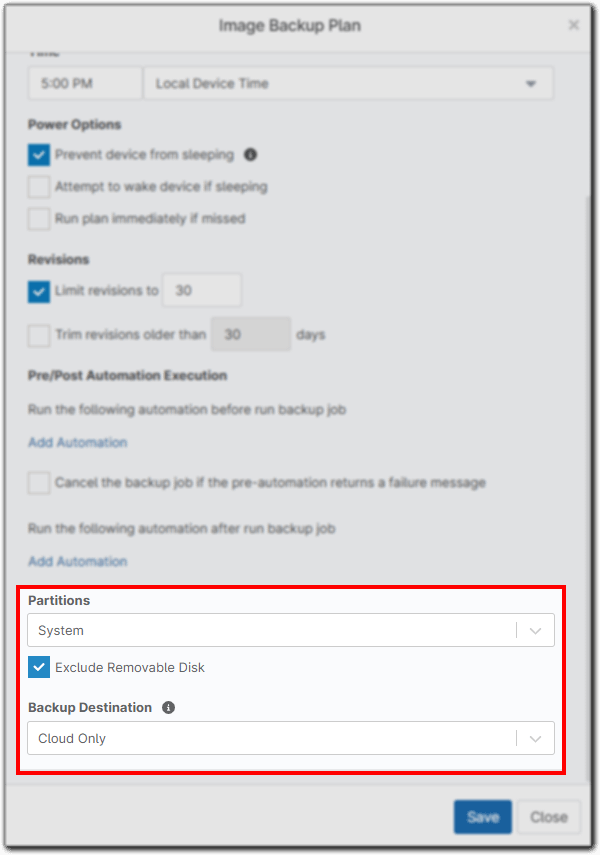
Finally, select the partitions to back up as a part of this image plan (custom allows you to input specific drives to include), as well as the backup destination (hybrid stores backup data locally and then syncs to the cloud). If using local only or hybrid storage, a
Important Notes
- Custom allows you to specify a partition by drive letter.
- The System partition includes any partition that is on the same drive as the Windows partition.
- The All partition includes every partition you see on a device. This includes USB partitions.
- Image plans set to All partitions do not backup network mounts. Only volumes on fixed disks are backed up.
- Custom allows you to specify a partition by drive letter.
- Click Save.


Device Level Backup Plans
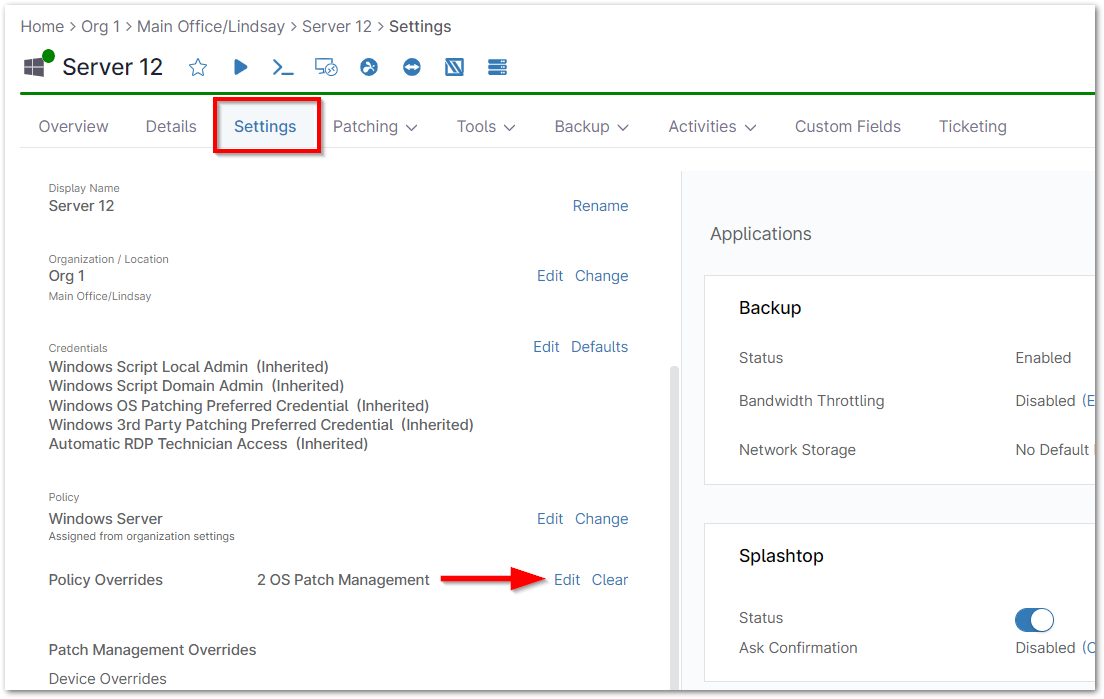
- Navigate to the device dashboard needing a backup plan configured, and open the Settings tab.
- You'll see the Policy Overrides listed on the left side of the page. Click Edit to the right of this section.
The device-level policy editor page displays. - Click Backups and then click Add Plan; select Image (or select an existing plan to open it).
Important Note: From Device page > Settings > Applications > Backup, users can now toggle to enable/disable backup at the node level. (Backup must be enabled for the org that device is in). The device must also have a backup policy assigned. -
Follow steps 3-7 from the Policy Level Backup Plans section above—when choosing the Custom option for selecting partitions, this loads the partitions available to choose from for that particular device.
 Important Note: Selecting Custom allows you to specify partition by drive letter. Backing up the C: drive does not create a bootable image if the boot information is a separate partition, as is the case with System Reserved. To create a bootable image in this case, use System.
Revisions Explained
NinjaOne image backups are forward incremental delta backups. When an image backup job runs, it is one of two types of backups: full or delta.
- Full backup—a complete image backup of the partitions designated in the backup plan is run.
- Delta backup (Block-level)—only data that has changed in comparison to the last time the backup plan was run is backed up, which then builds upon the most recent full backup job (and any other delta backup jobs run since then).
A full backup runs the first time an image backup plan is run. Subsequent backup jobs consist of delta backups, up until the total of the delta backups' data is greater than or equal to 75% of the full backup data. For example:
- A full backup job is run on the device, and the job results in 100GB of data stored.
- Each subsequent delta backup job results in 25GB of data stored.
- After three delta jobs have run, the total data stored for those deltas will be 75GB (25GB + 25GB + 25GB).
- 75GB is 75% of 100GB, so the next backup job run on the device for this plan will be a full backup.

Since delta backups rely on the most recent full backup in order to be usable for a restore, this impacts the way data is stored in respect to revisions.
The following is an example of a plan configured to store the last seven revisions:
 Revisions 11/23 through 12/16 in the graph below represent the 7 available restore points per the revision settings, which is 200GB (25GB + 100GB + 15GB + 15GB + 15GB + 15GB + 15GB).
 Revisions 10/15 through 10/21 in the graph below represent the 3 additional revisions that would be stored to ensure that revision 11/23 would still be restorable (the last full backup run before revision 11/23, as well as the two other deltas in between), which is 150GB (100GB + 25GB + 25GB).
In this case, 350GB of storage would be used (200GB + 150GB). If backing up to the cloud, this is also the amount of storage you will be billed for.
7 Revision Plan
| Backup/Revision Date | 10/15 | 10/19 | 10/21 | 11/23 | 11/25 | 11/30 | 12/07 | 12/09 | 12/14 | 12/16 |
| Type (Full/Delta) | Full | Delta | Delta | Delta | Full | Delta | Delta | Delta | Delta | Delta |
| Size (GB) | 100 | 25 | 25 | 25 | 100 | 15 | 15 | 15 | 15 | 15 |
The reason you see more revisions than the 7 selected for this hypothetical plan, is because in order to restore the backup from 11/23, you must have the full backup from 10/15 as well as any other delta backups from that set. In the example above, since 10/15 is the full backup associated with 11/23 it, along with 10/19 and 10/21 must be kept in order for 11/23 to be a useable backup.
Run Image Backups on Demand
Backups run automatically per the schedule that you set when configuring a backup plan. However, if you'd like to run a backup ad-hoc on a device, there are two different ways to do so:
Option 1
- Navigate to the device you'd like to run a backup job on. Then, hover your cursor over the Backup button and select Run Backup Plan.

You are prompted to select which plan you'd like to run on the device. Only plans that are configured for this particular device (at the overall policy level or as a device-level override) are available to select. - Select a plan and then click Run.

Option 2
- Alternatively, from the device search grid, select the device that you would like to run a backup job for, and then hover your cursor over the Backup option and click Run Backup Plan.

You are prompted to select which plan you'd like to run on the device(s). Only plans that are configured for the particular device(s) are available to select. - Select a plan, and then click Run.
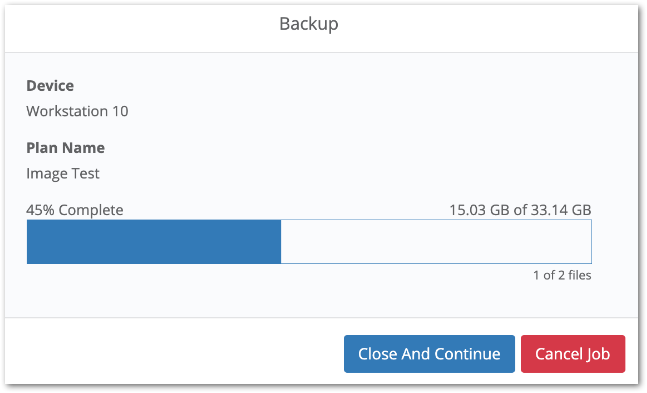
In either scenario, a Running and Activity notification displays on the device dashboard when a plan is selected to be run.
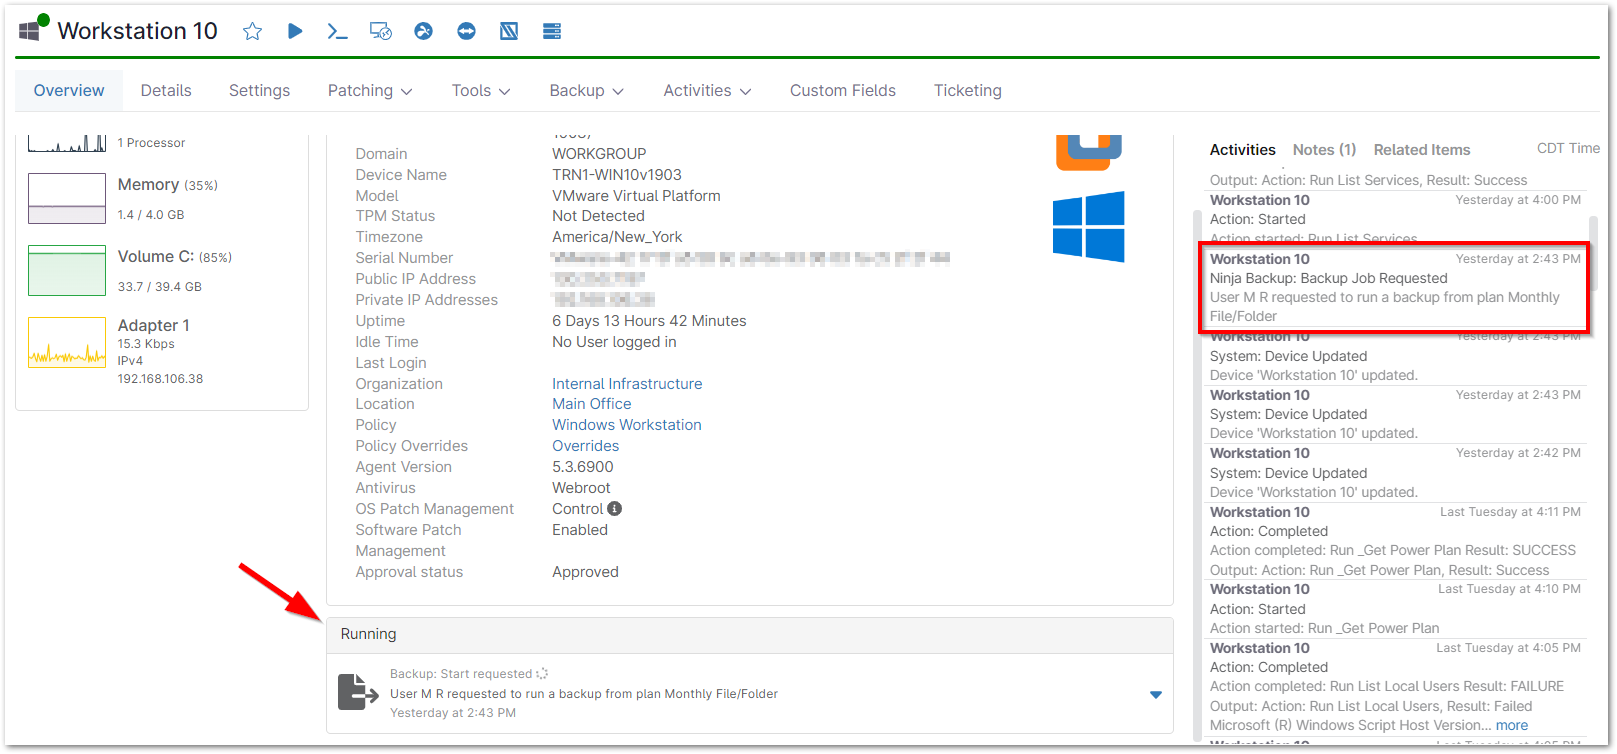
From the downwards-facing arrow on the right side of the job, you have the option to either Cancel the job, or view Details about its progress.
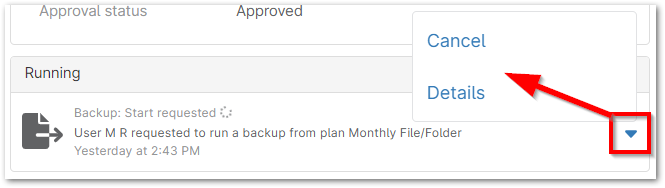
- Details shows you information about the overall percentage of completion, as well as the rate of completion for the current file being uploaded.