Already a NinjaOne customer? Log in to view more guides and the latest updates.

NinjaOne Patching: Apple macOS Patching Policy Setup

reviewed by Ian Crego

Topic

This article explains how to configure Apple macOS patch management policies in NinjaOne.

Environment

  • NinjaOne Endpoint Management
  • Apple macOS

Description

NinjaOne Patch Management allows you to create patching policies that automatically scan for and apply new operating system (OS) patches for your Apple macOS endpoints.

Windows Patch Management (NinjaOne, Inc., 01:32)

Select a topic to continue:

System Requirements

NinjaOne supports OS patching on macOS Catalina and above.

Important Considerations

Consider the following notes before proceeding:

  • Apple macOS patches are not applied until you reboot the machine.
  • Patches will remain pending until you reboot the machine.
  • If a reboot is required, you will be unable to install additional patches until you restart the machine. 

Patching Credential Requirements

Due to enhanced Apple security, a local account with volume owner (secure token) permissions is required to apply patches for macOS. You can add secure token permissions to either a standard user or an administrator account. Refer to Apple's Use secure token, bootstrap token, and volume ownership in deployments article (external link) to learn more. 

Configure the Default Credential

Follow these steps to configure your local account with volume owner permissions as the default credential:

  1. In NinjaOne, navigate to AdministrationOrganizations. Select an organization.
  2. Open the Credentials section and click Add Credential.
Figure 1: Add a credential for a NinjaOne organization (click to enlarge)
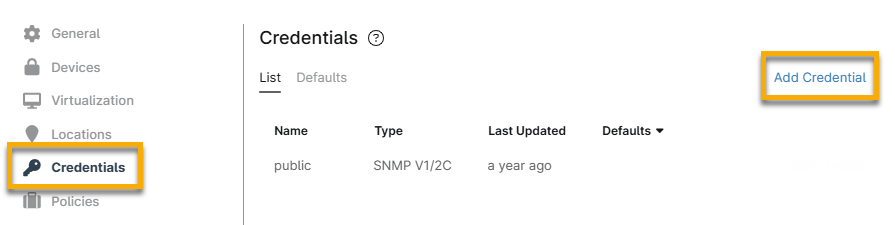
  1. In the New Credential dialog, select the credential type. The option you select from this drop-down menu will affect what type of data you are required to provide in the next steps.
Figure 2: Select credential type (click to enlarge)
  1. Enter the credentials for your local account with volume owner permissions, then click Add.
  2. Open the Defaults tab in the Credentials section. Click the Mac Script drop-down menu and select your new credential. When finished, click Save.
Figure 3: Select credential default for macOS scripts (click to enlarge)

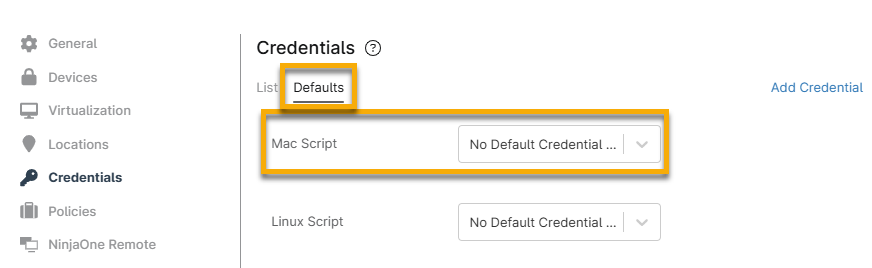
Activate and Configure macOS Patch Management

To activateOS patching for a macOS endpoint policy, perform the following steps:

  1. Navigate to Administration Policies Agent policies. Select a policy.
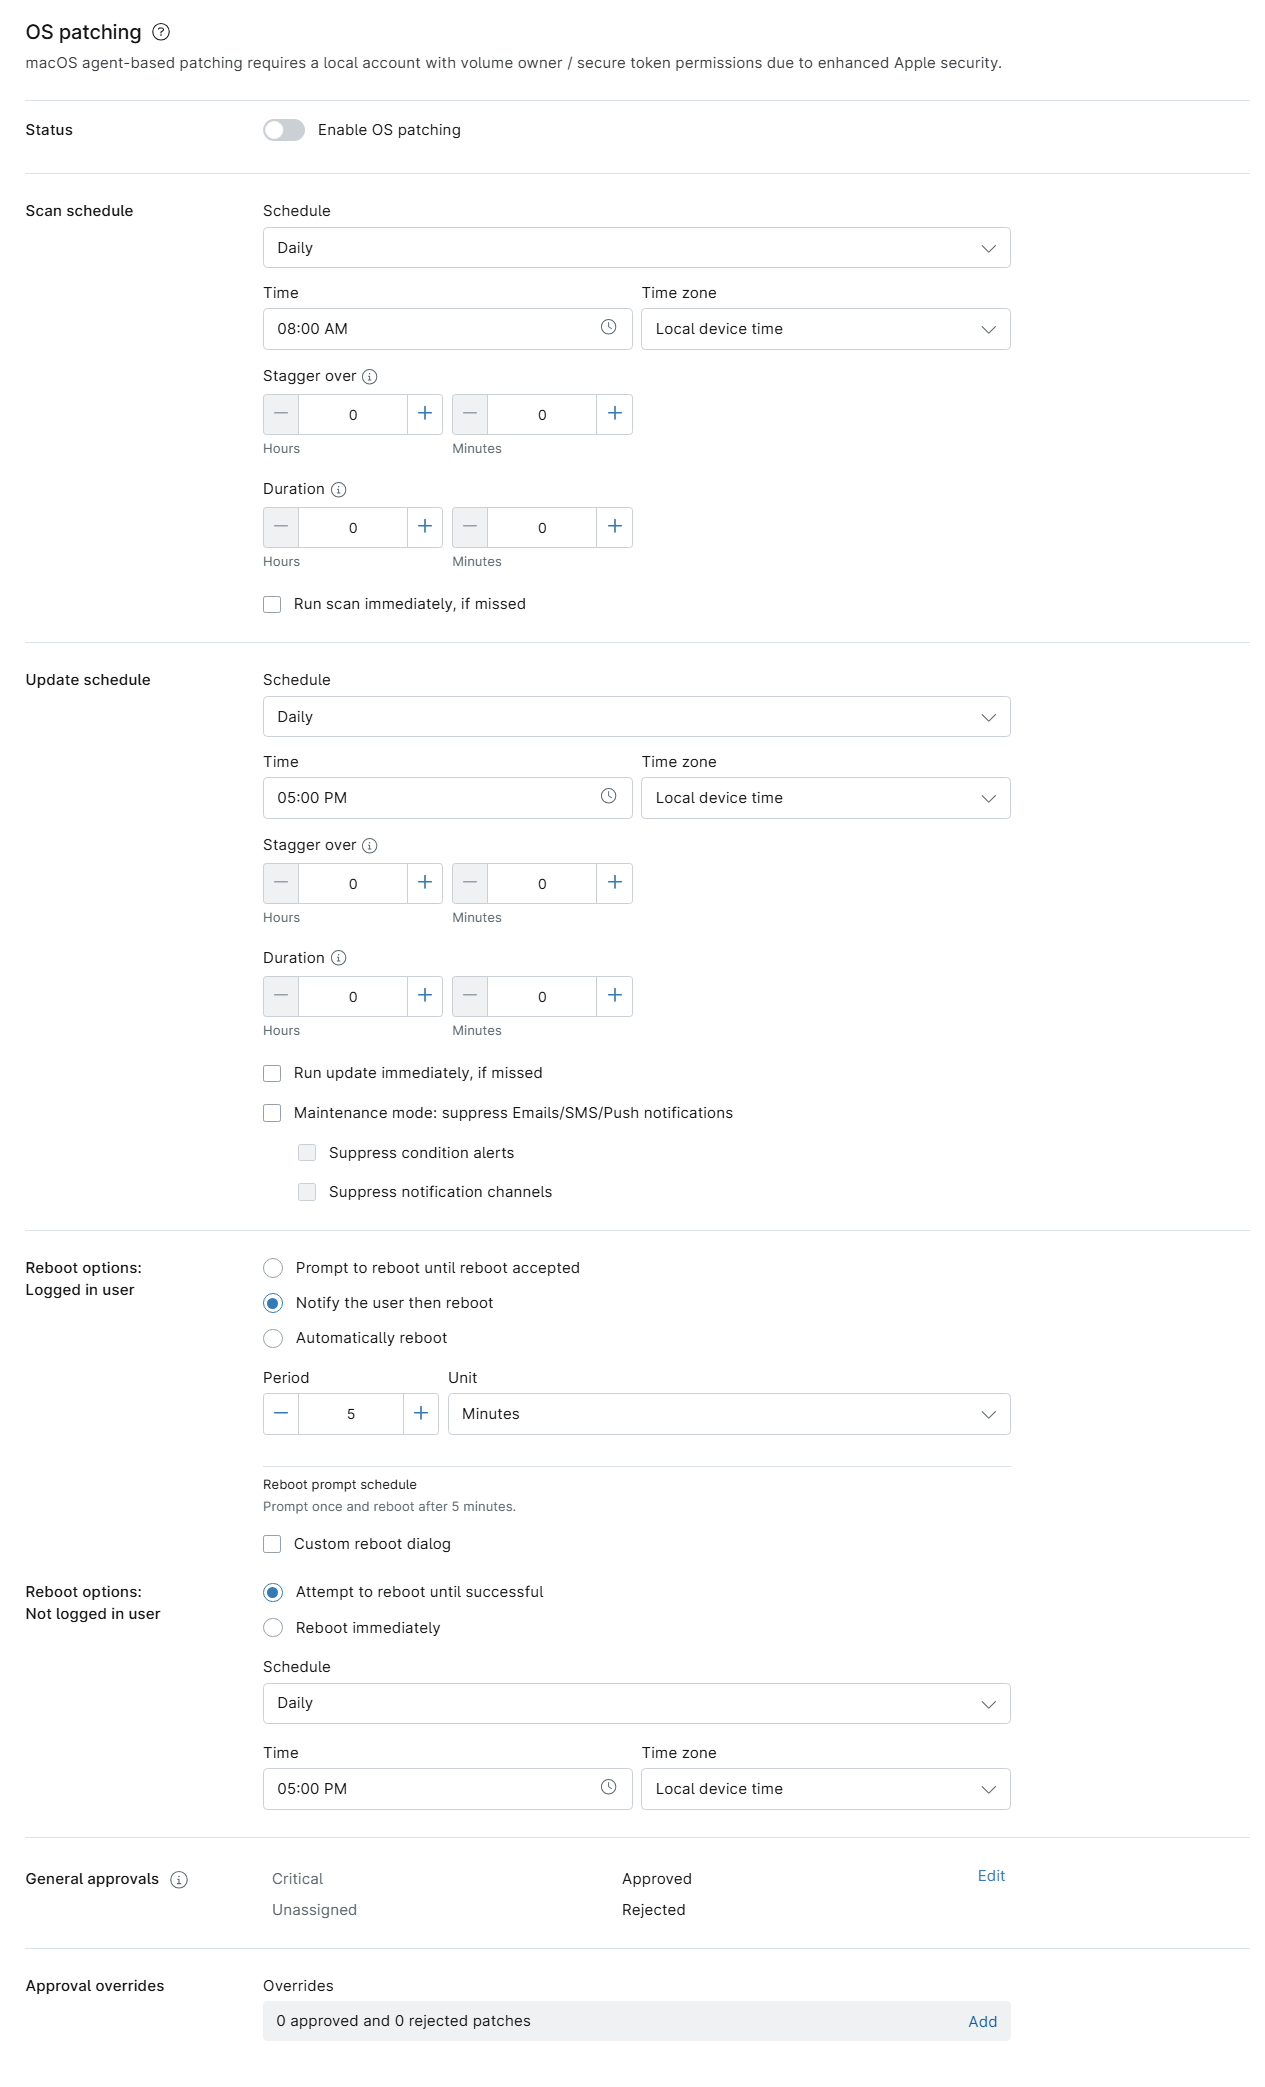
  2. Open the OS patching section and activate the Status toggle. 
Figure 4: OS patching → Enable OS patching (click to enlarge)
  1. Scroll to configure patching settings for the policy.

OS Patching Configuration Options Explained

You can configure the following software patch management parameters. When finished, click Save

SettingDescription
Scan schedule


Determine when the device will scan for available new patches. 

  • Schedule: Choose the scan or update frequency. Depending on your selected interval, choose the days, weeks, or months on which NinjaOne performs the action. NinjaOne only patches devices on the days chosen. If you select no days, NinjaOne will display an error message.
  • Time and Time Zone: Select the time of day and the appropriate time zone to perform the scan. By default, scans start at 8 A.M. local device time, and updates start at 5 P.M. local device time. These defaults only apply to new policies.
  • Stagger over: Set a stagger interval to distribute patch installation times across your devices and avoid simultaneous updates. For more information, refer to NinjaOne Patch Management: Load Balancing Patch Installations With the Stagger Feature.
  • Duration: Set the maximum amount of time for the agent to run an action before stopping. This setting applies to both scheduled and manually initiated actions.
  • Run scan immediately, if missed: Select this checkbox to run a scan immediately upon saving your settings.
  • Apply immediately: Select this checkbox to have the system apply patches immediately when it finds them in a scan. 
Update schedule

Specify when NinjaOne should apply the updates it finds when scanning. 

  • Schedule: Choose the scan or update frequency. Depending on your selected interval, choose the days, weeks, or months on which NinjaOne performs the action. NinjaOne only patches devices on the days chosen. If you select no days, NinjaOne will display an error message.
  • Time and Time Zone: Select the time of day and the appropriate time zone to perform the update. By default, scans start at 8 A.M. local device time, and updates start at 5 P.M. local device time. These defaults only apply to new policies.
  • Stagger over: Set a stagger interval to distribute patch installation times across your devices and avoid simultaneous updates. For more information, refer to NinjaOne Patch Management: Load Balancing Patch Installations With the Stagger Feature.
  • Duration: Set the maximum amount of time for the agent to run an action before stopping. This setting applies to both scheduled and manually initiated actions.
  • Run update immediately, if missed: Select this checkbox to run an update immediately.
  • Maintenance Mode: Suppress Emails/SMS/Push notifications: Select this checkbox to prevent NinjaOne from sending alerts caused by actions occurring during the update (such as device reboots). You can refine this setting by selecting the Suppress condition alerts and Suppress notification channels checkboxes. Refer to NinjaOne Platform: Maintenance Mode for more information. 
Reboot options

These settings let you specify reboot behavior after NinjaOne patches a device. You can configure settings for both logged-in and logged-out users. If an end user interacts with a reboot prompt, NinjaOne will display an activity in the device's Activity feed. Refer to Device and System Activity Notification Feed for more information.

Reboot options: Logged-in user:

You can configure the following settings:

  • Prompt to reboot until reboot accepted: NinjaOne will display an on-screen prompt instructing the user to reboot and allow the update to complete.
    • Use the scheduling options to determine the prompt frequency.
    • Select the Force reboot after checkbox to set the number of prompts before NinjaOne automatically reboots the device.
    • Select the Custom reboot dialog checkbox to replace the default prompt with your own text.
  • Notify the user, then reboot: Choose this option to send the user a notification, then automatically reboot the machine and complete the update. Refer to NinjaOne Platform: Notification Channels for more information. Use the scheduling options to determine how long NinjaOne should wait before sending the notification and triggering the reboot. NinjaOne will display your chosen prompt schedule in this section. 
  • Automatically reboot: This option tells NinjaOne to reboot the device after the update installation is complete. Use the scheduling options to determine how long NinjaOne should wait before rebooting the device.
  • Time Period and Unit: If you selected Prompt the user to reboot until reboot accepted, use these fields to specify the prompt frequency. Select the checkbox to force a reboot after a specific number of prompts.
  • Custom Reboot Dialog: Select this checkbox to add custom text to the reboot prompt.

Reboot options: Not logged in user:

You can configure the following settings:

  • Attempt to reboot until successful: NinjaOne will keep trying to reboot the device, even if reboots fail, until it completes the action. Use the scheduling options to determine the reboot attempt frequency. 
  • Reboot immediately: NinjaOne will reboot the device as soon as the update is ready.
  • Schedule: Use the drop-down menu to choose the prompt frequency.
  • Time and Time Zone: Select the time of day and appropriate time zone to perform the reboot. 
General approvals

Configure automatic patch approval settings. You can choose to Approve,Reject, or require Manual approval for patches in two categories:

  • Critical: Patches associated with a known CVE
  • Unassigned: All other patches
Approval overrides

Set NinjaOne to override your patching policy for specific patches. Click the link to open the Overrides list, then search for the patch name. Use the second drop-down menu to select whether to approve or reject the patch.  

Examples of scenarios in which patches would appear in the Overrides section:

  • If the category approval is set to Manual, and you then approve or reject the patch for the policy.
  • If the category approval is set to Approve, and you then manually reject the patch for the policy.
  • If the category approval is set to Reject, and you then manually approve the patch for the policy.
Figure 4: OS patching configuration settings (click to enlarge)

Run a macOS Patch Cycle on Demand

You can run a patch scan and installation cycle on a macOS device with patch management activated at the policy level at any time by following these steps:

  1. From Administration Policies, click the number hyperlink in the Devices column.
  2. Click the device name to navigate to the device dashboard.
  3. Move your mouse cursor over the Run icon, then use the drop-down menus to select OS Update Scan or OS UpdateApply. You can also perform this action from the Devices search page or the global search tool.
Figure 5: Action → Patching → OS scan (click to enlarge)

Additional Resources

Refer to the following articles to learn more about macOS patching in NinjaOne:

FAQ

Next Steps