Topic
Learn how to navigate and manage users on the End users dashboard in NinjaOne.
Environment
NinjaOne Endpoint Management
Description
The End users dashboard focuses on end users and provides actions for management and configuration.
- Track and manage end users more effectively with key user behavior and device usage information.
- Improve troubleshooting and support by having user-specific insights.
- Gain visibility into end-user activity by providing a detailed report similar to the existing device dashboard.
Select a category to learn more:
Navigation
To access this dashboard, click End users in the left navigation pane.
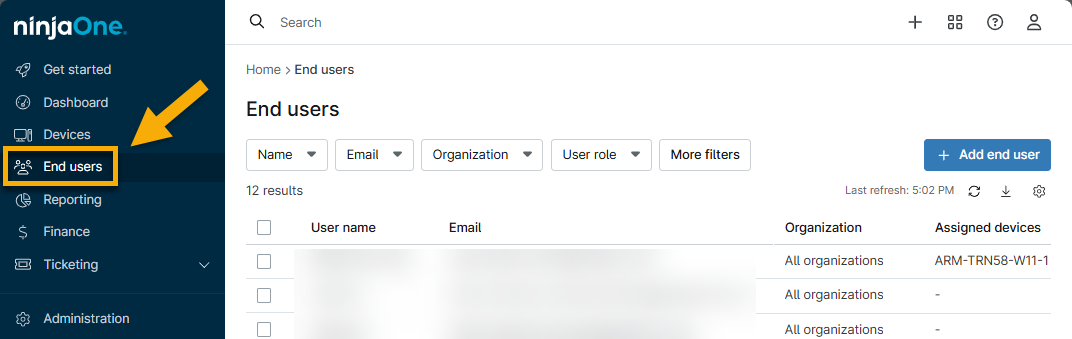
Figure 1: Access the End users dashboard
Filter the Table
Use the drop-down menus at the top of the page to filter the data.
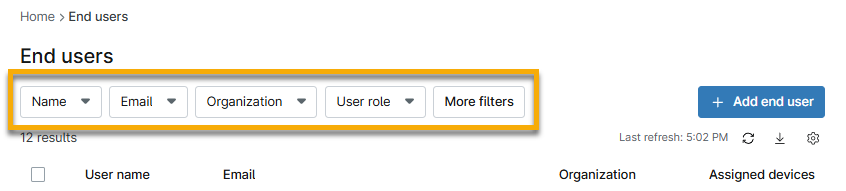
Figure 2: End users dashboard filters
The drop-down menus provide a search field that you can use to type a complete or partial query. If you are searching for multiple users, you can also offer multiple keywords, and the filter will return all matches that contain any of these keywords.
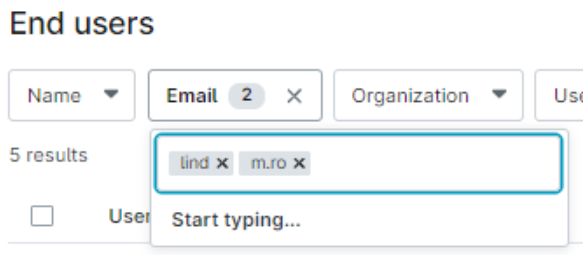
Figure 3: End users dashboard filter with multiple selections
Manage Table Properties
By default, the End users dashboard displays the following columns:
- User name
- Organization
- Assigned devices
- User role
- Source
You can click the gear icon (table settings) in the top-right corner to add or remove columns. You can add the following columns:
- User access (enabled or disabled)
- Email invitation (registered or expired)
- Phone number
- Password reset date
- Invitation accepted date
- MFA status (enabled or disabled)
Actions
You can perform the following actions on the End users dashboard. Click the hyperlink to view more information or instructions:
- Create an end user account.
- Assign a device or organization.
- View end user information and activity.
- Add related items.
- Edit end user details.
- Add custom fields.
- Resend invitation (if status is pending)
Create
From the End users dashboard, click Add end user. Follow the instructions from End User Sharing and Device Access.

Figure 4: Add end user
Assign
Select the checkbox next to the end user's name and then click the Actions button.
If you select only one end user, you have an option to assign a device or organization access. If you select multiple end users, you have an option to assign organization access only.

Figure 5: Assign end user to an organization or device
View
Click the hyperlink in the User name column to view the user dashboard. From here, you can review their personal information, devices, recent activity, and pending tickets.
- Devices:
- Assigned includes all devices directly assigned to this end user. You can update these by navigating to the Device dashboard → Settings → Edit for Assigned User or by using the Action button described in the previous section.
- Device access shows all devices that the user can access via remote tools. You can add or remove these from the end user account configuration page in the Devices section.

Figure 6: End users dashboard Devices widget
- Ticketing shows the number of new, open, or waiting tickets with the user assigned as the requester.
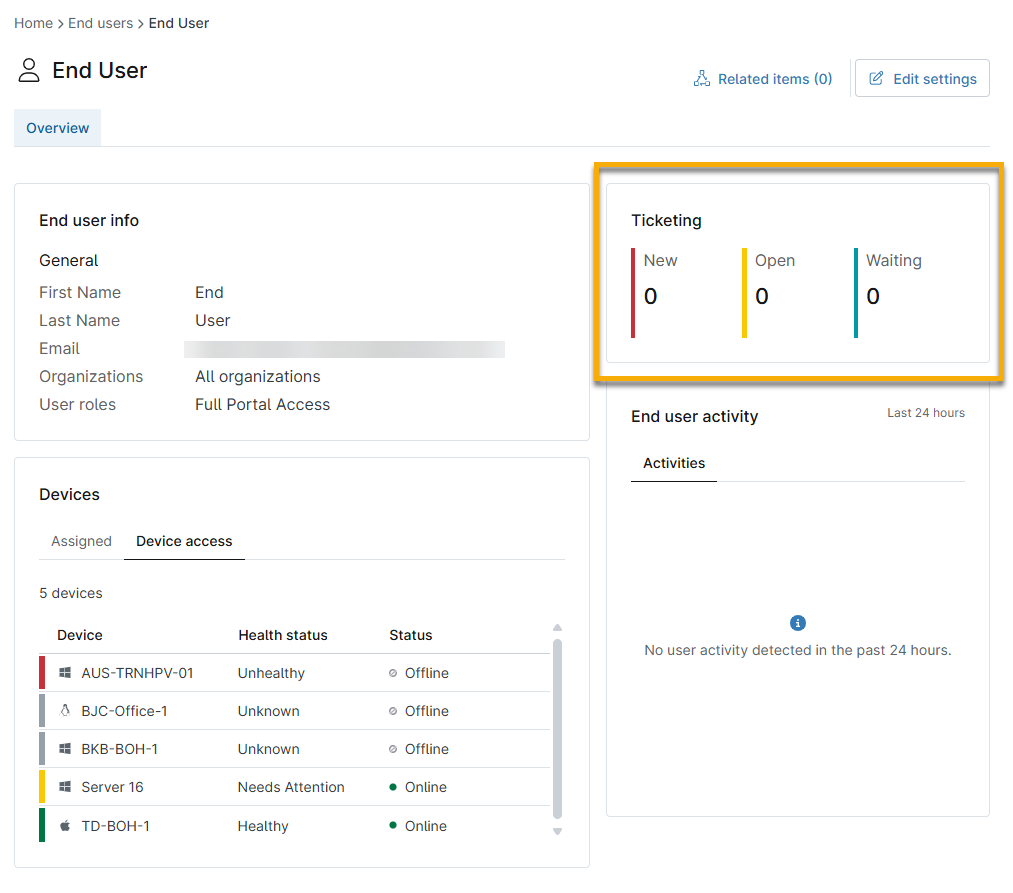
Figure 7: End users dashboard Ticketing widget
- End user activity shows activity from the last 24 hours. Examples of captured activity include:
- Log in or log out
- Updated user details (such as phone number, password, authentication, and others)
- Remote access
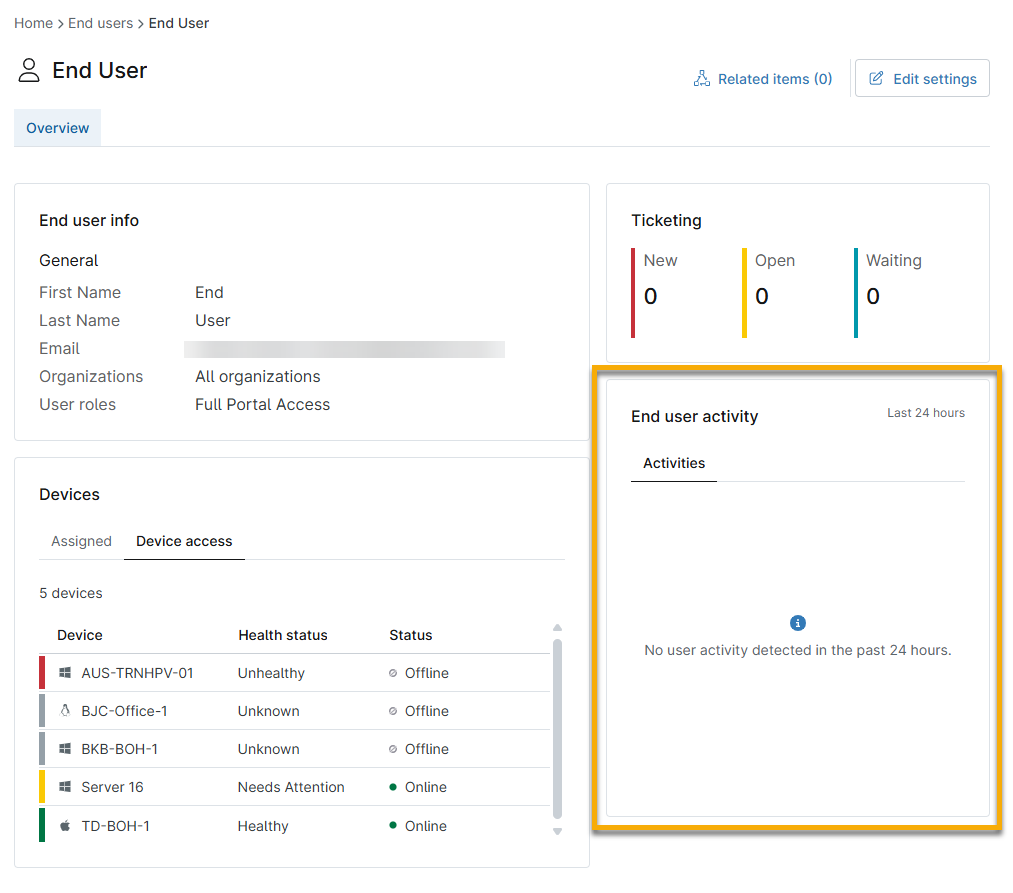
Figure 8: End users dashboard End user activity widget
Related Items
If you added the end user as a related item on a document, the associated articles will link under the Related Items hyperlink on the end user detail page. Use this tool to navigate to the related article.

Figure 9: End users dashboard Related items
Edit Settings
Click Edit settings in the top right corner to update end user details, which includes all the information configured when their account was first created, such as:
- General information (basic details, display, security)
- Device assignment
- Role assignment
- Permissions: OS connections, NinjaOne Backup, NinjaOne Ticketing

Figure 10: Edit settings
Add Custom Fields
Open the Custom tab to view, export, or edit custom fields. To learn more about creating custom fields, refer to Custom Field Setup.

Figure 11: Custom fields
Additional Resources
Refer to the following resources to learn more about user management in NinjaOne: