Topic
This article shows you how to add an Android device to NinjaOne and enroll it in our mobile device management solution.
Environment
NinjaOne Mobile Device Management (MDM)
Description
- Important Notes
- Android Usage Types: Personal Profile vs Work Profile
- Adding a Mobile Device to NinjaOne
- Registering a Device
- Additional Resources
Important Notes
- The minimum Android OS version supported for MDM is 8.0.
- The NinjaOne Assist Mobile App will be installed on all Android devices at Enrollment time. This is done to satisfy the permissions required if/when the geolocation feature (beta) is enabled. Once the app is installed on the device, it leverages location services that are enabled at the policy level. The end user does not have to take action other than installing their "company" apps when prompted during device enrollment.
- The Android "For work" Usage Type setting (i.e., enrollment type) should be used only if the company has ownership of the device and the device is out of the box or reset to factory defaults.
- When enrolling a personally owned device, NinjaOne (or any MDM) has limited access to device information and actions. This includes data such as serial number, International Mobile Equipment Identity (IMEI), and phone number information.
- When enrolling a fully company-owned device, NinjaOne has more information about the device, including its serial number and network-related information.
- NinjaOne MDM does not have access to personal files or photos, whether the device is company-owned or personally owned.
- When enrolling devices, system apps are not automatically installed/available. Certain device manufacturers may include gallery apps as a system app that does not transfer to the device after enrollment; however, you can modify the QR code to allow for all system apps to be present, or you can deploy a different app, such as Google Photos or Gallery Go at the organization level—this can be managed via Google Play and updated to allow the user to see photos.
- The enrollment token has no expiration date and can be reusable with different devices.
Android Usage Types
When you add a mobile device to NinjaOne, you can categorize the usage/enrollment type using three options.
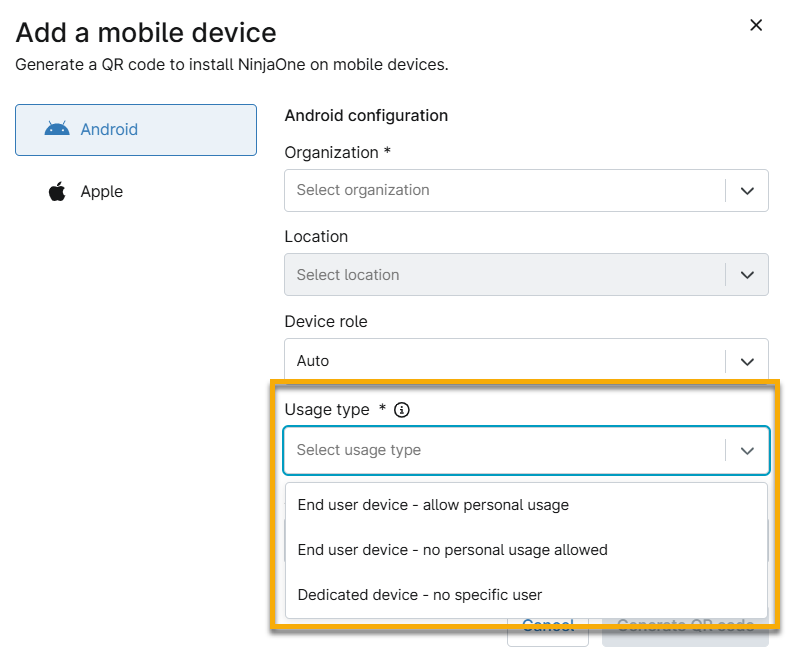
Usage types define how a device is enrolled. The difference between these two usage types is outlined below.
- Personal usage = "Personally Owned". A device that is personally owned and is typically considered a BYOD (bring your own device) enrollment. NinjaOne (or any MDM) has limited access to device information and actions.
- The device is expected to be enrolled from the Android Device Policy application or a link on an already set up device (one that has previously completed the setup wizard and is in active use). This will then allow an organization to manage the applications and data within the work profile alone with no visibility or management of the personal (or parent) profile possible.
- No personal usage allowed = "For work" or "company owned". A device that is owned by an employer or company but personally enabled (COPE). This type enables platform-level separation of work apps and data. NinjaOne has more information about the device including serial number and network related information. Enterprises have control over data and security policies within the work profile. Outside the work profile, the device remains suitable for personal use.
- For Android devices, this must be blank, out of the box, or you will receive an error message when attempting to add the device to NinjaOne.
- During the set-up process, the user of the device will also be prompted to add their own accounts and information in addition to the configured work profile. The organization has some control over the personal (parent) profile for things like camera, screenshots, and other DPL policies, however, still maintains limited visibility of anything outside of the work profile.
- Dedicated device = "No specific user." This usage follows the logic of the "no personal usage allowed" with the added specification that the device is not associated with a single user, and thus both personal usage and corporate identity authentication are not expected.
- For additional details see the dedicated device provisioning guide.
Adding a Mobile Device to NinjaOne
After you enable the Android Enterprise device management.
- Enable enrollment for Android, if you have not done so already.
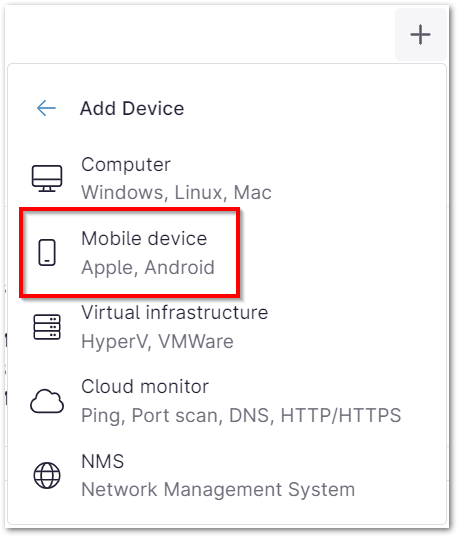
- Click on the plus icon (+) at the top right corner of the screen and select Device.

- Select Mobile device.
Select Android and then select the Device Role. The default policy is automatically applied unless manually changed.
Important Note: This field only displays if there is more than one Android device role set up and the Advanced Installer Option is ON.- Use the available fields to select the device's organization and location.
If the device you are adding is an Android and has existing data on it, select "Personal usage" from the Usage type drop-down. If you do not and attempt to enroll a device with data on it, you will receive an error message.
- This setting can also be used for personal devices that have a sandboxed work profile but allows the user ultimate control over the device. Data from personal usage will not be accessible but the device can be fully controlled and reset if/when needed in this model.
If you are adding a blank, out of the box device or are resetting a device that is to be used for work purposes only, do not select "Personal usage" from the Usage type drop-down.
Important Note: If you attempt to enroll a device as "No personal usage allowed" and that device has existing data on it, you will receive an error message notifying you to contact an administrator. The Android "No personal usage allowed" Usage Type setting should be used only if the company has ownership of the device, and the device is out of the box or reset to factory defaults.
Device usage defines whether the device is to be used for personal and work, or for work only. "No personal usage allowed" usage requires full device management and allows for actions like full device wipe and rebooting (which are not possible for personally owned devices).
- Click Generate QR code and use the QR code displayed on the screen to enroll your device. There are a few options to do this:
- Devices with Data (not reset)—Search for and open the Android Policy application on a working device (in the Play Store) and then use the app to scan the QR code on the NinjaOne screen. A successful outcome will prompt the user to complete profile setup.
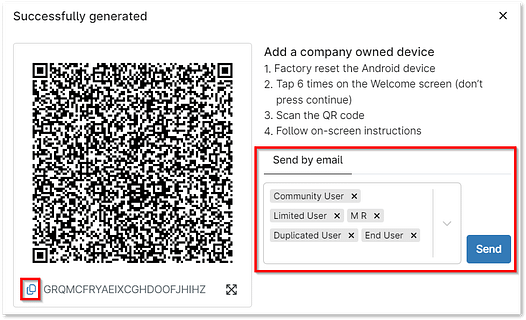
- Devices Recently Reset to Factory Defaults—Tap the welcome screen of a device six (6) times—this should either activate the camera or allow you to download an app that can scan the QR code.
- Use the text field on the NinjaOne screen to send the QR code via email; you can add multiple email addresses. You can also copy the QR provisioning payload to your computer clipboard by clicking the copy icon below the QR code (bottom left). This method allows you to adjust the payload according to your needs, or extract the information required (i.e., enrollment token ID) accordingly.
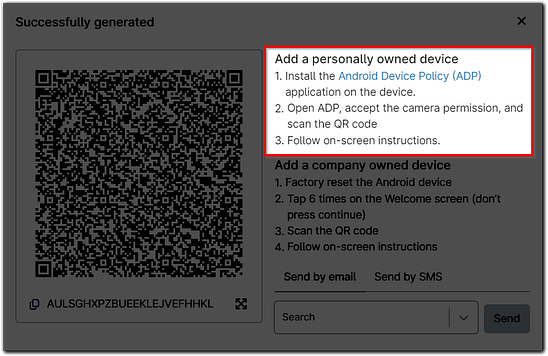
- For personally owned devices with a work profile, you have the extra option of sending the QR code via SMS. Before you can send or scan the QR code, however, you must install the Android Device Policy (ADP) as outlined in the onscreen instructions. This is only required for personal devices because company owned devices automatically accept runtime permissions upon enrollment.
- For personally owned devices with a work profile, you have the extra option of sending the QR code via SMS. Before you can send or scan the QR code, however, you must install the Android Device Policy (ADP) as outlined in the onscreen instructions. This is only required for personal devices because company owned devices automatically accept runtime permissions upon enrollment.
Registering a Device
Once you scan the QR code or click the link provided from SMS or email, you must finish the rest of the steps on the physical device. Your experience may vary depending on:
Out-of-the-Box
- Tap the welcome screen six (6) times—this should either activate the camera or allow you to download an app that can scan the QR code.
- If you are not already, you are prompted to connect to wi-fi after scanning the QR code. Once connected, tap Next on the following screen.
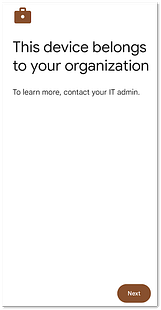
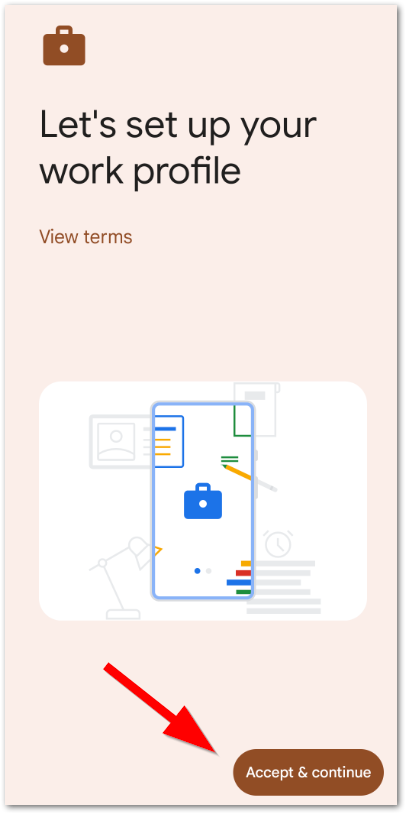
- Tap Accept & Continue to set up the work device.
- Tap Next on the following screen; the device may take a few minutes to update.
- Set your Google Services policies, then tap Accept.

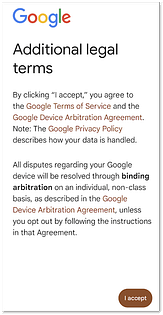
- Tap I accept on the Additional legal terms screen.
You can now either skip or go through your device tutorials; the device is successfully added to NinjaOne, and you will see it on the organization dashboard.
You can now set up policy settings for the device.
Existing Data Device
- On the physical device, open the Google Play Store and search for "Android Device Policy" per the steps on the QR code modal.
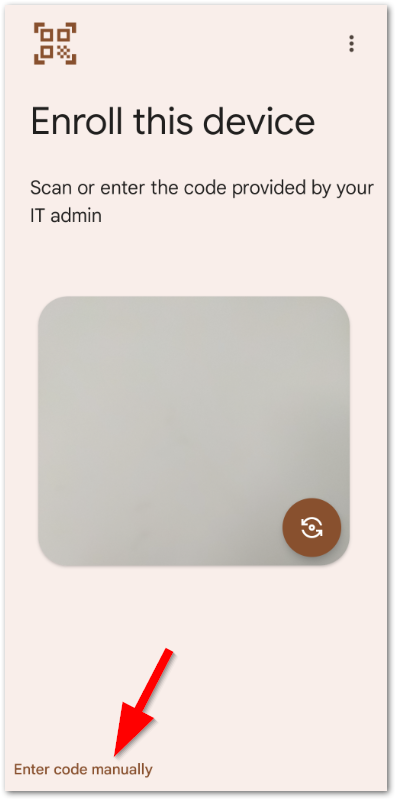
- Download and open the ADP app on the device; it should automatically generate the scan tool after you accept the camera permission. Scan the QR code. If you have trouble scanning, you can use the Enter code manually prompt at the bottom of the device screen.
- On the next screen, click Accept & Continue.
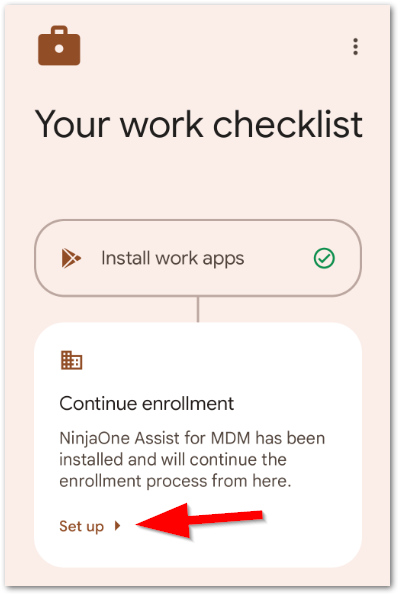
- On the next screen, tap Install to continue enrollment.

- Once the work apps assigned to your device are installed, click Set up.
The last screen will confirm that the Application setup is complete. When you close the policy app, you will see the apps assigned to the device
The device is successfully added to NinjaOne, and you will see it on the organization dashboard. 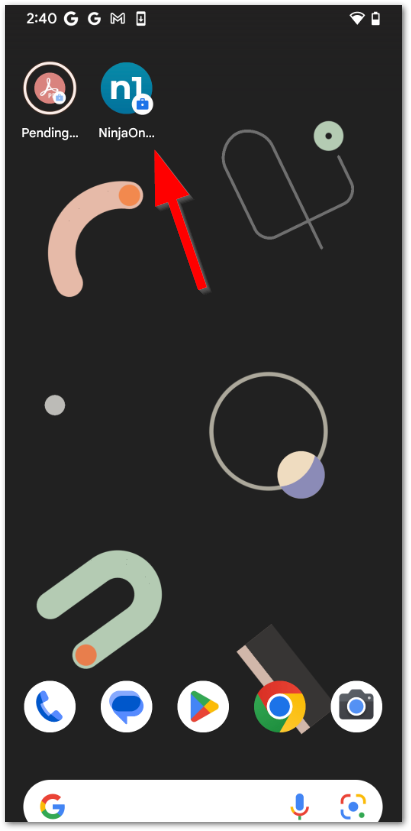
You can now configure policy settings for the device.