Topic
This article explains how to set up multi-tenancy for your CrowdStrike integration in NinjaOne if you use Falcon Complete.
Environment
- NinjaOne Integrations
- CrowdStrike Falcon Complete
Description
Falcon Complete is a managed detection and response (MDR) service offered by CrowdStrike. NinjaOne supports provisioning Falcon Complete companies for CrowdStrike multi-tenancy, and this article provides the required workflow for configuration.
NinjaOne leverages CrowdStrike Flight Control APIs (application programming interfaces) to create a multi-tenancy structure for the integration. The multi-tenancy feature enables a three-tiered architecture where companies can transact as their own parent and create and manage their customers.
To begin, refer to NinjaOne and CrowdStrike: Multi-tenancy Integration and complete the section titled Enable Multi-tenancy.
Then, perform the following steps:
- Obtain Falcon Complete Credentials
- Map NinjaOne Organizations to CrowdStrike Customers
- Manage Your Mapping Configurations
- Additional Resources
Obtain Falcon Complete Credentials
- Log in to your account in CrowdStrike.
- Change the scoped Customer ID (CID) in the top right corner of the page to one suffixed with -FC parent. You will need to generate an API client for this CID.

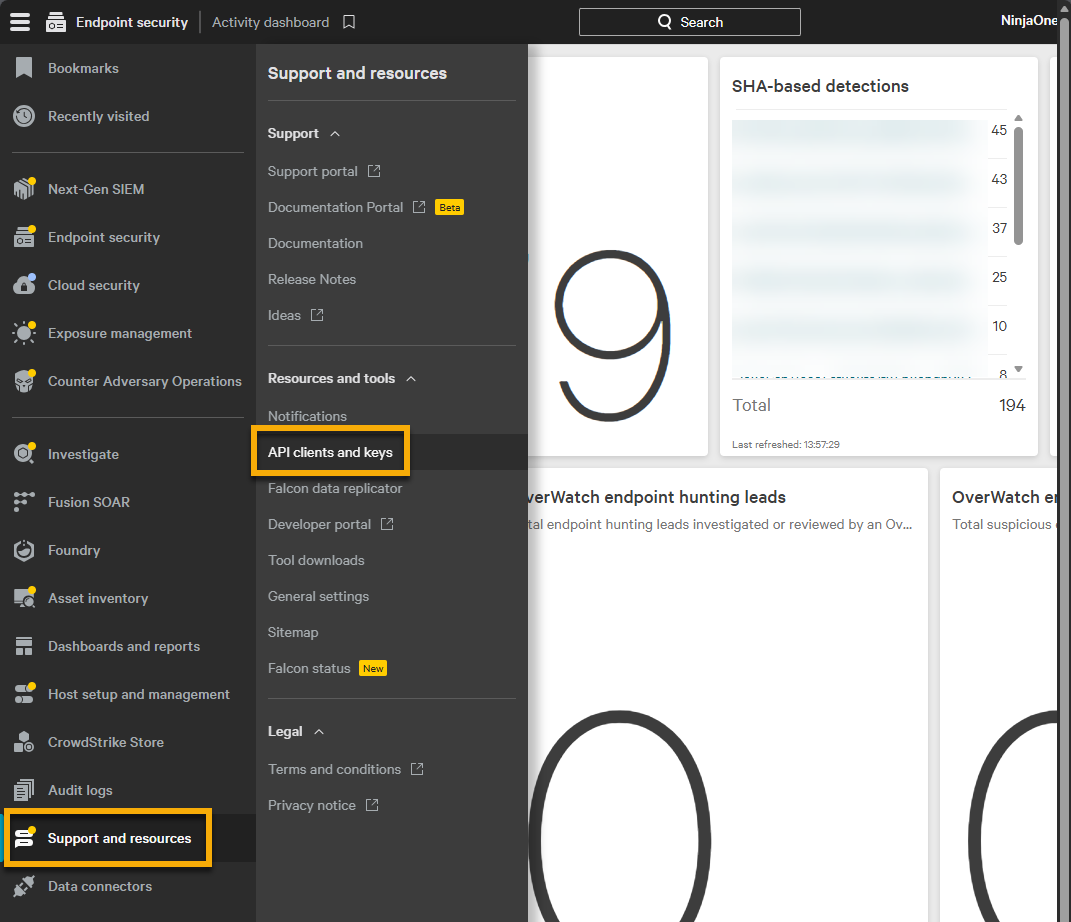
- Select Support and resources, and then click API client and keys to generate a new set of partner account API credentials.
- Click Create API client. Provide a unique identifier for the client name and use the following table to complete the applicable fields.
| Scope Name | Read Access | Write Access |
|---|---|---|
| Alerts | Required | |
| Hosts | Required | Required |
| Sensor Download | Required | |
| Sensor Usage | Required | |
| Flight Control | Required |
- Click Create.
Map NinjaOne Organizations to CrowdStrike Customers
The "mapping" process associates NinjaOne organizations with CrowdStrike CIDs, ensuring the proper device group or policies are set and reporting in NinjaOne. Only system administrators and technicians with permissions enabled for System → Configure CrowdStrike will be able to manage mapping settings.
When NinjaOne obtains the CrowdStrike-enabled policy, this includes the Custom ID Checksum (CCID) for the specified child CID and enables the correct CCID to be tagged during installation for each host.
To initiate the mapping process, perform the following steps:
- From the CrowdStrike configuration page in NinjaOne, open the Mappings tab and click Add customer.
- Complete all required fields and select Falcon Complete from the MSSP bundle drop-down menu. Click Create.
NinjaOne will validate the information to ensure that no duplicate or invalid data is provided (usually, this can take approximately 30 minutes to complete).
- Refresh the CrowdStrike configuration page in NinjaOne. You should notice a banner stating that Falcon Complete credentials need to be provided.
- Click the link and input the credentials that you generated in the previous section.
Once you provide valid credentials, you can map users to their previously created Falcon Complete company.
Manage Your Mapping Configurations
In addition to adding the mapping configurations, you can remove and confirm pending operations from the CrowdStrike Mappings page.
There are three statuses for mapped configurations:
| Status | Definition |
|---|---|
| Unmapped | There is no association between the NinjaOne organization and any CrowdStrike customer. If you set an antivirus policy associated to this NinjaOne organization to use CrowdStrike, NinjaOne will use the default CCID for installation. |
| Needs confirmation | Using methodology to find the closest matching name, we will make an estimation as to which CrowdStrike customer could be associated to this NinjaOne organization. This organization will still be treated as unmapped, which means that if an antivirus policy associated to this NinjaOne organization is set to CrowdStrike, NinjaOne will use the default CCID for installation. |
| Mapped | There is an association between the NinjaOne organization and a CrowdStrike customer. If you set an antivirus policy associated to this NinjaOne organization to use CrowdStrike, NinjaOne will obtain the CCID associated to the mapped customer for installation. |
To manage your mappings, select an option to learn more:
Add Mapping
To add mapping for your customers, select the checkbox next to one or more unmapped organizations. Click the Add mapping button that appears after you select the checkbox.
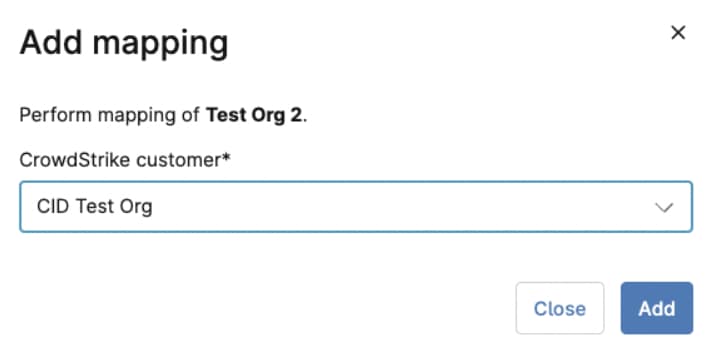
In the Add mapping configuration modal, select the CrowdStrike customer from the drop-down menu and click Add.
Remove Mapping
Once a mapping has been confirmed, you can remove it by selecting the checkbox next to the organization name and then clicking the Remove mapping button. The Remove mapping modal will display, and you must click Remove to confirm.
Confirm Pending Operations
If a mapping status reflects a Needs confirmation status, select the checkbox next to the organization name and then click Confirm mapping.
When the Confirm selected mapping modal displays, ensure the correct CrowdStrike customer is populated and click Confirm. If the modal shows the incorrect customer, you can use the drop-down menu to select a different one.

Additional Resources
Refer to Integrations and Third-Party Apps: Resource Catalog to learn more about third-party applications that can integrate with NinjaOne.