Topic
This article discusses how to set standard, custom, and SharePoint retention policies in NinjaOne Archiver.
Environment
NinjaOne Backup
Description
Enabling Archiver
You must enable Archiver in the SaaS backup portal. You cannot enable this feature from the NinjaOne portal or the Ninja Integration.
- Log into your environment and navigate to the organization you wish to back up.
- Click the ellipsis (three dots) icon and select View Details.
- Click Subscriptions, then choose SaaS Archiver from the drop-down menu.
- Choose your subscription plan and click the Update button.
- Click Yes, continue to confirm the subscription update.
On logging in after converting from standard SaaS Backup to Archiver, you will see an alert that you have two domains. This is because NinjaOne is backing up two test domains as part of the SaaS Backup support environment
After enabling your Archiver account, the system will prompt you to set a retention policy.
Setting a Standard Retention Policy
The standard retention policy applies to everything in the organization, including email, OneDrive, calendars, tasks, and more.
- On the Retention Policy page, click Create New. The Retention Policy Configuration modal will open.
- Name the policy, then click the For drop-down menu and select All.
- Use the Retention Period options to specify a retention period, or click Set to Unlimited for unlimited retention.
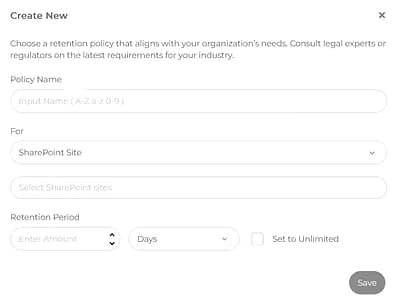
Figure 1: The Retention Policy Configuration Modal (click to enlarge)
Setting a Custom Retention Policy
You can create multiple retention policies for different departments or accounts within your organization, granularized down to specific teams or individual accounts. This lets you segment accounts requiring specified retention periods for compliance requirements, while still keeping your chosen retention periods for main line-of-business accounts.
To create a custom retention policy:
- On the Retention Policy page, click Create New. The Retention Policy Configuration modal will open.
- Name the policy, then click the For drop-down menu and choose the policy's coverage area (Department or Email).
- Use the Retention Period options to specify a retention period, or click Set to Unlimited for unlimited retention.
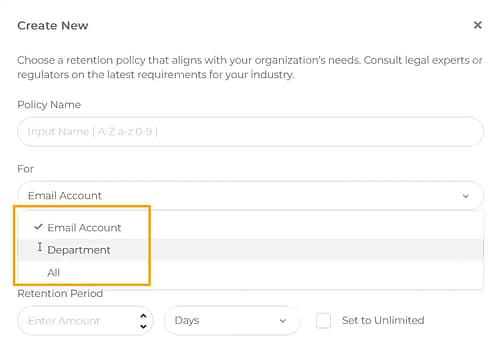
Figure 2: The Retention Policy configuration options (click to enlarge)
Setting a SharePoint Retention Policy
Archiver lets you create a separate policy specifically for backing up SharePoint.
- On the Retention Policy page, click Create New. The Retention Policy Configuration modal will open.
- Name the policy, then click the For drop-down menu and select SharePoint.
- Select the SharePoint Sites you wish to include in the policy.
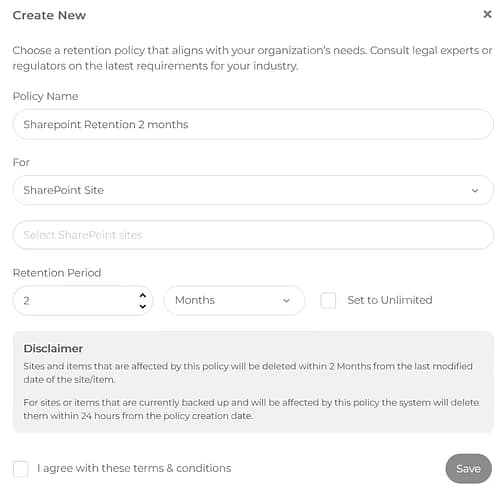
Figure 3: SharePoint Retention configuration options (click to enlarge)