This article explains how to configure Apple macOS patch management policies in NinjaOne.
Environment
NinjaOne Endpoint Management
Apple macOS
Description
NinjaOne Patch Management allows you to create patching policies that automatically scan for and apply new OS patches for your macOS endpoints.
This feature is in early access. During this development phase, feel free to contact NinjaOne Support or your account manager to share feedback and request enhancements for future releases.
NinjaOne supports OS patching on macOS Catalina and above.
Important Considerations
macOS patches are not applied until you reboot the machine.
Patches do not remain pending until you reboot the machine.
If a reboot is required, you will be unable to install additional patches until you restart the machine.
macOS Patching Credential Requirements
Due to enhanced Apple security, a local account with volume owner (secure token) permissions is required to apply OS patches. You can add secure token permissions to either a standard user or an administrator account. Refer to Apple's Use secure token, bootstrap token, and volume ownership in deployments article (external link) to learn more.
Configuring the Default Credential
Follow these steps to configure your local account with volume owner permissions as the default credential:
In NinjaOne, Navigate to Administration → Organizations.
Figure 1: Administration → Organizations (click to enlarge)
Place your cursor over the organization in the Organizations list, then click the ellipsis (three dots) icon when it appears and select Edit from the drop-down menu.
Figure 2: Organizations → Edit (click to enlarge)
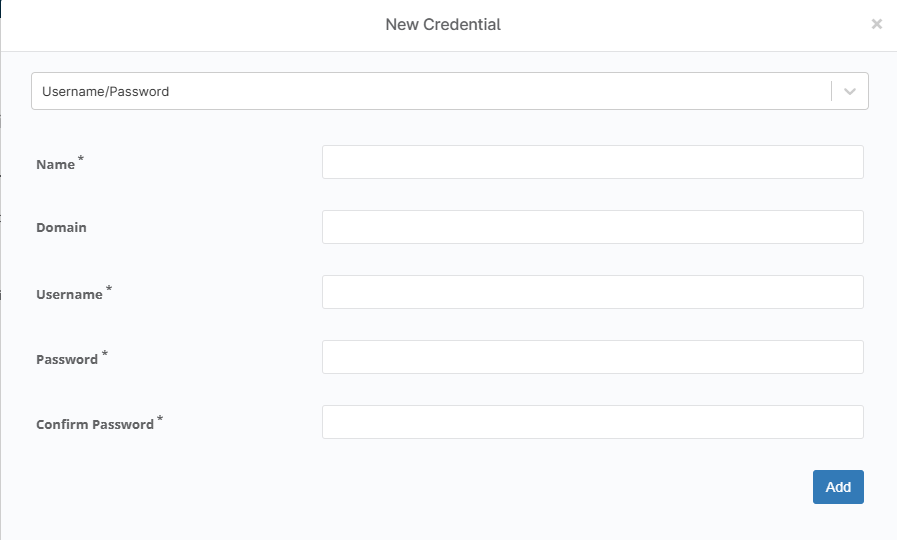
Select Credentials from the list of organization management options, then select the Defaults tab and click Add Credential.
The policy's management page will open. Click the OS patching option, then activate the Status toggle.
Figure 7: OS patching → Enable OS patching (click to enlarge)
Configuring Patch Management on Your Policy
You can configure OS patch management from the OS patching page.
Figure 8: OS patch management configuration options (click to enlarge)
OS Patching Configuration Options Explained
You can configure the following software patch management parameters. When finished, click Save.
Setting
Description
Scan schedule
Determine when the device will scan for available new patches.
Schedule: Use the drop-down menu to choose the scan frequency.
Days: If your scan interval is longer than daily, select the days of the week on which the system should perform the scan. Devices are patched only on the days chosen. If you do not select any days, the system will display an error message.
Time and Time Zone:Select the time of day and the appropriate time zone to perform the scan. By default, scans start at 8 A.M. local device time, and updates start at 5 P.M. local device time. These defaults only apply to new policies.
Duration: Set the maximum amount of time for the agent to run an action before stopping. This setting applies to both scheduled and manually initiated actions.
Run scan immediately, if missed: Select this checkbox to run a scan immediately upon saving your settings.
Apply immediately: Select this checkbox to have the system apply patches immediately when it finds them in a scan.
Update schedule
Specify when NinjaOne should apply the updates it finds when scanning.
Schedule: Use the drop-down menu to choose the update frequency.
Days: If your update schedule is longer than daily, select the days of the week on which NinjaOne should perform the update. Devices are patched only on the days chosen. If you do not select any days, the system will display an error message.
Time and Time Zone: Select the time of day and the appropriate time zone to perform the update. By default, scans start at 8 A.M. local device time, and updates start at 5 P.M. local device time. These defaults only apply to new policies.
Duration: Set the maximum amount of time for the agent to run an action before stopping. This setting applies to both scheduled and manually initiated actions.
Run update immediately, if missed: Select this checkbox to run an update immediately.
Maintenance Mode: Suppress Emails/SMS/Push notifications: Select this checkbox to prevent NinjaOne from sending alerts caused by actions occurring during the update (such as device reboots). You can refine this setting by selecting the Suppress condition alerts and Suppress notification channels checkboxes. Refer to NinjaOne Platform: Maintenance Mode for more information.
Reboot options
These settings let you specify reboot behavior after NinjaOne patches a device. You can configure settings for both logged-in and logged-out users. If an end user interacts with a reboot prompt, NinjaOne will display an activity in the Device's Activity feed. Refer to Device and System Activity Notification Feed for more information.
Reboot options: Logged-in user:
You can configure the following settings:
Prompt to reboot until reboot accepted: NinjaOne will display an on-screen prompt instructing the user to reboot and allow the update to complete.
Use the scheduling options to determine the prompt frequency.
Select the Force reboot after checkbox to set the number of prompts before NinjaOne automatically reboots the device.
Select the Custom reboot dialog checkbox to replace the default prompt with your own text.
Notify the user, then reboot: Choose this option to send the user a notification, then automatically reboot the machine and complete the update. Refer to NinjaOne Platform: Notification Channels for more information. Use the scheduling options to determine how long NinjaOne should wait before sending the notification and triggering the reboot.
Automatically reboot: This option tells NinjaOne to reboot the device after the update installation is complete. Use the scheduling options to determine how long NinjaOne should wait before rebooting the device.
Time Period and Unit: If you selected Prompt the user to reboot until reboot accepted, use these fields to specify the prompt frequency. Select the checkbox to force a reboot after a specific number of prompts.
Custom Reboot Dialog: Select this checkbox to add custom text to the reboot prompt.
Reboot options: Not logged in user:
You can configure the following settings:
Attempt to reboot until successful: NinjaOne will keep trying to reboot the device, even if reboots fail, until it completes the action. Use the scheduling options to determine the reboot attempt frequency.
Reboot immediately: NinjaOne will reboot the device as soon as the update is ready.
Schedule: Use the drop-down menu to choose the prompt frequency.
Time and Time Zone: Select the time of day and appropriate time zone to perform the reboot.
General approvals
Configure automatic patch approval settings. You can choose to Approve,Reject, or require Manual approval for patches in two categories:
Critical: Patches associated with a known CVE
Unassigned: All other patches
Approval overrides
Set NinjaOne to override your patching policy for specific patches. Click the link to open the Overrides list, then search for the patch name. Use the second drop-down menu to select whether to approve or reject the patch.
Examples of scenarios in which patches would appear in the Overrides section:
If the category approval is set to Manual, and you then approve or reject the patch for the policy.
If the category approval is set to Approve, and you then manually reject the patch for the policy.
If the category approval is set to Reject, and you then manually approve the patch for the policy.
Running a macOS Patch Cycle on Demand
You can run a patch scan and installation cycle on a macOS device with patch management enabled at the policy level at any time. by following these steps
In NinjaOne, click Devices, then locate and click your device name in the Devices search grid.
Figure 9: The Devices search grid (click to enlarge)
Place your cursor over the action (play) icon, then use the drop-down menus to navigate to OS Update → Scan or OS Update → Apply.
Figure 10: Action → Patching → OS scan (click to enlarge)
Additional Resources
Refer to the following articles to learn more about macOS patching in NinjaOne: