Topic
This article explains how to register the NinjaOne Agent software in Microsoft Entra ID and configure the software’s deployment to Microsoft Windows 365 Cloud PCs.
Environment
- NinjaOne Endpoint Management
- Microsoft Entra ID
- Microsoft Windows 365
Description
Microsoft Windows 365 is a cloud-based Software-as-a-Service (SaaS) platform that empowers you to create and deploy Microsoft Windows virtual machines, called "Cloud PCs," for your users. These endpoints enable users to run fully featured Windows 10 or Windows 11 virtual machines on various devices, including PCs, Apple iOS devices, and Android smartphones. Windows 365 offers a range of deployment options tailored to different organizational roles and needs. It enhances productivity, security, and collaboration by integrating seamlessly with Microsoft 365 solutions.
We're proud to partner with Microsoft to bring NinjaOne device management to Windows 365 Cloud PCs.
Select a topic to continue:
- Prerequisites
- Retrieve the Integration Script from the Automation Library
- Configure the Agent and Auto Deployment
- Deploying the NinjaOne Agent to Target Cloud PCs
- Additional Resources
Prerequisites
The Microsoft Entra ID tenant and user account you leverage to deploy the NinjaOne Agent software to your protected virtual endpoints must meet the following requirements:
User Account
Your user account must be a Global Administrator of the selected Microsoft tenant.
Required App Registration
You'll need to register an app in Microsoft Entra ID with the following administrator permissions:
| API | Permission Name | Type |
|---|---|---|
| Azure Active Directory Graph | Directory.AccessAsUser.All | Delegated |
| Azure Active Directory Graph | User.Read | Delegated |
| Microsoft Graph | CloudPC.ReadWrite.All | Delegated |
| Microsoft Partner Center | user_impersonation | Delegated |
| Azure Active Directory Graph | Directory.Read.All | Application |
| Microsoft Graph | Directory.Read.All | Application |
| Microsoft Graph | SecurityEvents.Read.All | Application |
Required Environment Variables
To complete the steps described in this article, you'll also need to set the following environment variables in a shell session. The shell session does not need to be run on any specific endpoint or in any specific environment; it only requires an internet connection to authenticate the tenant administrator when sending requests to Microsoft’s Graph API.
| Variable | Definition |
|---|---|
| NINJAONE_INSTALLER_URL | URL of the tokenized NinjaOne Agent software installer you'd like to use; for more information, refer to NinjaOne Agent Installation: Agent Tokenization |
| NINJAONE_INSTALLER_TOKEN | Your selected NinjaOne Agent software installer's token (without quotes); learn how to find this value in Viewing Installer Details and Obtain the Install Command |
| CLOUDPC_TENANT_ID | Your Microsoft tenant ID; consult How to find your Microsoft Entra tenant ID (external link) for guidance |
| CLOUDPC_CLIENT_ID | App client ID, retrieved after Microsoft Entra app registration |
| CLOUDPC_CLIENT_SECRET | App secret, retrieved after Microsoft Entra app registration |
Retrieve the Integration Script from the Automation Library
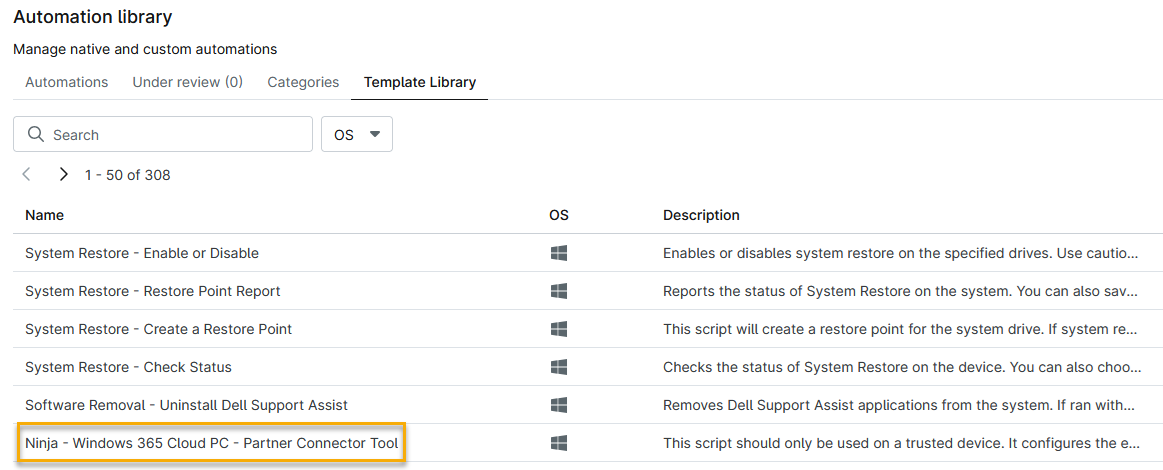
- Next, in NinjaOne, navigate to Administration → Library → Automation → Automation library → Template Library.
- Download the Ninja - Windows 365 Cloud PC - Partner Connector Tool script.
- Proceed to the Configure the Agent and Auto Deployment section of this article.
Configure the Agent and Auto Deployment
Before you can deploy the NinjaOne agent to your managed endpoints, you must create a local agent profile and then use that file to onboard a NinjaOne connector in your Microsoft tenant. To do so, perform the following steps:
- Follow the instructions in the Ninja - Windows 365 Cloud PC - Partner Connector Tool script. from the Automation Library to create a local profile on your machine.
- Optionally, validate your configuration by visiting the Microsoft Graph Explorer (external link) and querying the https://graph.microsoft.com/beta/deviceManagement/virtualEndpoint/externalPartners endpoint. You should see the NinjaOne connector in your Graph API response.
- Proceed to the Deploying the NinjaOne Agent to Target Cloud PCs section of this article.
Deploying the NinjaOne Agent to Target Cloud PCs
Once you've completed the steps in the Configure the Agent and Auto Deployment section of this article, you can deploy the NinjaOne Agent software installer to your managed Cloud PCs. Complete the following workflow in your shell session to identify your target endpoints, deploy the installer, and monitor your deployment status.
- List all Cloud PCs and copy the IDs you want to target.
- Deploy the agent to up to 50 Cloud PCs per call. The deployment output will return activityID for status tracking.
- Optionally, use the activityID value to monitor the deployment's status. The query will return a value of Pending, Complete, or Failed.
Additional Resources
For more agent deployment and management learning resources, refer to our NinjaOne Agent: Resource Catalog article.