Key Points
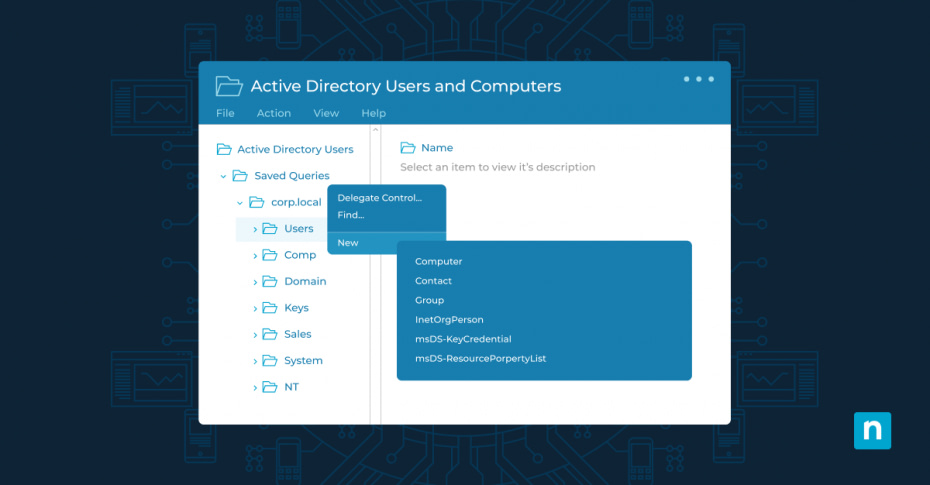
Active Directory Users and Computers (ADUC) is a management tool that provides a graphical user interface for managing and organizing the elements of a Windows Active Directory (AD) domain. Key functions include user, group, organizational unit, and computer management, as well as control of security and permissions and trust relationships between domains. ADUC provides system administrators with a centralized interface, simplifying complex tasks and enhancing the security of Windows environments.
This guide aims to provide a thorough understanding of how to install Active Directory Users and Computers (ADUC), with step-by-step installation instructions, and best practices for efficient management of ADUC on both Windows 10 and the latest Windows 11 platforms, empowering IT professionals in mastering ADUC.
NinjaOne’s Active Directory Management software gives you full visibility into the health and performance of your AD.
Preliminary steps before installation
Before initiating the installation process, it is crucial to ensure system compatibility for a smooth ADUC installation. Both Windows 10 and 11 offer support for ADUC, but verifying system prerequisites helps prevent potential roadblocks, ensuring a smooth user experience. Check the system you intend to use meets the following minimum requirements:
- Operating System version: Ensure your system is running either Windows 10 or Windows 11.
- Processor: A compatible processor, at minimum 1GHz clock speed, and preferably with multi-core capabilities for enhanced performance.
- RAM (Random Access Memory): A minimum of 4GB RAM is recommended for optimal ADUC functioning.
- Hard disk space: Allocate sufficient disk space for the operating system, ADUC installation, and additional storage for user data. 32GB is the supported minimum.
- Internet connection: An active internet connection is beneficial for updates and accessing online resources related to ADUC.
Understanding the role of RSAT
Remote Server Administration Tools (RSAT), which is integral to the effective functioning of ADUC and cleaning of AD, is a set of tools that enable administrators to manage Windows Servers and Active Directory remotely. By installing RSAT on a Windows client, administrators can perform various administrative tasks without directly accessing the server. RSAT provides the following functionality:
- Remote management: RSAT facilitates remote management of servers, reducing the need for physical access.
- Toolset inclusion: RSAT includes various tools, such as ADUC, Group Policy Management, DNS Manager, DHCP Manager, and more.
- Streamlining administrative tasks: With RSAT, administrators can efficiently perform Active Directory administration tasks without being physically present at the server location.
- Cross-version compatibility: RSAT is designed to be compatible with different Windows Server versions, allowing administrators to manage diverse server environments seamlessly.
How to install Active Directory users and computers on Windows 10 & 11
The installation process for AD users and computers is accessed via operating system features in the Control Panel and is simple to achieve:
Step-by-Step installation process for Windows 10
- Navigate to the Control Panel: Access the Control Panel on your Windows 10 machine.
- Click on “Programs”: Within the Control Panel, locate and click on the “Programs” section.
- Turn Windows features on or off: Select “Turn Windows Features On or Off,” opening a new window.
- Locate “Remote Server Administration Tools”: Scroll down to find and expand the menu for “Remote Server Administration Tools.”
- Select “Role Administration Tools”: Within “Remote Server Administration Tools,” locate and choose “Role Administration Tools.”
- Choose “AD DS and AD LDS Tools”: Find “AD DS and AD LDS Tools” and check the corresponding box.
- Click “OK”: Confirm your selection by clicking “OK,” initiating the installation process.
- Wait for installation: Allow the system to install the selected features. This process may take a few minutes.
- Access ADUC: Once the installation is complete, access Active Directory Users and Computers by searching for “dsa.msc” or locating it in the Administrative Tools.
Adjustments and considerations for Windows 11
While Windows 11 introduces subtle changes to the user interface, the core installation process remains very similar to Windows 10. If you prefer to install the tool on Windows 11, follow the outlined steps for Windows 10, making adjustments for any interface nuances introduced in Windows 11.
Active Directory Users and Computers: Advanced features
Beyond basic user management, ADUC encompasses advanced features and tools that significantly enhance administrative capabilities. This section explores these specialized functionalities and provides examples of their real-world application:
- Group policy management: ADUC allows administrators to create, edit, and manage Group Policies, ensuring consistent configurations across multiple users and computers. A real-world application of this would be the implementation of a Group Policy to enforce password complexity requirements across the entire organization.
- Organizational Unit (OU) management: OUs provide a way to organize and apply Group Policies to sets of users and computers. In practice, creating OUs for different departments makes it possible to apply different policies and settings to each department, meeting the needs of different user types.
- Delegation of control: ADUC enables the delegation of specific administrative tasks to non-administrator users. A real-world example might be permitting HR staff to reset user passwords without granting full administrative privileges.
- Granular password policies: ADUC allows the implementation of different password policies for various user groups. In practice, it is common to apply stricter password policies to privileged user accounts.
Simplify your password policies with NinjaOne’s AD management tool.
Tips for efficient ADUC management
Efficiency in ADUC management extends beyond installation; it is about optimizing daily operations. Here are some best practices for navigating ADUC and ensuring streamlined management:
- Schedule regular backups: Periodically backup ADUC configurations and settings to ensure quick recovery in case of unforeseen issues.
- Group users logically: Strategically organize users into groups and OUs to simplify policy application and management.
- Maintain accurate documentation: Maintain comprehensive documentation of ADUC settings, policies, and configurations for reference and troubleshooting.
- Perform regular security audits: Conduct regular security audits to identify and address potential vulnerabilities within ADUC.
- Build support team skills: Provide training sessions for IT staff on efficient ADUC management to enhance overall system administration skills.
ADUC for Windows user management
Active Directory Users and Computers is the standard user management tool in Microsoft environments, offering a centralized hub for day-to-day administrative tasks.
Moving beyond the built-in tools, NinjaOne Active Directory Management provides visibility of your Domain Controllers, enabling user management from a single pane of glass and full control alongside the broader family of managed devices. Manage Active Directory objects quickly and easily, without the need to connect remotely to individual devices, maximizing IT efficiency.


