Remote server administration is a crucial aspect of managing and maintaining a network infrastructure. It allows system administrators to control and monitor servers from a remote location, eliminating the need for physical access to each server.
One utility that greatly simplifies remote server administration is the Remote Server Administration Tools (RSAT). In this tutorial, we’ll explore how to install RSAT on Windows 10 or 11, what it is, and how to start configuring and using it after installation.
What is RSAT (Remote Server Administration Tool)?
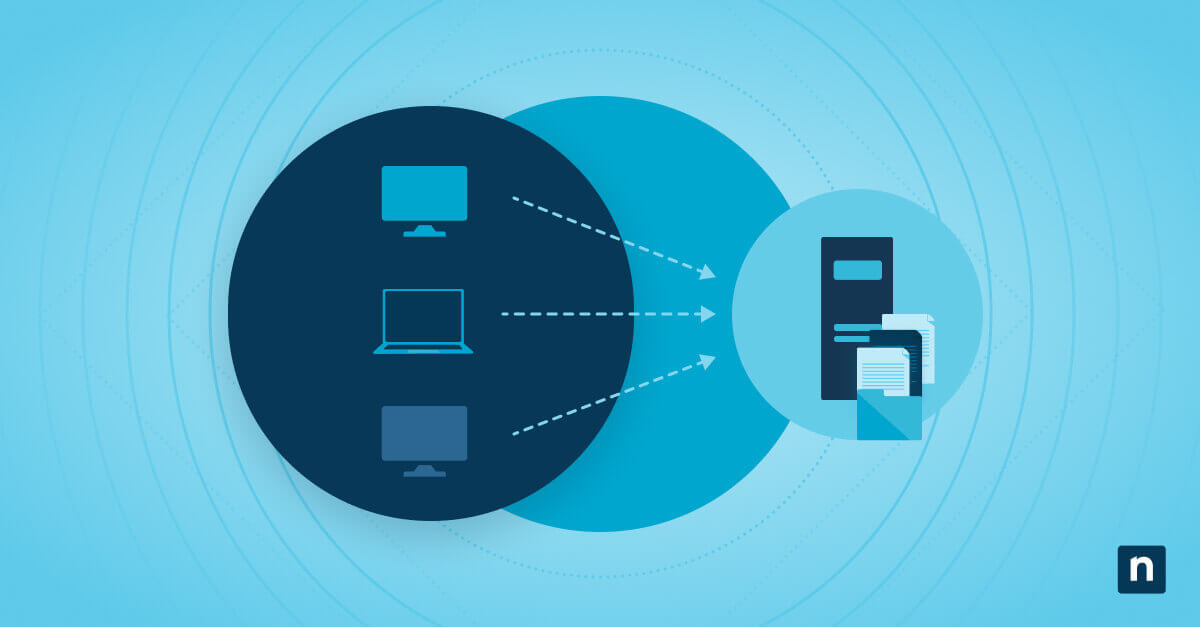
RSAT, short for Remote Server Administration Tools, is a set of tools developed by Microsoft that enables system administrators to remotely manage Windows servers from their local machines. It provides a centralized graphical user interface for a comprehensive suite of administrative tools. These tools — such as Active Directory, Group Policy, Hyper-V, DNS, DHCP, and more — can be used to manage various server roles and features.
Installing RSAT on your local machine gives you access to a range of powerful utilities, allowing you to efficiently manage and troubleshoot remote servers. RSAT eliminates the need to have physical access to each server, saving time and effort for system administrators while lowering costs for your company and improving efficiency.
System requirements for installing RSAT
RSAT is available for multiple versions of Windows — including the most recent version, Windows 11. The installation process may vary slightly depending on the Windows version you are using. This article will focus on installing RSAT on Windows 10, 11, and PowerShell.
Before installing RSAT on your Windows 10 or 11 machine, you’ll need to ensure that your system meets the necessary requirements. The following are the system requirements for installing RSAT:
- Windows 10 or 11 operating system
- Sufficient disk space for installation
- A stable internet connection for downloading and installing RSAT
- Administrator privileges on your local machine
Install tutorials for Windows 10, 11, and PowerShell
Installing RSAT on Windows 10 or 11
Installing RSAT on Windows 10 or 11 is a straightforward process. Follow the steps below to install RSAT on your Windows 11 computer:
- Open the Settings app by simultaneously pressing the Windows key + I.
- Click on “Apps” in the left sidebar.
- In the Apps settings, click on “Optional features”.
- Click on “Add a feature” and wait for the list to populate.
- Scroll down and locate “Remote Server Administration Tools” from the list of available features.
- Click on the checkbox next to “Remote Server Administration Tools” to select it.
- Click on “Install” to begin the installation process.
Windows will now download and install the RSAT tools on your machine. The installation process may take some time, depending on your internet connection speed and system performance. Once the installation is complete, you will have access to the administrative tools provided by RSAT.
Installing RSAT using PowerShell
PowerShell is a command-line shell to automate tasks and manage system configurations for Windows operating systems. If you’re a Windows power user, you might prefer to install RSAT with PowerShell. Follow the steps below to install RSAT tools with PowerShell:
- Open PowerShell with administrative privileges.
- Run the following command to install RSAT:
Get-WindowsCapability -Online | where Name -like ‘RSAT*’| Add-WindowsCapability -Online
- Wait for the installation process to complete.
PowerShell will now automatically download and install the RSAT tools on your machine. This method is particularly useful for system administrators who want to automate the RSAT installation process as part of a series of tasks.
Configuring RSAT after installation
After successfully installing RSAT on your Windows 11 machine, you’ll need to enable the specific tools you want to use. This allows you to tailor RSAT to your specific administrative needs. Follow the RSAT configuration steps below:
- Open the Control Panel on your Windows client.
- Go to Programs and click on Turn Windows features on or off.
- In the Windows Features dialog, scroll down to find Remote Server Administration Tools.
- Expand the tree, and select the specific tools you want to enable. Choose tools based on the server roles you plan to manage remotely, such as Active Directory, DHCP, DNS, and others.
Accessing RSAT tools
Once you’ve installed and enabled the specific RSAT utilities you want to use, you can access them in different ways.
Server Manager:
- Open Server Manager from the Start menu.
- Click on Manage > Add Servers to add the servers you want to manage remotely.
Active Directory Tools:
Tools like Active Directory Users and Computers (ADUC) can be accessed from the Administrative Tools folder in the Control Panel, or directory from the Start menu.
Other Tools:
Depending on the specific tool, you can find RSAT utilities in the Start menu or use the Run dialog (Win + R) to run specific commands (e.g. dsa.msc for ADUC).
You can also run RSAT tools in PowerShell. First, open PowerShell with administrative privileges. Then import the necessary modules using commands like “Import-Module ActiveDirectory”.
Troubleshooting common issues during RSAT installation
While installing RSAT is usually a smooth process, you may encounter some common hurdles. Here are a few troubleshooting tips for resolving these issues:
- Ensure that you have administrator privileges on your local machine.
- Verify that your system meets the minimum system requirements (listed above) for RSAT installation.
- Check your internet connection to make sure that it is stable and reliable while downloading RSAT.
- If the installation fails, try restarting your machine and reinstalling RSAT.
- If you encounter any specific error messages during installation, search for the error online for potential solutions.
Using the Remote Server Administration Tool (RSAT)
Remote server administration is critical to managing and maintaining network infrastructures, providing greater efficiency and convenience to IT teams. With the Remote Server Administration Tool (RSAT), system administrators can efficiently manage and troubleshoot remote servers from their local machines. With this tutorial, you understand what RSAT is, its system requirements, and how to install it on Windows 10, 11, and PowerShell. You also know how to configure RSAT after installation and troubleshoot common issues that may arise during installation.
By mastering remote server administration with RSAT, system administrators can streamline their administrative tasks, enhance productivity, and ensure that their network infrastructure is operating smoothly. After following this guide, you’ll be able to install RSAT today and start unlocking the power of remote server administration.
Do you need more help managing the various servers and endpoints in your IT infrastructure? NinjaOne is a powerful, flexible, and robust endpoint management tool. The NinjaOne endpoint management software helps IT departments control and monitor all the endpoints being used within an organization. NinjaOne can do everything from software deployment and patch management to monitoring and alerting and more, helping you stay on top of all your devices in your IT environment.


