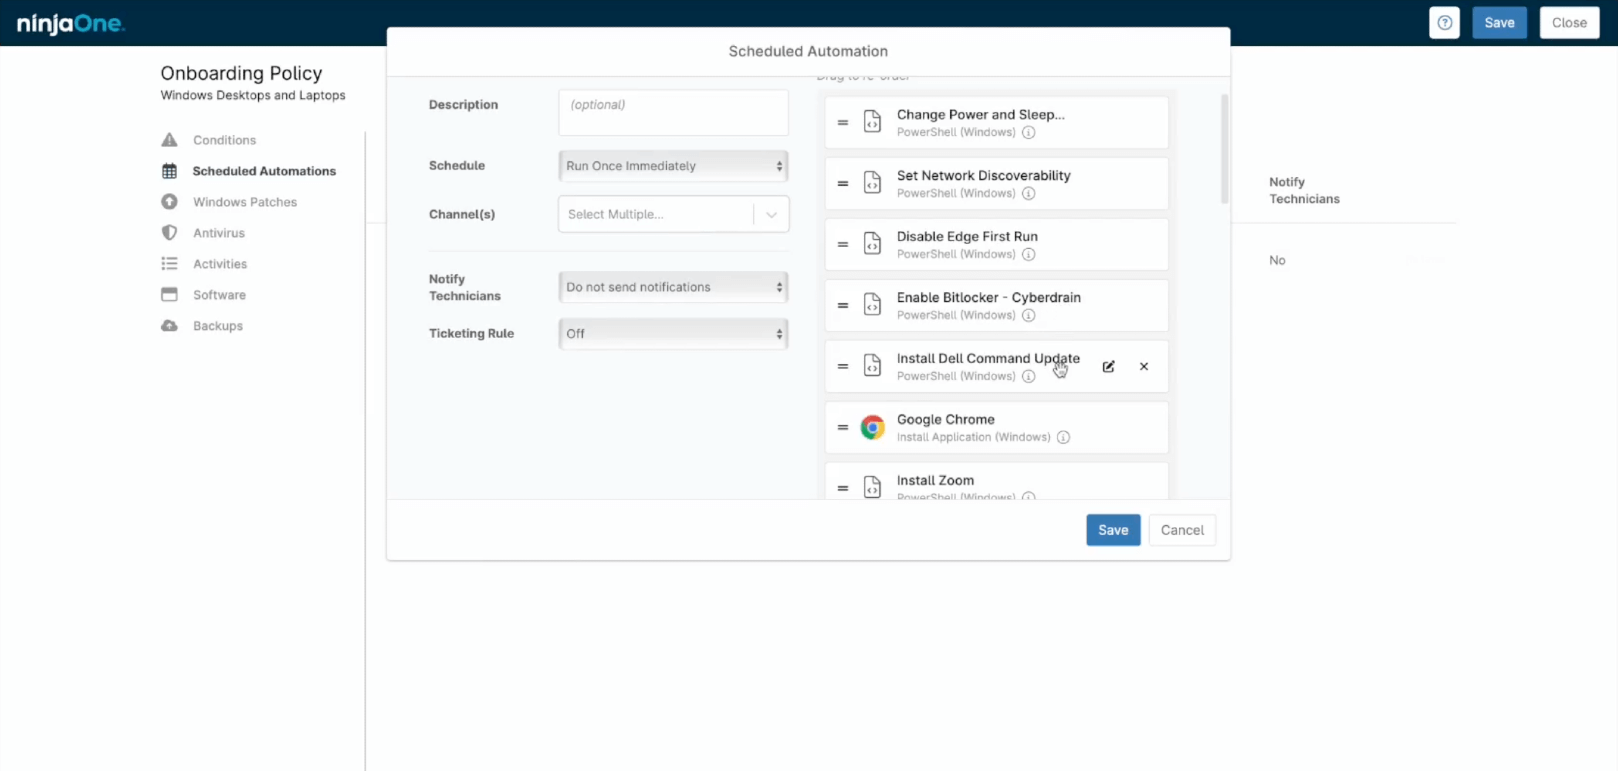
NinjaOne’s 4.6 release included a significant improvement to our automation — the introduction of script output monitoring. This new feature allows our partners to monitor the output of scripts and create alerts, notifications, and tickets based on that output. It also provides the capability to trigger automation based on those same script outputs.
One example of how to use this enhancement is to automatically manage BitLocker disk encryption from directly within NinjaOne with the help of PowerShell.
Learn more bout Powershell.
Achieving this requires three steps:
- Check the BitLocker encryption status of drives
- Enable BitLocker and extract the recovery key
- Create a policy automation that uses the output of the first script to trigger the second script
UPDATE: We’ve actually made the following even easier. NinjaOne now automatically detects the encryption status of all drives and Windows AND Mac devices (via BitLocker or FileValue, respectively). Ninja users can also easily collect recovery keys and create notifications, alerts, and tickets based on disk encryption status. See this post for more details.
1) Check the BitLocker encryption status of drives
Check each volume on an endpoint using the PowerShell cmdlet Get-BitLockerVolume and the ProtectionStatus parameter to identify if a volume is unencrypted.
If a volume is unencrypted, use Write-Host to return a unique identifier (e.g. ‘Bitlocker Disabled for Volume’ to trigger the script output monitor in Ninja.
2) Enable BitLocker and extract the recovery key
First, check and enable TPM
BitLocker can be enabled either with or without a TPM (Trusted Platform Module). Without a TPM, an extra flag is required to enable BitLocker.
To get the TPM status, you’ll need to use the Get-Tpm command. If the TPM is not ready, you’ll need to initialize the TPM, which can be done with Initialize-Tpm.
Check the protection status of each volume you want to encrypt
You don’t want to try enabling BitLocker for drives that are already encrypted, so you should check the protection status of each drive prior to enabling BitLocker. You can check the status of a drive with Get-BitLockerVolume and ProtectionStatus.
Enable BitLocker
Use Enable-BitLocker to turn on BitLocker for the unencrypted volumes. There are a few parameters to consider when using Enable-BitLocker:
- -MountPoint lets you specify which volume(s) is/are being encrypted.
- -EncryptionMethod lets you specify which method is being used to encrypt the volume.
- -UsedSpaceOnly can be used to speed up the encryption process by not encrypting unused space.
- -TpmProtector indicates that the TPM is the protector for the specified volume.
Collect and store recovery keys
If you don’t have the Bitlocker recovery key for a given volume, and something goes wrong, you’ll never be able to recover the data on that volume. To get recovery keys back into Ninja, you can use Write-Host and Get-BitLockerVolume and KeyProtector to retrieve the KeyProtector and write it to the Activity Log for that device in Ninja.
You’ll then want to transfer the KeyProtector to your IT documentation platform (like IT Glue) or to the Notes tab in NinjaOne.
3) Enable the automation in NinjaOne
In your top-level parent policy:
- Schedule the first script to check new devices for their encryption status based on a schedule of your choosing.
- Create a new script output condition monitor that triggers when the unique identifier created in the initial script (‘BitLocker Disabled for Volume’) is detected. Set the condition to trigger the “Enable BitLocker” PowerShell script you created in Step 2.
Simplify complex IT operations with NinjaOne’s scripting and other automation tools.
See for yourself how NinjaOne can save you time and streamline your IT management
Learn more about our new and upcoming features in our product roadmap, and start a free, no-obligation trial here.

