Windows 11 allows you to customize many features of the desktop, menus, and taskbar to create a more personal user experience. You can also change the default lock screen on your device to reflect your style and display useful information without having to unlock the device.
💻 🖥️ 📱Managing multiple devices? Let NinjaOne make it easy.
How the lock screen in Windows 11 works
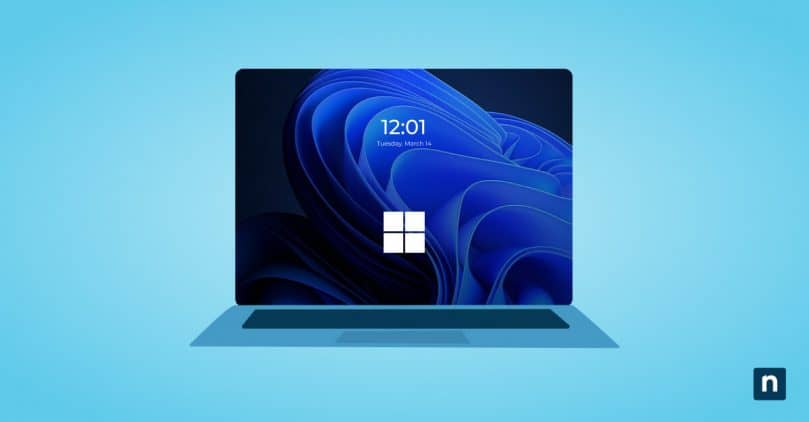
The Windows 11 lock screen is the initial screen that appears when you start your computer or wake it up from sleep mode. The lock screen is a security feature that requires you to enter your password or use other authentication methods to unlock your device. Since only authorized users can gain access to your desktop, it helps protect your sensitive data.
In addition to providing security, the lock screen can be configured to turn on if your computer is inactive, and it can display useful information such as the time, date, and notifications from apps and services.
Why change the lock screen for Windows 11?
While you can leave your Windows 11 lock screen with its factory settings, personalizing it is simple to do and can make your device feel more like your own. Instead of looking at the same default image every time you start your computer, you can change the background image — to a stunning landscape, inspiring quote, or adorable pet — to make your computer more visually appealing.
Another reason to change the Windows 11 lock screen is to add notifications or updates you can access without unlocking your computer. You can choose to display the time, weather, tips, and tricks and notifications of calendar appointments or new mail. Seeing this information at a glance will save time and help streamline your day.
Accessing the Windows 11 lock screen settings
To change the lock screen in Windows 11, access the Settings menu by following these steps:
- Click on the “Start” button in the taskbar.
- Select “Settings” from the menu that appears.
- In the Settings window, click on “Personalization.”
- On the left side of the Personalization window, click on “Lock screen.”
After opening the settings, you can start customizing your lock screen right away.
Choose a new Windows 11 lock screen image
You can change your Windows lock screen image by choosing from built-in images, pictures from your own collection or dynamic wallpaper that changes throughout the day.
Follow these steps to choose a new lock screen image:
- In the Lock screen settings, the first option is to change your background.
- You can choose from Windows Spotlight, Picture or Slideshow. Select the option that suits your preference.
- If you select “Windows Spotlight,” Windows will automatically collect new images from the internet and display them on your lock screen. Choose this option if you want fresh lock screen images that update daily.
- Select “Picture” to choose an image provided by Windows 11.
- If you want to use your own image, click on “Browse” and navigate to the image you want. Once you select a photo, click on “Choose picture” to set it as your lock screen image.
- If you want to rotate through multiple images, select “Slideshow,” click on “Browse” and navigate to a folder that contains multiple images. After you select it by clicking “Choose this folder,” Windows will cycle through those images on your lock screen.
Once you’ve chosen your desired lock screen image option, preview how it will look by clicking the “Preview” button. If you’re satisfied with your selection, close the settings window to apply your new lock screen image.
Change Windows lock screen settings
You can customize different settings on the Windows 11 lock screen, including these options:
- Set your lock screen timeout by clicking on “Screen timeout” to adjust the timeout duration. Select “Screen and sleep” and adjust the timeout to any interval from five minutes to never.
- Adjust the settings of your screen saver by selecting “Screen Saver” and clicking on the drop-down menu to open a new window with screen saver settings. Select a screen saver and set the Wait time to control how long your computer will sit idle before Windows 11 displays your screen saver.
Change Windows lock screen clock and date
The lock screen in Windows 11 displays the current time and date by default. Change the Windows lock screen format or hide the date with these steps:
- In the lock screen settings, click on “Clock and calendar.”
- Toggle the switches to show or hide the time and date on your lock screen.
- Change the time format by clicking on “Change date and time formats” and selecting your preferred format from the drop-down menus.
- Customize the calendar format by clicking on “Change calendar formats” and choosing the options that suit your needs.
Turn on the Windows 11 lock screen notifications
Lock screen notifications can be a helpful way to stay up-to-date without having to unlock your device. Windows 11 allows you to enable notifications or status updates from a single app and display them on your lock screen. To turn on lock screen notifications, follow these steps:
- In the lock screen settings, click on “Lock screen status.”
- Toggle the switch to allow notifications on the lock screen.
- Scroll down to the “Choose which apps can show quick status” section and select the apps you want to receive notifications from. The default choices in Windows 11 are Mail, Calendar, and Weather. You may have additional options depending on the apps installed on your device.
While you can only enable lock screen notifications from one app at a time, you can switch to a different app at any time.
Enable Microsoft tips and tricks on the Windows 11 lock screen
Windows 11 offers a feature called Microsoft tips and tricks, which provides helpful information and suggestions on your lock screen. These tips can help you discover new features, learn useful shortcuts and get the most out of your Windows 11 experience. Enable Microsoft tips and tricks on the lock screen with these steps:
- In the lock screen settings, click the box next to “Get fun facts, tips, tricks, and more on your lock screen.” This is located below the background photo selection.
- Toggle the switch to enable Microsoft tips and tricks on your lock screen.
Once you’ve enabled this feature, you’ll start receiving helpful tips and tricks on your Windows 11 lock screen.
→ Transform your IT management with NinjaOne. From lock screen changes to comprehensive endpoint management, we’ve got you covered.
Take control of your Windows devices
Customizing the lock screen in Windows 11 is an easy way to personalize your computer. However, for day-to-day device management and end-user support, you need a more robust solution.
NinjaOne’s Windows endpoint management software lets you automate the daily management of your Windows devices. With our cloud-based solution, setup is fast and can be deployed anywhere you have an internet connection. Efficiently scale your IT operation, whether you’re managing a few machines or thousands while giving your remote and hybrid employees the same fast support as on-premises users. Enhance security and simplify IT operations with NinjaOne endpoint management software.
Click here to learn more and start a free trial today.


