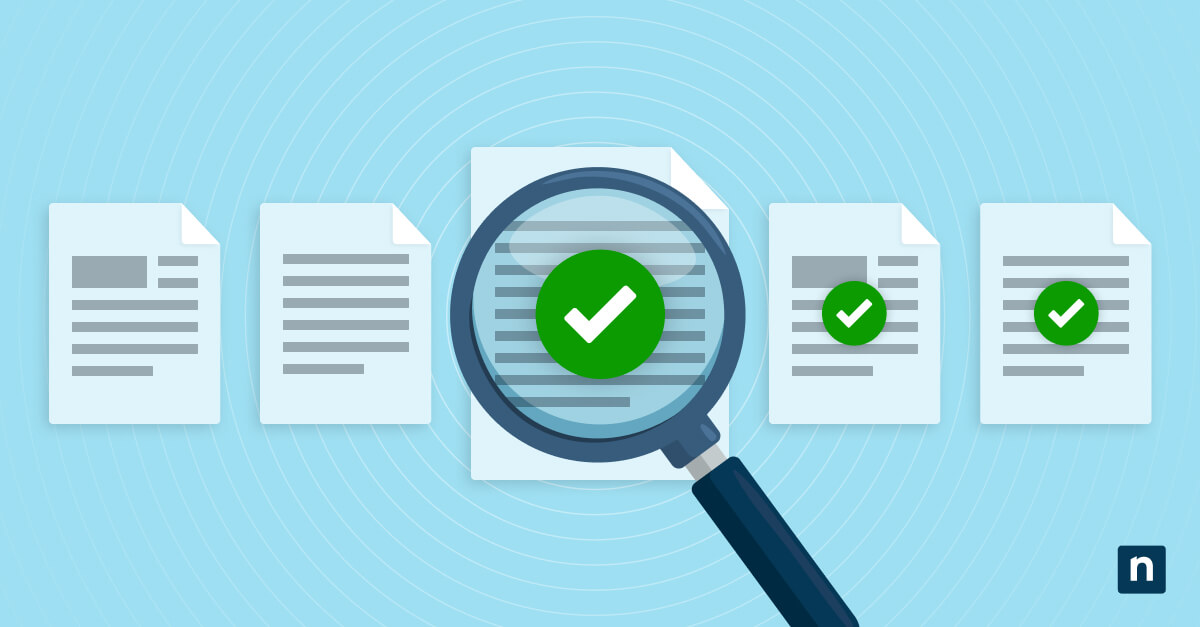
The Magnifier on the Windows 10 login screen is a handy tool that lets you enlarge your on-screen image for an enhanced view. It is an accessibility tool that can also assist professionals with visual impairments or those who need to inspect fine details more closely before logging in. However, its automatic startup can sometimes hinder user logins and impact performance.
This article provides steps to enable or disable Windows Magnifier on startup, alternative methods, and frequently asked questions. If you prefer a visual explanation, watch our video on How to Turn On or Off Start Magnifier Automatically at Login in Windows 10.
How to disable Magnifier starting at login
Here’s how to stop the Magnifier (Windows 10) login screen from starting automatically:
Method 1: Using Windows Settings
To turn the Magnifier off before sign-in, do the following:
- Press the Windows key + I to open Settings.
- Navigate to Ease of Access > Magnifier.
- Ease of Access was renamed to “Accessibility” in Windows 10 build 21359.
- Check the box next to Start Magnifier before sign-in.
- You’ll see “Start Magnifier automatically” instead if your Windows 10 version is older than build 16184.
- Close Settings.
Method 2: Using the Control Panel
Configure settings for the Magnifier (Windows 10) login screen using the Control Panel with these simple steps:
- Press the Windows key + R to open the Run dialog.
- Type control and press Enter.
- Navigate to Ease of Access > Ease of Access Center > Make the computer easier to see.
- Uncheck the box next to Turn on Magnifier.
- Click Apply, then OK.
Method 3: Using the Registry Editor (Advanced users only)
⚠️ This process requires administrator privileges and involves changing registry values. Before you start, make sure to back up your registry.
Press the Windows key + R to open the Run dialog.
- Type regedit and press Enter.
- Using the address bar, navigate to the following registry key:
HKEY_CURRENT_USER\Software\Microsoft\Windows NT\CurrentVersion\Accessibility
- Double-click on the Configuration string value in the right-hand pane.
- In the Value field:
- Type magnifierpane to turn the Magnifier on at the login screen.
- Leave the field blank to disable the Magnifier (Windows 10) at the login screen.
- Click OK.
- Sign in and out, or reboot your system to apply changes.
Alternative methods
Here are more ways to configure your device’s Magnifier (Windows 10) login screen.
Using the Task Manager
- Press Ctrl + Shift + Esc to open the Task Manager.
- Go to the Startup tab.
- Disable any Magnifier-related processes by right-clicking on them and choosing Disable.
Using Group Policy Editor (Pro & Enterprise editions only)
- Press the Windows key + R to open the Run dialog.
- Type gpedit.msc and press Enter.
- Using the folders in the right pane, navigate to the following: Computer Configuration > Administrative Templates > Windows Components > Magnifier
- Double-click on the policy named Do not start Magnifier automatically.
- Select Enabled.
- Click OK to apply changes.
- Close the Group Policy Editor.
FAQs
Q: Will disabling Magnifier affect other accessibility settings?
A: No, disabling the Magnifier (Windows 10) login screen won’t impact any of your other accessibility settings, such as On-Screen Keyboard, High Contrast, Narrator, etc. You can use the Magnifier in conjunction with these tools, but changing its settings won’t negatively interact with them.
🛑| Improve and maintain accessibility options in the workplace.
Read NinjaOne’s guide on how to configure closed caption settings in Windows 10
Q: Can I still use Magnifier if I turn off automatic startup?
A: Yes, you’ll still be able to activate your Magnifier tool after you stop it from automatically starting up on your login screen. To do this, hold the Windows key and press the plus (+) sign on your keyboard.
Q: What if the Magnifier keeps turning on after restart?
A: If you’ve already checked your Ease of Access settings via the Control Panel, you may need to perform a system file check to discover/fix any underlying issues (this requires administrator privileges). Here’s how:
- Press the Windows key + S and type Command Prompt.
- Click Run as administrator.
- Run DISM to pull up important files necessary to repair any corrupted data.
- Type the following command line and hit Enter. sfc /scannow
- Review the scan results for any error-related reports.
Q: Why is my Windows login screen zoomed in?
A: Your display settings, graphics drivers, and the Magnifier app are potential suspects why your screen appears zoomed in. To fix it, you should:
Check your display settings.
- Right-click on your desktop, select Display settings, and set your “Scale and layout” to 100%.
Update your graphics drivers.
- Press Win + X, click on Device Manager, and expand Display Adapters. Under it, right-click on your graphics card and select “Update driver”.
Disable your Magnifier app.
- Press Win + Esc to quickly close the Magnifier app.
- To prevent the Magnifier (Windows 10) login screen, press Win + I to open your Settings, then navigate to Ease of Access > Magnifier. Toggle “Start Magnifier before sign-in” off.
Q: How to change the Magnifier view in Windows 10
A: While opened, the Magnifier has three viewing modes, namely:
- Full screen (Ctrl + Alt + F)
- Lens (Ctrl + Alt + L)
- Docked (Ctrl + Alt + D)
Q: How do I “unmagnify” my screen in Windows?
A: While holding down the Windows key, press the minus (-) key to zoom back out. Alternatively, use Win + Esc to close the Magnifier.
Manage when Windows Magnifier focuses your view
Disabling the Magnifier at startup prevents unwanted zooming in the login screen and helps keep your operations smooth. You can disable the app’s launch in your Settings, as well as through the Control Panel, Registry Editor, Group Policy Editor, and Task Manager.
Once you disable the Magnifier tool’s startup launch, you’ll still be able to use it freely by simultaneously pressing the Windows key and the plus sign (+). This grants the same level of accessibility and gives you a useful tool to alleviate accessibility challenges.


