

Over time, Windows 11 systems may develop issues such as corrupted system files, malfunctioning features, or failed updates. When standard troubleshooting steps aren’t enough, a repair install, also known as an in-place upgrade, can help. This method reinstalls the operating system over your existing installation without deleting personal files or installed apps.
In this guide, you’ll learn how to perform a repair install of Windows 11 with an in-place upgrade using both Windows Update and installation media.
How to repair install Windows 11 with an in-place upgrade
Before starting a Windows 11 in-place upgrade, ensure the following:
- You’re signed in with an administrator account.
- You have at least 20 GB of free space on the system drive.
- A stable internet connection is available.
- Third-party antivirus programs are temporarily disabled or uninstalled to avoid interference during the installation.
- Although the process is non-destructive, it’s strongly recommended to back up important data.
- The repair install must be initiated from within the existing Windows 11 environment. It cannot be initiated from boot or Safe Mode.
Method 1: Repair install via Windows Update (GUI)
If you prefer the quickest and simplest way to perform a Windows 11 repair install, using Windows Update is a great option. It’s ideal when your system is still functional and you want to restore stability without needing external media or downloads.
Note: This method reinstalls the current version of Windows 11 without affecting personal files or installed applications. Ensure your PC is connected to power and the internet during the process.
- Press Win + I to open Settings.
- Go to System > Recovery.

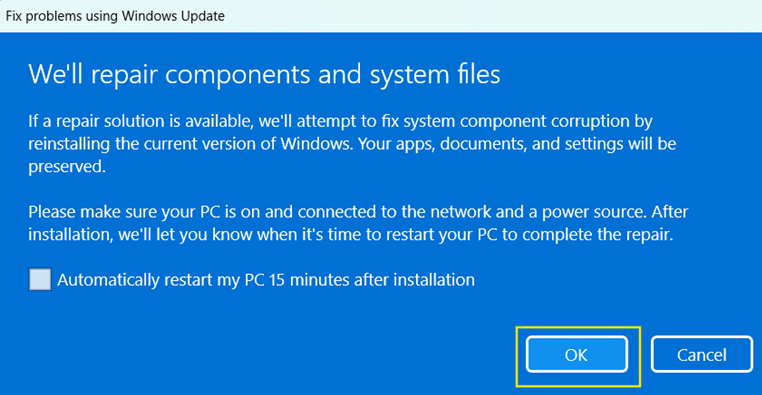
- Look for the Fix problems using Windows Update section, then click Reinstall now.

- Select OK when a confirmation prompt appears.
- Windows Update will now start downloading and installing the repair version of your current Windows 11 installation.
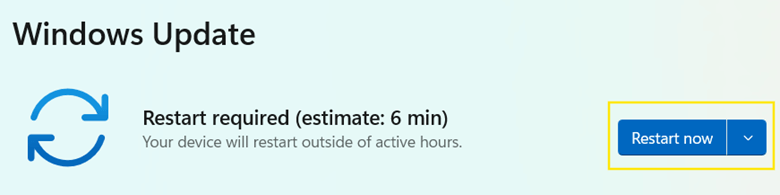
- Once completed, click Restart now when prompted.
Method 2: Repair install using ISO or USB installation media (GUI)
This method is ideal when Windows Update isn’t working properly or you need to repair your system using a specific Windows 11 version.
Step 1: Prepare the installation media
You can choose between two reliable options: downloading a Windows 11 ISO file and mounting it directly or creating a bootable USB using Microsoft’s Media Creation Tool. Both methods allow you to run the installer from within Windows.
Option A: Download the Windows ISO file
- Go to the official Microsoft download page: https://www.microsoft.com/software-download/windows11
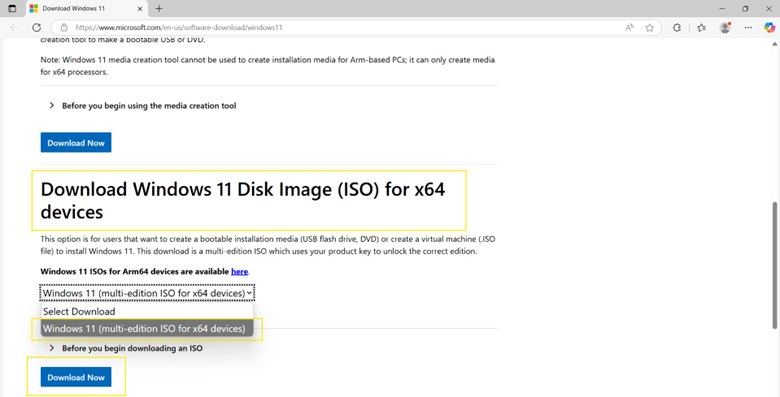
- Scroll to Download Windows 11 Disk Image (ISO) for x64 devices.
- Select Windows 11 (multi-edition ISO for x64 devices) > Download.
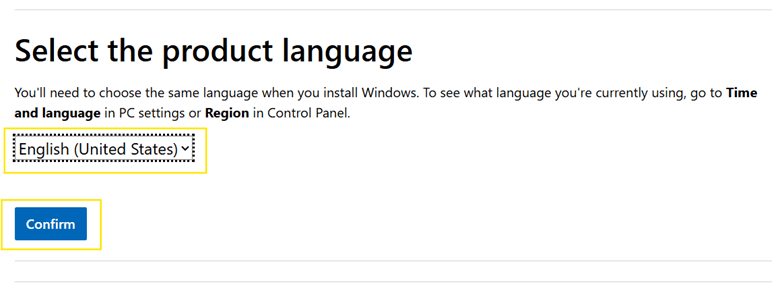
- Choose your language and click Confirm.
- Click 64-bit Download.
- The Windows 11 installation file will now start downloading.

- Once downloaded, right-click the ISO file and select Mount.
Option B: Create a bootable USB drive
- Go to the official Microsoft download page: https://www.microsoft.com/software-download/windows11
- Scroll to Create Windows 11 Installation Media.
- Click Download Now.

- Insert a USB drive (at least 8GB) into your PC.
- Run the Media Creation tool and accept license terms.
- Select Create installation media (USB flash drive).
- Choose your preferred language and edition.
- Follow the prompts to create a bootable USB drive.
Step 2: Start the repair install
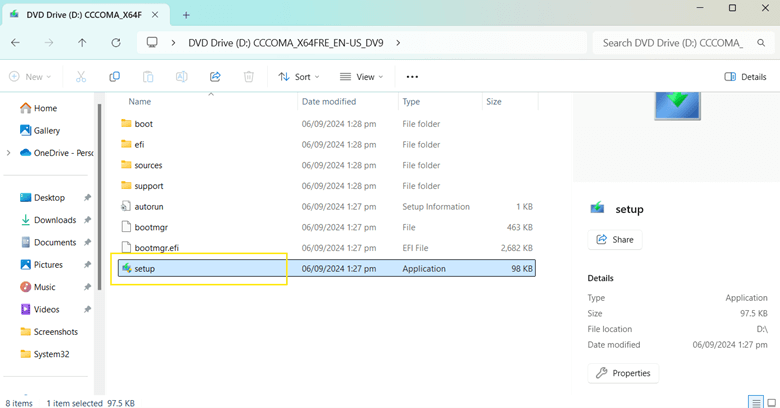
- Open the mounted Windows 11 ISO file or your bootable USB drive.
- Double-click setup.exe to launch the installer.
- Select Yes when prompted by User Account Control (UAC).
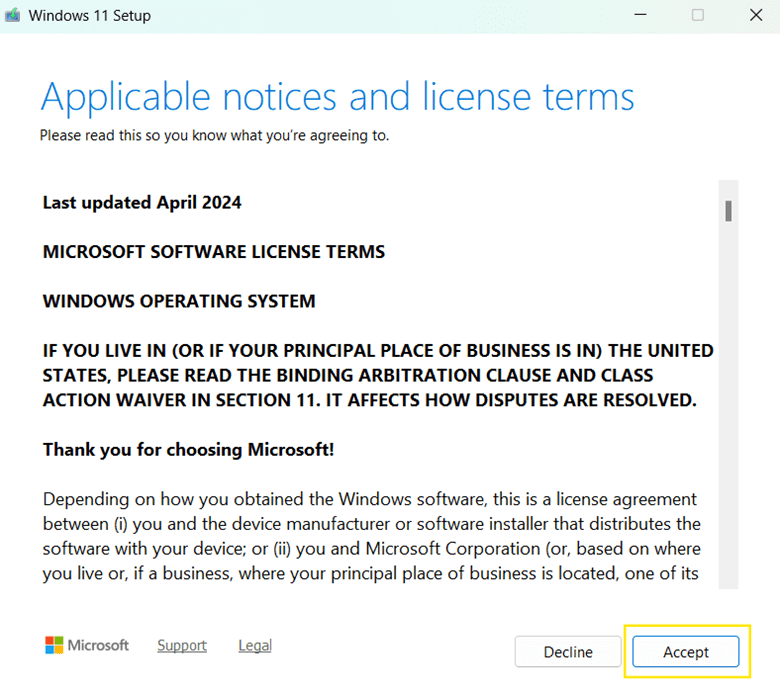
- Click Next > Accept the license terms.

- Wait for Windows to check for updates.

- The installer will confirm compatibility and show the Ready to install window.
- Make sure Keep personal files and apps is selected.
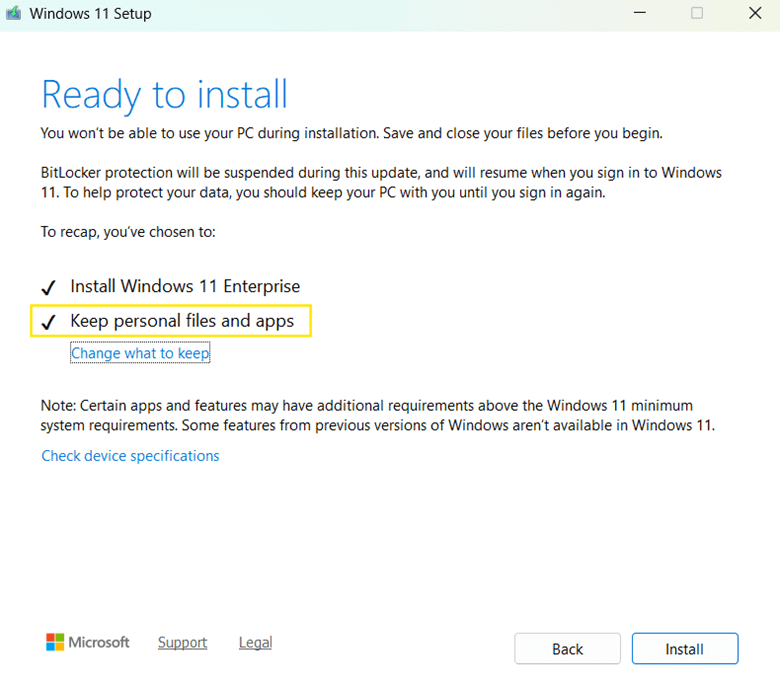
- If it isn’t selected, click Change what to keep, choose Keep personal files and apps, then click Next.

- If it isn’t selected, click Change what to keep, choose Keep personal files and apps, then click Next.
- Click Install to begin the repair installation.
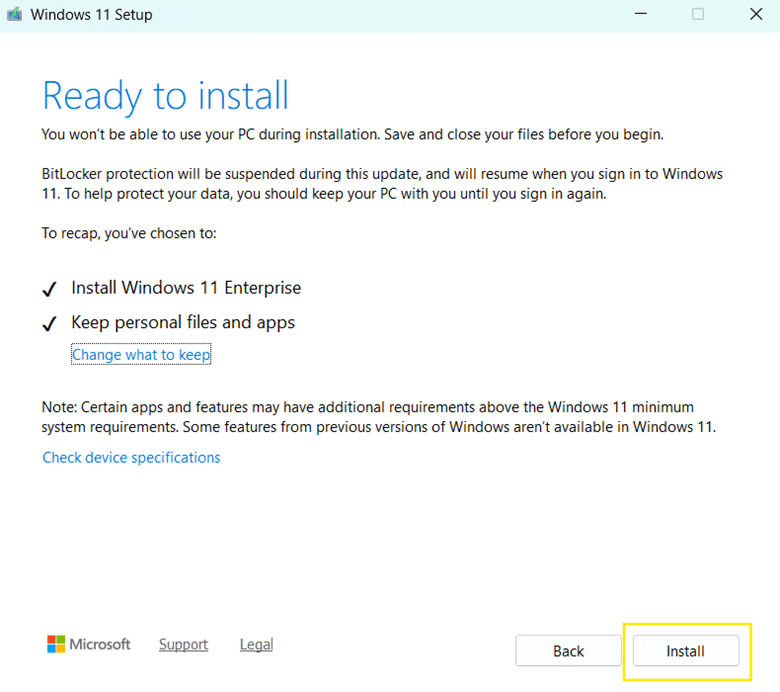
- Your system will restart multiple times as Windows reinstalls system files. Do not turn off your PC during the process. Allow it to complete fully.
Additional considerations when performing a Windows 11 repair install
While a repair install is generally safe, knowing these extra steps before and after the process can help ensure a smooth recovery and reduce the risk of potential issues:
System image
Creating a system image before performing a repair install is a smart precaution. A system image is a full backup of your Windows installation, including apps, files, and settings. If unexpected issues arise during or after the repair install, you can use a system image to restore your PC to its previous state.
Note: To create a system image, make sure you have at least 1.5 to 2 times the used space on your Windows drive available for backup. You can save a system image on an external hard drive, network location, separate internal drive, or DVDs.
Windows.old folder
During a repair install, Windows creates a Windows.old folder on your system drive. This folder contains your previous Windows installation, allowing you to recover files or roll back some changes if needed.
If your PC works well after the repair install, and you think there’s no need for the Windows.old folder, you can delete it to free up space.
💡Good to know: Windows.old folder is mainly intended for recovering user files and system components but doesn’t support complete restoration. Unlike a version upgrade, a repair install doesn’t create a system-level rollback tool, meaning you can’t fully revert to a previous Windows version.
Post-installation
After the repair install, it’s recommended to check for updates and reinstall third-party antivirus software that was removed before the process. If you had only disabled your antivirus instead of uninstalling it, make sure to re-enable it. Also, verify system stability by checking if previous issues were resolved.
Checking for updates
- Press Win + I to open Settings.
- Go to Windows Update.
- Click Check for updates.

- If updates are found, click Download & install.
- Restart your computer if prompted.
- Repeat the process to check and ensure you’re fully up to date.
Frequently Asked Questions
What is an in-place upgrade in Windows 11?
An in-place upgrade in Windows 11 is the process of reinstalling the operating system without losing your personal files, apps, or most settings. It replaces damaged system files with fresh copies from a Windows installation source (ISO or USB) or Windows Update while keeping your data and configuration intact.
How do I repair Windows Installer in Windows 11?
If Windows Installer is not working correctly or is failing to install or update programs, try restarting the Windows Installer Service:
- Press Win + R to open the Run dialog box.
- Type services.msc and click Enter to open the Services.
- Scroll down to Windows Installer, right-click, and select Restart.
You can also try re-registering the Windows Installer service, running System File Checker (SFC) and DISM, and checking for Windows Updates.
Easily repair install Windows 11 with an in-place upgrade
A Windows 11 repair install using an in-place upgrade is a safe and effective way to resolve system issues without data loss. You can perform it easily using a Windows Update or installation media like an ISO file or USB drive.
The process restores system functionality while preserving personal data and installed applications. Just make sure you have administrative access and sufficient disk space, and always back up important data before starting the repair install.
Quick-Start Guide
NinjaOne does support Windows 11 upgrades and in-place repairs. Here are the key details:
- NinjaOne has tested the NinjaRMM agent with both new and upgraded Windows 11 installations.
- There are scripts available for Windows 11 upgrades, such as the “Update Windows 10 to Windows 11” script that uses the Windows 11 Installation Assistant.
- The platform supports Windows 11 feature updates through its patch management system.
- Administrators can control Windows 11 upgrades through policy settings, including:
- Approving or rejecting feature updates
- Using AI-powered patch intelligence to assess upgrade risks
- Configuring how and when upgrades are deployed
Specifically for an in-place repair, NinjaOne leverages Windows Update functionality, allowing you to perform repairs and upgrades through its patch management tools. Users can:
- Manually trigger upgrades
- Set up automated upgrade policies
- Control the upgrade process at a granular level


