Key Points
How to Use Triage Grids to Prioritize Support Tickets by Risk, Urgency, and Visibility
- IT Ticket Triage Efficiency: Utilize a ticket triage to prioritize requests based on risk, urgency, and visibility, enhancing service speed and consistency.
- Centralized Automation: Automating a triage via RMM or PSA standardizes ticket handling, prevents manual errors, and ensures no ticket goes unresolved.
- Defined Triage Criteria: Establish clear definitions for risk, urgency, and stakeholder visibility to align with SLAs and reduce service disruptions.
- Structured Triage Grid: Create a 3x3x3 triage grid combining risk, urgency, and visibility to calculate 27 ticket combinations for precise priority scoring.
- Workflow Integration: Embed triage fields directly into ticket forms and use automation rules in your PSA or RMM to route high-priority issues instantly.
- Automation-Driven Prioritization: Automate ticket scoring and routing to accelerate resolution, improve SLA compliance, and boost client satisfaction.
A ticket triage enables technicians to prioritize IT requests based on risk, urgency, and stakeholder impact, resulting in efficiency. This helps you deliver consistent service while reducing support strain—and improving workflows with centralized RMM ensures that no ticket goes ignored.
Standardize ticket prioritization for increased productivity. This article provides a solid framework for setting up a triage scoring system with NinjaOne.
Need an efficient ticket triage strategy? Watch our video: How to Use a Triage Grid to Prioritize Tickets by Risk, Urgency, and Visibility.
How to perform ticket triage efficiently
Automation is vital to successful ticket triage, elevating your performance beyond your SLA metrics.
📌 Prerequisites:
- Defined SLAs and severity levels for client tickets
- Clear categories for risk, urgency, and visibility scoring
- A Professional Services Automation (PSA) or Remote Monitoring and Management (RMM) platform capable of tagging or automating ticket prioritization
- Technician training on how to apply triage criteria consistently
Step 1: Define risk, urgency, and visibility criteria
Categorizing IT support requests is the first step in creating an efficiently prioritized ticket triage. Focusing on scope and operational impact helps, but adding factors like urgency adds more control while aligning your efforts with Service Level Agreements (SLAs).
To start, perform ticket triage based on:
- Risk: How severe is the raised issue in the context of your security posture and day-to-day operations?
- Low: Minor inconvenience with zero business impact.
- Medium: Affects a department or operational function.
- High: Halts productivity, breaches compliance, or destroys data.
- Urgency: How soon should the problem be resolved?
- Low: Can be delayed to the next business day.
- Medium: Work disruption with a few workarounds.
- High: Needs to be remedied ASAP to restore work functions.
- Visibility: How many stakeholders are directly affected by the problem?
- Low: Impacts a single user.
- Medium: Affects department heads.
- High: Reaches other clients and threatens public reputation.
Workshop these definitions with your service managers to agree on standardized criteria. Document changes in a shared Knowledge Base (KB), and create your triage scorecard with added examples for clarification.
Step 2: Build the ticket triage grid
A triage grid provides a structured approach for assessing ticket priority. Keep track of the number of possible combinations in your grid, create a triage scoring system to measure priority levels, and integrate your ruleset into automation platforms.
- Create a 3x3x3 grid using the Risk, Urgency, and Visibility framework.
- List all 27 possible combinations in total.
- Create a ruleset for your ticket triage.
- High-risk + high-urgency → Immediate escalation
- High-visibility issues > high-urgency, if the goal is to preserve client trust
- Low risk + Low urgency → Routine handling
- Incorporate your triage into your RMM/PSA tools to streamline ticket prioritization.
Step 3: Integrate into ticketing workflows
Embedding your new ticket triage into IT helpdesk operations makes it a part of your day-to-day operations. To update templates and automate prioritization, do the following:
- Integrate your criteria into your ticket forms (for example, Risk, Urgency, and Visibility).
- Insert your scoring logic into your RMM/PSA platform to automate task assignments and boost resolution times.
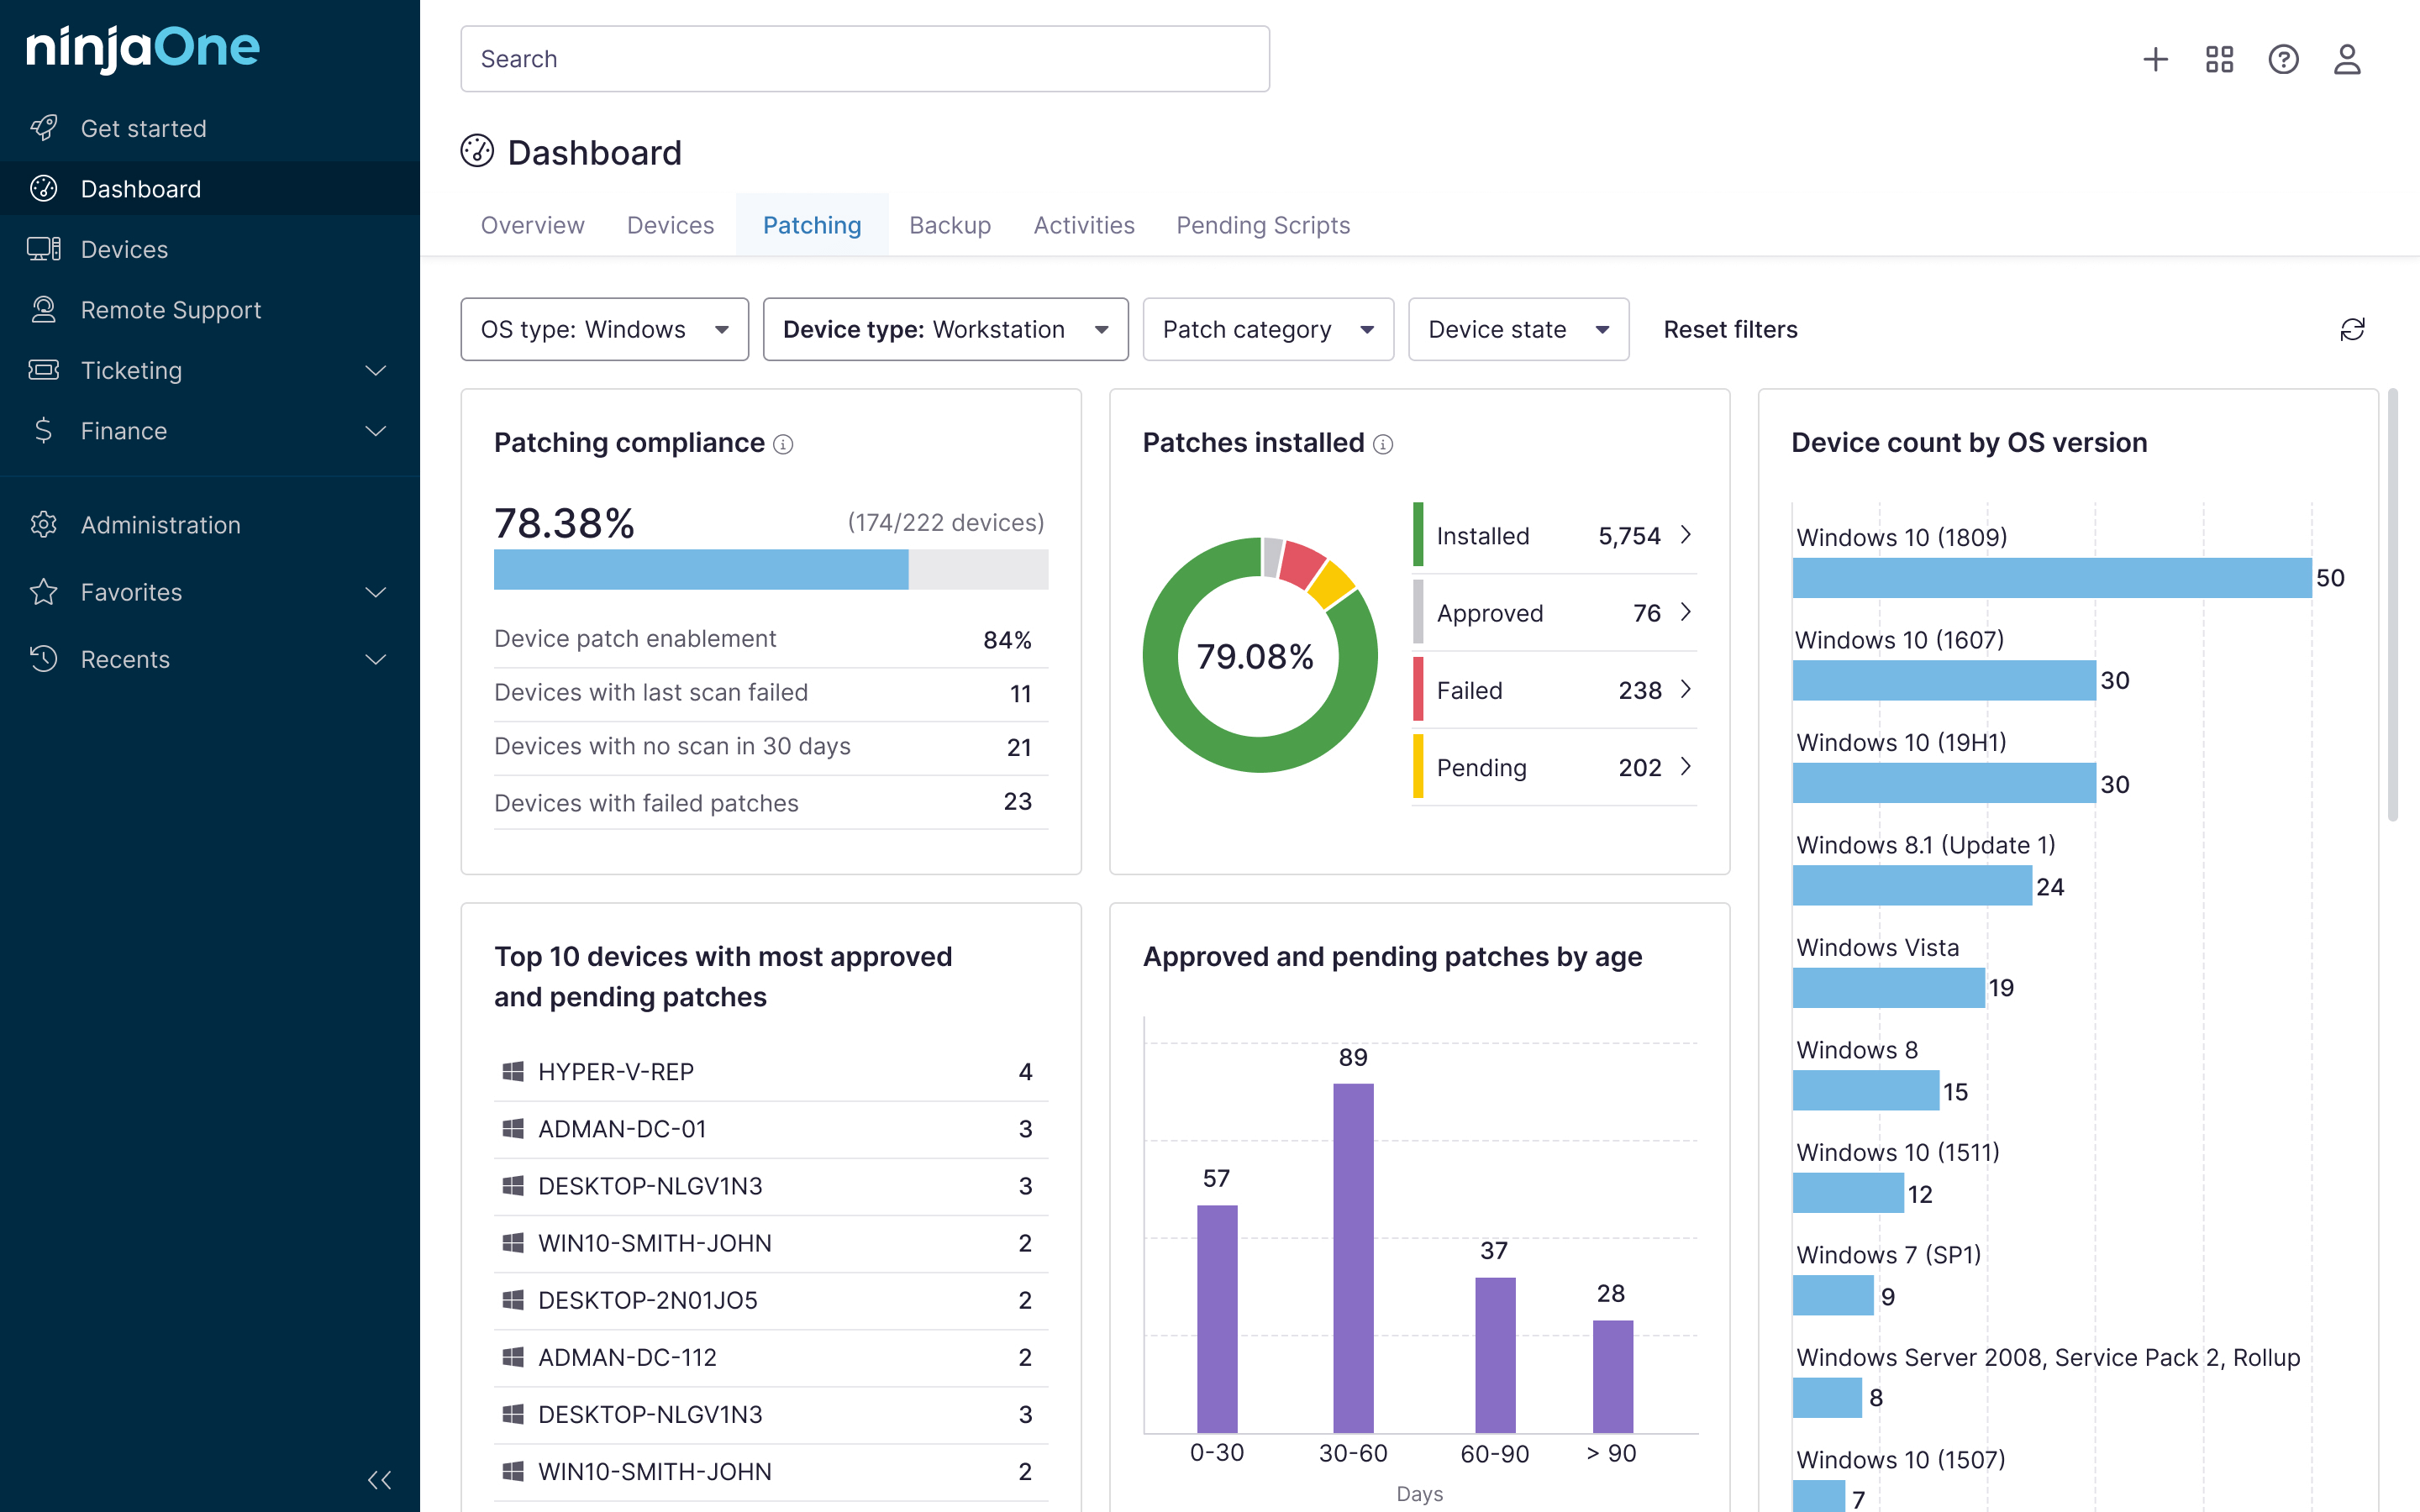
- Use centralized dashboards to monitor high-priority tickets across your clientele.
🥷🏻| Leverage best-in-class ticket automation to route tickets automatically.
Read how NinjaOne simplifies ticket management for seamless responses.
Step 4: Train and reinforce with technicians
After revamping your ticketing workflow, train the rest of your IT support team on how to use your new triage scoring system.
Include ticket triage scoring in your onboarding process, create cheat sheets with sample tickets, run quarterly refreshers, and use shadow reviews to audit scoring accuracy behind the scenes.
Step 5: Review and refine during governance cycles
Lastly, set a regular cadence for evaluating ticket triage. Do this in tandem with other important leadership forums, and polish your methodology with the following steps:
- Review ticket trends quarterly: Spot scoring inaccuracies and track ticket volume.
- Track SLA adherence: Continuously align efforts with your contractual obligations.
- Adjust scoring criteria: Adapt your triage grid to changing business priorities.
- Include triage review: Assign accountability for ticket prioritization.
Best practices for creating a triage scoring system
| Practice | Purpose and value |
| Define triage criteria clearly. | Ensures consistent prioritization while preventing time-consuming ad hoc ticket handling |
| Build a triage grid. | Standardizes your ticket prioritization; helps technicians quickly assess ticket urgency, saving time |
| Integrate into ticketing. | Aligns new standards with daily operations. Uses unified endpoint management to automate routing |
| Train technicians. | Keeps your workforce informed and efficient. Boosts ticket handling success rates |
| Review and refine. | Adapts your framework to evolving business needs and growing cyberthreats |
How to automate your ticket prioritization matrix
Legacy ticketing has been shown to increase Mean Time to Resolve (MTTR), resulting in more ticket delays and costing decision-makers millions in the long run.
Automating ticket triage reduces manual effort in scoring and routing, leading to faster ticket resolution and improved SLA compliance. Follow this general workflow to transform manual triage into a streamlined, SLA-optimized machine:
- Ticket submission: Fill in the required fields (risk, urgency, visibility).
- Auto-score via RMM/PSA: Integrate your triage ruleset.
- Routed to appropriate queue: Assign urgent tickets to a high-priority team for fast resolution.
- Trigger SLA timer automatically: Comply with service timeframes.
NinjaOne integration simplifies ticket triage
NinjaOne’s endpoint management platform has customizable ticketing and reporting features to simplify IT workflows and reduce costs. Here’s an overview:
| Step | Without NinjaOne | With NinjaOne |
| Define triage criteria clearly | Inconsistent criteria and multiple static documentation sites | Customizable ticket forms enforce priority fields (risk, urgency, visibility) while SOPs are stored in NinjaOne Documentation. |
| Build a triage grid | Manual spreadsheets and printed guides are prone to human error. | The ticket system embeds triage grid logic and auto-scores for you. |
| Integrate into ticketing | Tickets need to be manually assigned to their respective teams, which may result in forgetting SLA deadlines. | Tickets are automatically routed to the appropriate queues, triggering SLA timers accordingly. |
| Train technicians | Training relies on ad hoc reviews and can be inconsistent. | KB stores and shares updated training materials; the dashboard can provide shadow audits. |
| Review and refine | Time-consuming data gathering and separate data visualization | Centralized dashboards help track triage trends and scoring patterns for governance reviews. |
Standardize ticket handling with a triage grid
Ticket resolution times are a major component of your SLAs, and establishing a standardized triage grid allows you to prioritize high-impact client issues tactically.
Start by defining your main criteria, crafting a triage grid, and weighing the scores. From there, you can integrate your framework into actual workflows while hosting training seminars for your workforce. Lastly, ensure that ticket triage is included in governance meetings to refine your methods continuously.
Related topics: