

This tutorial demonstrates how to use local devices and resources on Hyper-V virtual machines in Windows 10 and Windows 11 using Enhanced Session Mode in Hyper-V and VMConnect.
Instructions are provided for host and guest operating systems so that you can share local resources such as storage devices, USB devices, audio, printers, and other supported Plug and Play devices, as well as sharing the clipboard.
Give virtual machines access to local resources with ful control of your Hyper-V infrastructure.
What you need to know before you can access local resources/drives in Hyper-V
To enable Enhanced Session Mode and access shared local resources in Hyper-V, you will need to be running Windows 10, Windows 11, or Windows Server 2016 or later with Hyper-V installed. Note that Hyper-V is not available for hosting virtual machines in the Home editions of Windows 10 and Windows 11. Enhanced Session Mode is not available for non-Windows operating systems.
Within the virtual machine, the guest operating system must be running Windows 10 or Windows Server 2016 or later. You should use Hyper-V Generation 2 virtual machines, if possible, as more features are supported. Generation 1 virtual machines are limited. Watch “How to See if Your Hyper-V Virtual Machine is Gen 1 or Gen 2” if you don’t know what generation your Hyper-V virtual machine is.
You will need to use VMConnect to connect from a host that supports Enhanced Session Mode to a guest that also supports Enhanced Session Mode. You will then be able to share the following resources:
- Display configuration
- Audio
- Printers
- Clipboards (for copy and paste)
- Smart cards
- USB devices
- Storage drives (hard drives, USB sticks, etc.)
- Supported plug-and-play devices
You will need to be logged in as an administrator to configure Enhanced Session Mode and resource/drive sharing in Hyper-V on Windows.
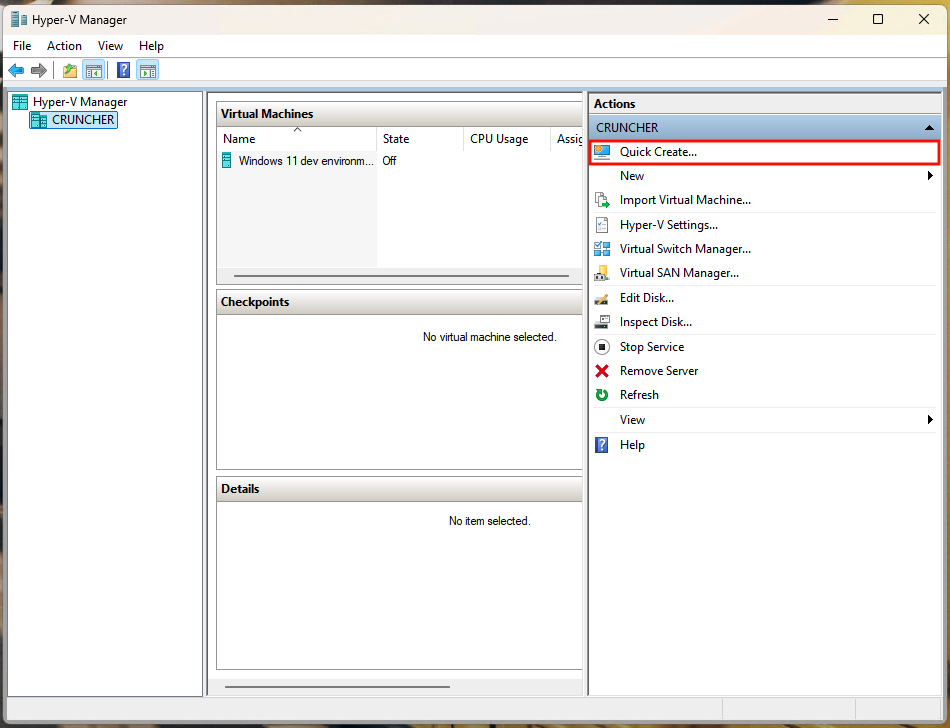
To create a Hyper-V virtual machine to test these steps, you can use the Hyper-V Quick Create feature to spin up a Windows 11 development virtual machine. To do this, click Quick Create… in the Hyper-V Manager Actions sidebar.
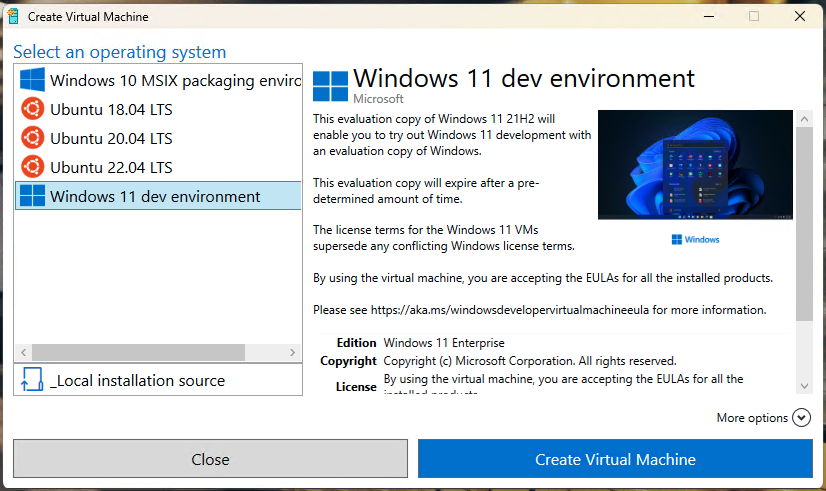
Then, select the Windows 11 dev environment from the list of operating systems and follow the prompts.
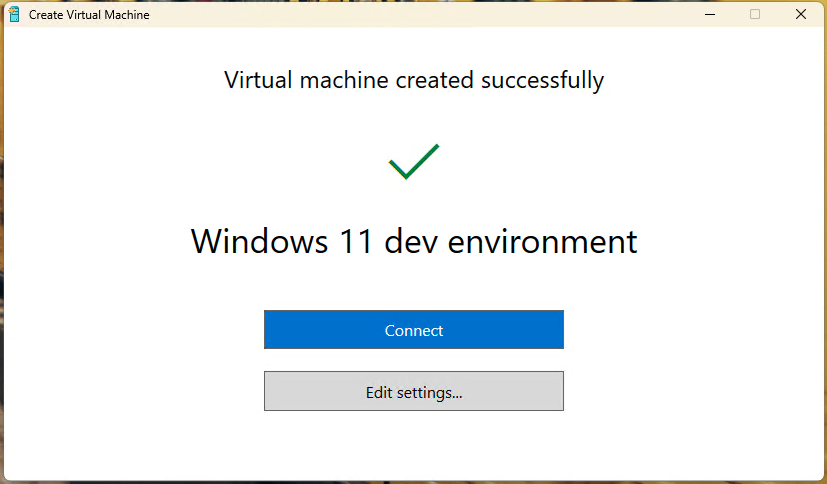
Once the virtual machine has been created, do not connect to it yet, as there is still some additional configuration required to enable Enhanced Session Mode. If you want to add your own custom virtual machines to Quick Create, you can generate your own custom virtual machine repository for Hyper-V Quick Create.
Step 1: Enable Enhanced Session Mode on the Hyper-V host
Before you begin, ensure that Hyper-V is installed and enabled on the host Windows operating system. Then enable Enhanced Session Mode by following these steps:
- Open the Hyper-V Manager by searching for it in the Start menu
- Select the Hyper-V host machine by clicking its name in the sidebar to the left in the Hyper-V Manager
- Click Hyper-V Settings in the Actions pane to the right

- In the Server section, click Enhanced Session Mode Policy
- Check the Allow Enhanced Session Mode checkbox

- Press OK to save and apply the change
Step 2: Configure and connect to the guest Windows operating system
Once enhanced session mode has been enabled on the host, you can use it to share resources and storage drives with the guest operating system:
- Select the guest virtual machine in the Hyper-V Manager list of Virtual Machines
- Click Connect in the Actions sidebar

- This will connect to the virtual machine using Virtual Machine Connection (VMConnect)
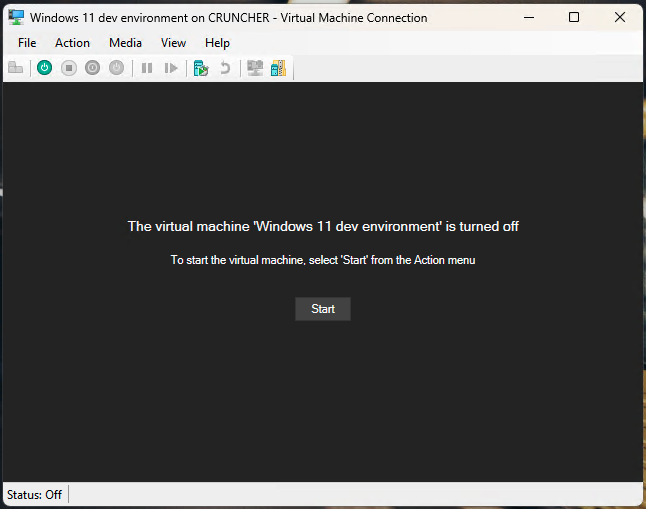
- If the virtual machine is not running, click the Start button in VMConnect to boot it
- When the Connect dialog appears, choose your display configuration and then expand Show Options using the arrow

- Click on the Local Resources tab
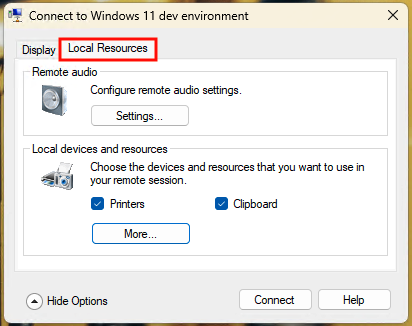
At this point, you can configure the sharing of local devices and resources to the Hyper-V guest:
- Press the Settings button under Remote Audio to configure audio sharing (playback and recording) between the host and guest
- Check or uncheck the Printers and Clipboard checkboxes to enable printer or clipboard sharing
- Click More… to configure sharing the hosts drives, smart cards, and other plug and play devices with the guest
- Click Connect to connect to the guest operating system with the specified local resources
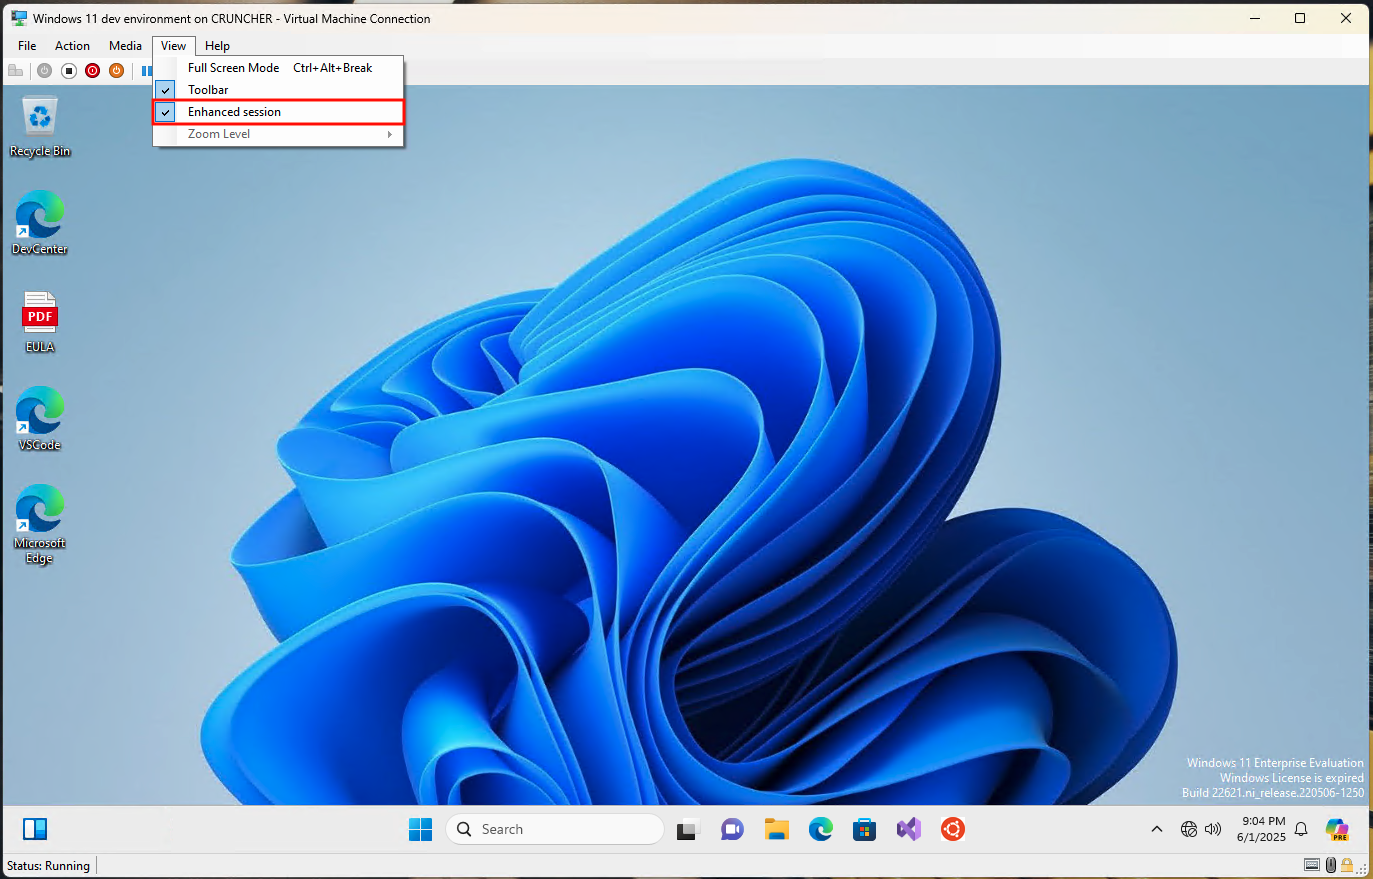
If you’re not presented with the option to configure local resources while connecting, click View in the toolbar of the running virtual machine’s VMConnect window, and then click Enhanced Session if it is not enabled.

The VMConnect session will then restart in Enhanced Session Mode.
Note that once you disconnect your VM Connect session, the shared resources will also be disconnected. Enhanced Session Mode can only be configured once the virtual machine is running. To reconfigure which local devices and resources are accessible from the Hyper-V guest, close and reopen the VMConnect session to the guest from the Hyper-V Manager.
How do I share and access a local hard drive in Hyper-V?
You can share a local hard drive or USB storage device like a USB stick, and access it from your Hyper-V desks using Enhanced Session Mode.
To do this when connecting using VM Connect, click Show Options and then More… in the Local Resources tab, then check the storage devices that you want to access from the guest operating system. Then, proceed with the rest of the connection process.
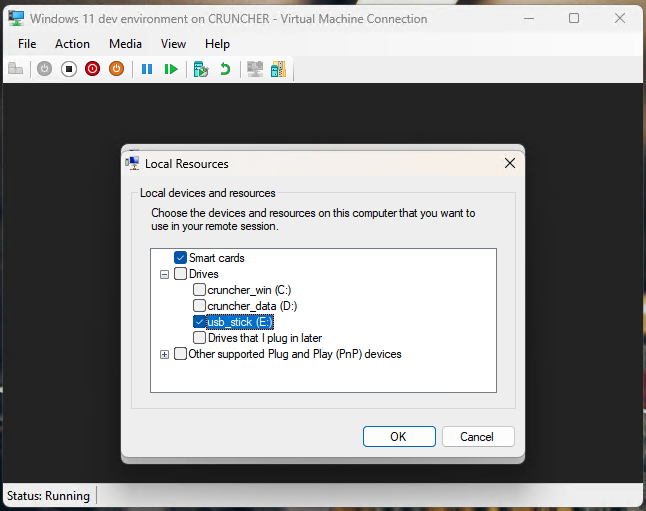
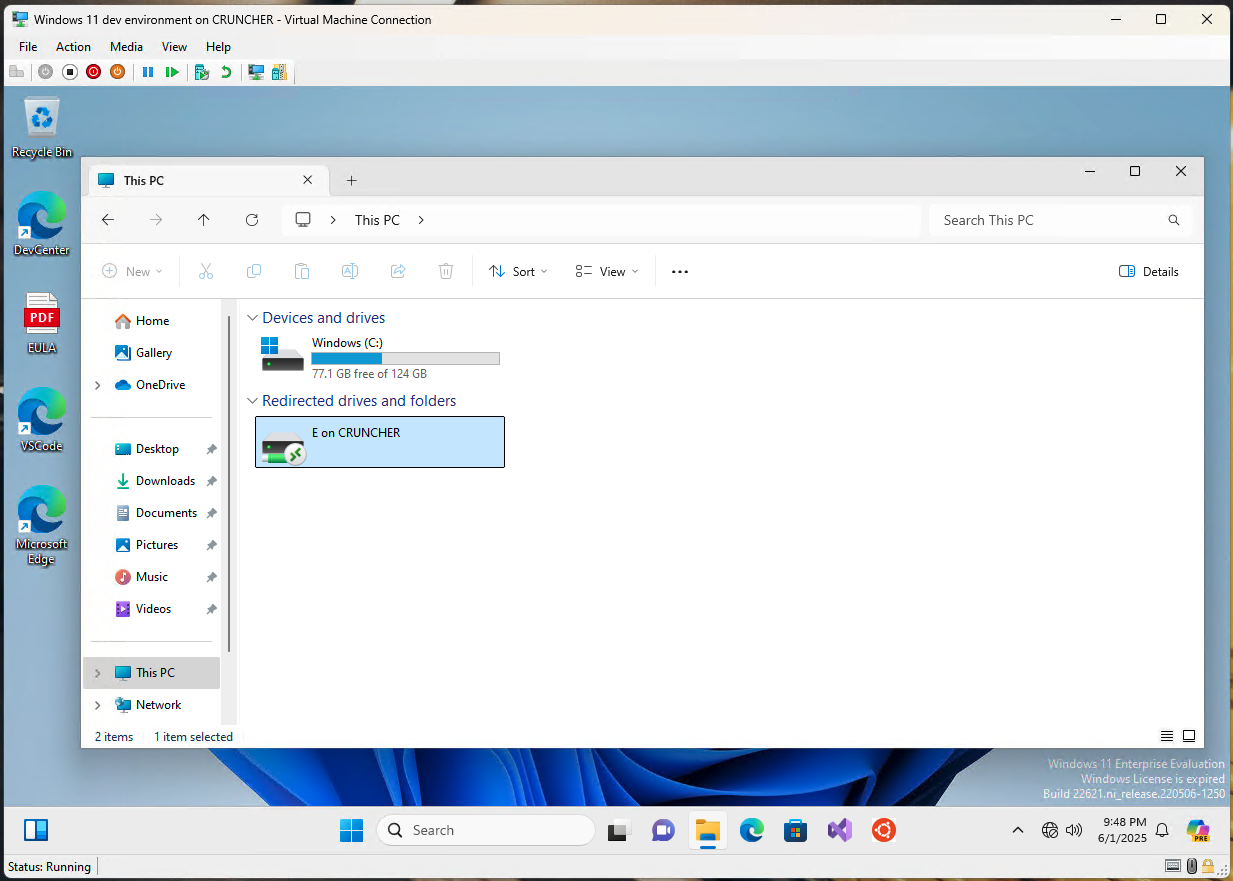
Shared storage drives will be available simultaneously on the host and the guests, making this a convenient way to share files between them.
Why enable local resource access in Hyper-V?
Users commonly enable local resource access in Hyper-V to share files between hosts and guests without requiring the setup of network shares. It also allows for USB devices to be used with virtual machines, including USB storage devices, printers, microphones, and webcams.
Clipboard sharing allows items copied on the host or guest to be pasted to the other, improving the convenience of using virtual machines for day-to-day tasks. Audio redirection allows sounds from the guest to be heard through the host device’s sound hardware, and sound recorded on the host to be passed to the guest.
For developers, being able to share devices with virtual machines makes it possible to debug software and hardware in controlled test environments.
Troubleshooting Enhanced Session Mode and resource sharing in Hyper-V
If local resources are not appearing in your virtual machine, you can try the following troubleshooting steps:
- Make sure that devices are physically connected to the host machine, and that the correct drivers are installed, and that they are properly configured and enabled in the Device Manager
- Close and re-open the VMConnect session, and make sure that the resources are selected in the Local Resources tab
- Make sure your host and guest operating systems support Enhanced Session Mode
Manage your IT resources, endpoints, and virtual machines from NinjaOne’s single pane of glass view.
Monitoring and managing Hyper-V virtual machines and resources in the enterprise
NinjaOne Endpoint Management lets you monitor and manage both host and guest Hyper-V machines through a single interface.
This greatly streamlines support and gives you full oversight over all of your IT infrastructure, both physical and virtual. You can also initiate remote access sessions to troubleshoot Hyper-V virtual machine hosts and guests, as well as help users resolve issues with Enhanced Session Mode and sharing local devices and resizing between virtual machine operating systems and their hosts.
FAQ
What do you do if the Enhanced Session option is grayed out in Hyper-V/Virtual Machine Connection (VMConnect)?
Make sure your host and guest operating systems both support Enhanced Session Mode. It requires Windows 10 or Windows Server 2016 and onwards, and does not support non-Windows operating systems.
Can you redirect USB devices from the host to the guest virtual machine in Hyper-V?
Yes, when connecting to the guest using VM Connect, you can use the local resources tab to specify which USB devices are redirected.
Do you need to configure network settings for local resource access in Hyper-V?
It is not necessary to configure network settings for local resource access. Enhanced Session Mode allows for local resources to be redirected without additional configuration.
Is Enhanced Session Mode and Local Resource sharing available to Hyper-V guests running Linux?
No, Enhanced Session Mode is only available in virtual machines running supported Windows operating systems.


