Key Points
iPad Kiosk Mode locks an iPad to a single app using Guided Access or Single App Mode for secure, task-specific use
- iPad Kiosk Mode locks an iPad to a single app using Guided Access, Single App Mode, or Autonomous Single App Mode
- Enable Guided Access by triple-pressing the side or home button after launching the target app and starting the session with a passcode
- Set up Single App Mode locally through Apple Configurator, or remotely at scale using an MDM platform paired with Apple Business Manager
- Customize kiosk settings by toggling display lock, button use, touch input, and rotation under Guided Access or Apple Configurator options
iPad kiosk mode describes locking an iPad to a single app. The features that do this are called “Guided Access” and “Single App Mode,” and while both behave slightly differently, they let you set up your iPad (or iPhone) as a kiosk device by locking it to a single app, restricting access to all other apps, settings, and shortcuts.
This guide will show you how to use your iPad as a kiosk, including setup instructions, features, benefits, and customization options, and how it can be utilized in business, education, and at home.
Locking an iPad to one app is useful, but what happens when you’re managing dozens or hundreds of devices? See how IT teams are bringing order to mobile chaos with unified management strategies.
Understanding iPad kiosk mode
iPad Kiosk Mode locks an iPad to a single app, restricting access to all other apps, settings, and shortcuts. Apple offers three ways to achieve this: Guided Access, Single App Mode, and Autonomous Single App Mode.
These enable customer self-service and controlled interaction with your business while preventing unauthorized use. iPads offer a flexible, cost-effective alternative to dedicated kiosk hardware and can be reused for other functions.
Locking a device to a single app is also useful in other settings: in education, it can be used to make sure that students stay on task, and it can be used at home to make sure children can only access an approved app (so you don’t hand them the iPad so they can play Tetris only to find them messing with your tax records).
Here’s how you can implement a kiosk using an iPad, depending on how it is configured:
- Guided Access: Guided Access is available on every iPhone and iPad in the Settings. It restricts your iPad to a single app until your passcode is entered.
- Single App Mode: Single App mode is available on iPads that are supervised by a business or educational organization that is managing its iOS devices using the Apple Configurator, Apple Business Manager, or Apple School Manager.
- Autonomous Single App Mode: A variation of Single App Mode that lets the app itself trigger entry and exit from kiosk mode based on a task. This is useful when temporarily handing a device to someone, such as a doctor giving a patient an iPad to fill out a form, without permanently locking the device.
Here’s how these kiosk methods compare to each other:
| Feature | Guided Access | Single App Mode | Autonomous Single App Mode |
| Requires supervision | No | Yes | Yes |
| Can be exited by the user | Yes, with passcode/Face ID/Touch ID | No, only via Apple Configurator or MDM | Yes, the app controls entry/exit |
| Setup method | On-device, in Settings | Apple Configurator or MDM | Apple Configurator or MDM |
| Best for | Single devices, temporary use | Fleets of dedicated kiosk devices | Devices shared temporarily for one task |
| Survives reboot | No | Yes | Yes |
Setting up iPad kiosk mode using Guided Access
To set up your iPad as a kiosk with guided access, follow these steps:
- Open your iPad’s Settings.
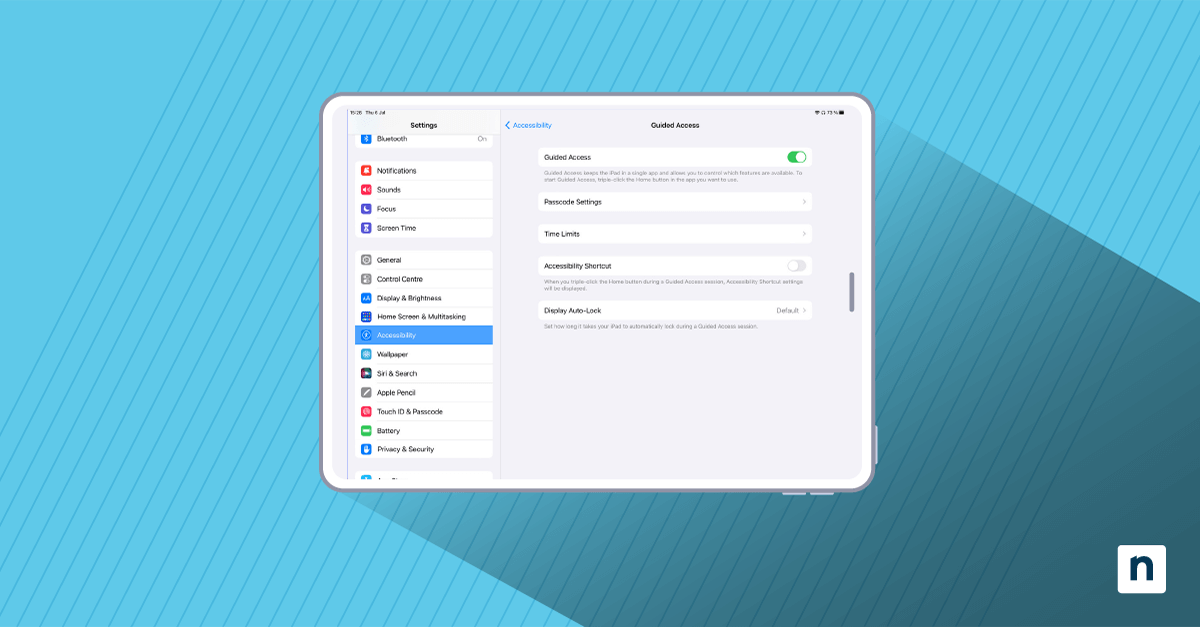
- Navigate to Accessibility.
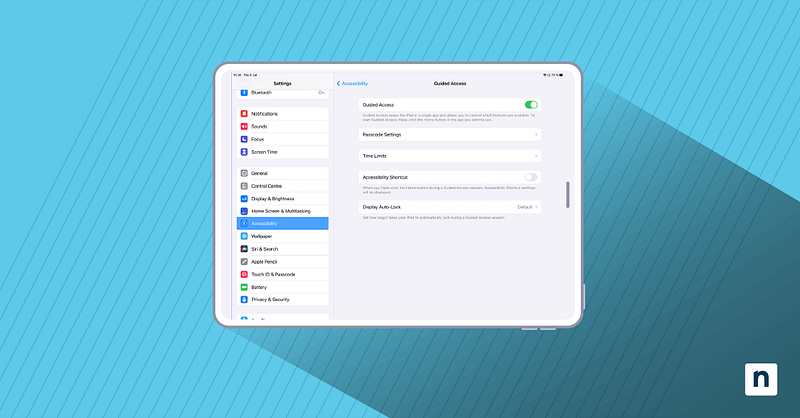
- Tap Guided Access, then Passcode Settings, to set a passcode that will end the Guided Access session.
- Open the app you want to restrict access to.
- Triple-click the side button (or Home button on older devices) to start Guided Access. Note: this applies to current iPadOS versions; devices running iPadOS 18 or earlier may use a double-click instead.
- Tap Start in the top-right corner of the screen.
- To end the session, triple-click the side or Home button, enter the Guided Access passcode (or use Face ID/Touch ID), then tap End.
Make sure the app that you restrict your users to is well designed and offers the functionality your users require, as your users will not be able to navigate outside of it.
Setting up iPad kiosk mode using single app mode
Single App Mode requires a supervised device and can be set up in two ways: locally with Apple Configurator, or remotely at scale through an MDM platform (e.g., NinjaOne).
Here’s how to locally set it up with Apple Configurator (single device, physical access):
- Ensure that the device you will be using as a kiosk is supervised.
- Download and Open the Apple Configurator on the Mac you will use to configure the iPad.
- Connect your iPad and select it in Apple Configurator.
- Navigate to Actions > Advanced > Start Single App Mode.
- Choose the app that will be used on your kiosk.
- Click Options to make any further customizations, then click Select App to complete the process.
To end Single App Mode, reconnect your device and disable it from Apple Configurator. It is not possible to disable Single App Mode from the device itself.
If you’re managing fleets, here’s how to remotely set up with MDM and Apple Business Manager (ABM):
- Enroll the organization in Apple Business Manager (ABM), which automatically supervises devices the moment they connect to Wi-Fi, with no USB connection required.
- Connect your MDM platform to ABM so new device purchases are automatically assigned to it.
- In the MDM console, create a Single App Mode configuration profile and specify the app’s bundle ID.
- Scope the profile to the relevant device group.
- Push the profile; supervised devices apply it automatically.
- To exit or update the kiosk configuration, send a command from the MDM console rather than physically handling each device.
iPad kiosk customization and features
Guided Access settings let you toggle the Accessibility Shortcut, so users can triple-click to access Guided Access options, and set or disable a Display Auto-Lock timeout.
After triple-clicking to start Guided Access, tap Options to further customize behavior, including enabling or disabling the sleep and volume buttons, locking device rotation, and disabling the keyboard or touchscreen.
If using Single App Mode through Apple Configurator or NinjaOne’s MDM platform, these same customizations, along with Restrictions payloads to block screenshots, AirDrop, or Siri, are available in the Options menu or via a configuration profile.
To simplify the entire interface rather than locking to a single app, navigate to Settings > Accessibility > Assistive Access to use Apple’s Assistive Access feature.
Learn how to simplify your iPad for customer or employee use – watch what iPad kiosk mode is.
Best practices for using an iPad as a kiosk
When setting up an iPad as a kiosk in a business setting:
- Secure the device physically to prevent theft.
- Cover ports and speakers to protect against dirt and debris.
- Clean the device regularly if the public will use it, to maintain hygiene and encourage use.
- Ensure the kiosk software is user-friendly and restricts access to unintended content; unsecured browser windows or links can expose the device to misuse.
- Train employees to troubleshoot the kiosk so they can resolve customer issues promptly.
- For fleets of devices, use MDM-based deployment through Apple Business Manager rather than manually configuring each device, to reduce setup time and maintain consistent policies at scale.
- Schedule app updates around Single App Mode’s update limitation, since devices need to briefly exit kiosk mode to receive them.